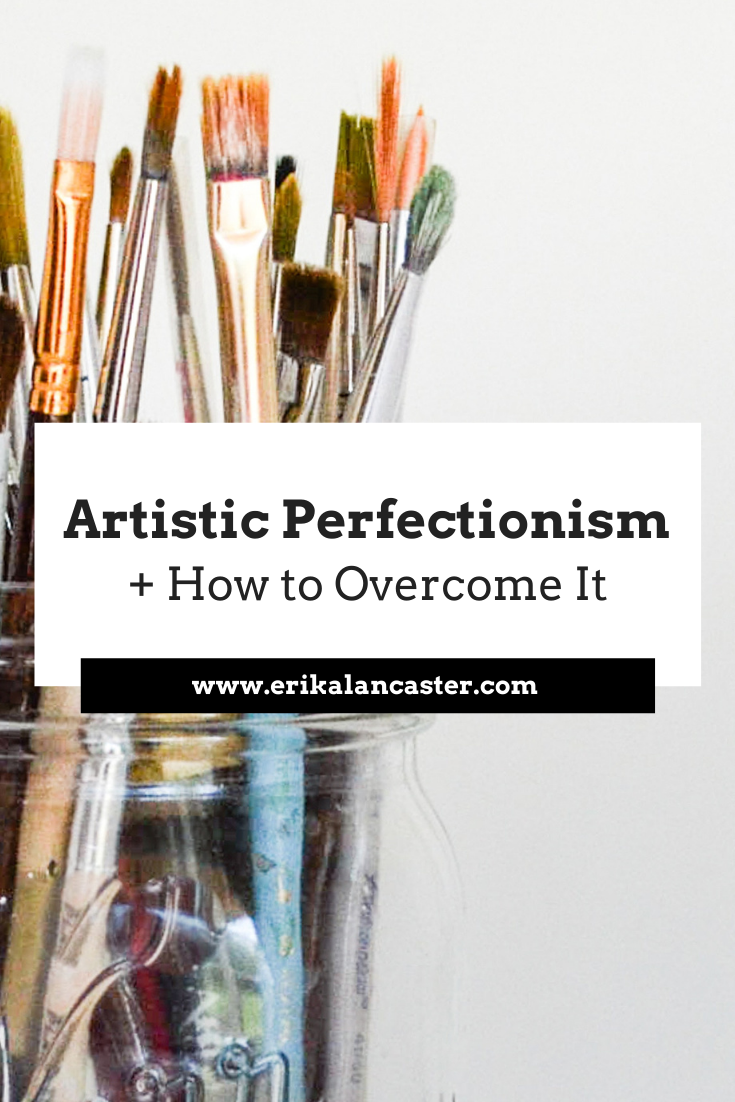
Artists who seek perfection in everything are those who cannot attain it in anything.
-Eugene Delacroix
Do you love creating art but often get frustrated with yourself because the outcomes of your drawings or paintings aren't what you expected them to be? Are you constantly comparing yourself to other artists you come across online or through social media? Do you feel anxious to get to where others are, even though you know they've been at it for far longer than you have? Today I'll be sharing a video in which I explain why artistic perfectionism is something that we should do our best to move past. I'll also be sharing a couple of my own experiences as a recovering perfectionist and specific tips that will help you overcome this harmful habit so that you can make faster progress. I believe perfectionism is amongst the worst habits that we can have as creative beings. It oftentimes paralyzes us from even getting started or stops us from creating the amount of work we should be doing in order to truly progress artistically. As artists, we shouldn't be striving to achieve masterpieces with every-single-piece we create and should give importance to the entire creative process, not only the end-product. This includes explorations and smaller studies we may have to do prior to starting a larger piece. It's these imperfect, messy works that allow us to get to know ourselves artistically, as well as what we want to put out into the world. Hope you enjoy!
If you enjoyed this video and found it helpful, make sure to subscribe to my YouTube channel. I share a brand new video every week with art tips, drawing and painting tutorials and mindset/productivity tips for artists. *Subscribe HERE*
I hope you enjoyed this post and learned something new, or got inspired to go and create a sketch for yourself. I wish you tons of progress and enjoyment in your artistic journey! :) Thanks so much for popping by today! 
1 Comment
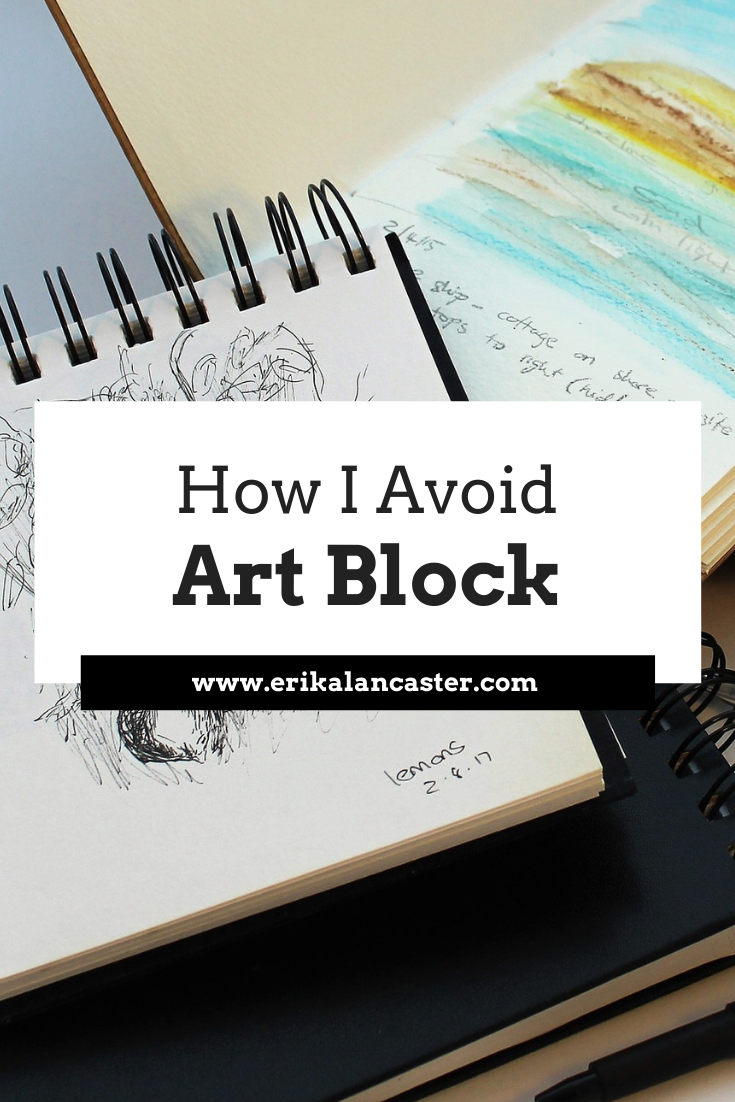
Do you frequently go through periods of feeling too unmotivated or uninspired to work on your art? Do other artists' posts on social media make you feel behind, inadequate, and/or like you'll never be able to reach their skill level? Do you often struggle with finding new ideas to create original and meaningful artwork, and wonder how other artists seem to be able to constantly pump out new work? In the video included in this post, I'll be sharing ten specific things I do on a daily/weekly/monthly basis that help me avoid art block, as well as practical tips to overcome it. It's important to understand that burnout happens to all kinds of creators from time to time. Every-single-one of us goes through periods in which we're unable to produce the same amount of work (or the level of work) that we know we could be producing. There's nothing wrong with you and this says nothing about your abilities. If it happens frequently, though, it's essential to set systems in place that will help you move past them and continue progressing towards your goals as quickly as possible. Being an artist is tough! If we really want to improve our skills and make a living (or side income) from our art one day, it's essential to stay determined and disciplined. We have to consistently create new work and have the courage to share it, as well as our inner thoughts, with the world. Even when no one seems to be paying attention. We're also often very hard on ourselves and expect the outcome of our work to be perfect, even when we're exhausted after having been at work (or school) all day. Even when it's our first time using a specific medium, technique or we're drawing/painting a subject we've never tried before. Many times, creative burnout happens because we're not taking care of our physical and mental well-being, and/or aren't setting goals wisely. Read about the top five things I do every-single-week to stay happy, healthy and productive as an artist in my blog post: 5 Essential Self-Care Tips for Artists and Creatives. And if your art is what you're actually doing for a living (or plan to be doing for a living), you also need to make time for countless other activities, aside from creating your art. Activities that not only aren't fun, but that will also require you to step out of your comfort zone constantly. *It's worth it though! Not to mention, if we didn't have the immense fortune of being born into a family of successful artists that can share their path(s) with us, or didn't have the luck to be financially well-off to the point that we had the time to discover ourselves artistically from a young age, we're probably going to have to work "normal" jobs for at least a few years while staying consistent with our art routines. In my blog post How to Make Time for Your Art I share the specific things I did while I was still working at my last, highly-demanding, full time position in order to ensure I was advancing my art skills. These are all specific actions I took that eventually allowed me to leave that job and start my own art business. Let's get into the video!
If you enjoyed this video and found it helpful, make sure to subscribe to my YouTube channel. I share a brand new video every week with art tips, drawing and painting tutorials and mindset/productivity tips for artists. *Subscribe HERE*
I hope you enjoyed this post and learned something new, or got inspired to go and create a sketch for yourself. I wish you tons of progress and enjoyment in your artistic journey! :) Thanks so much for popping by today! 
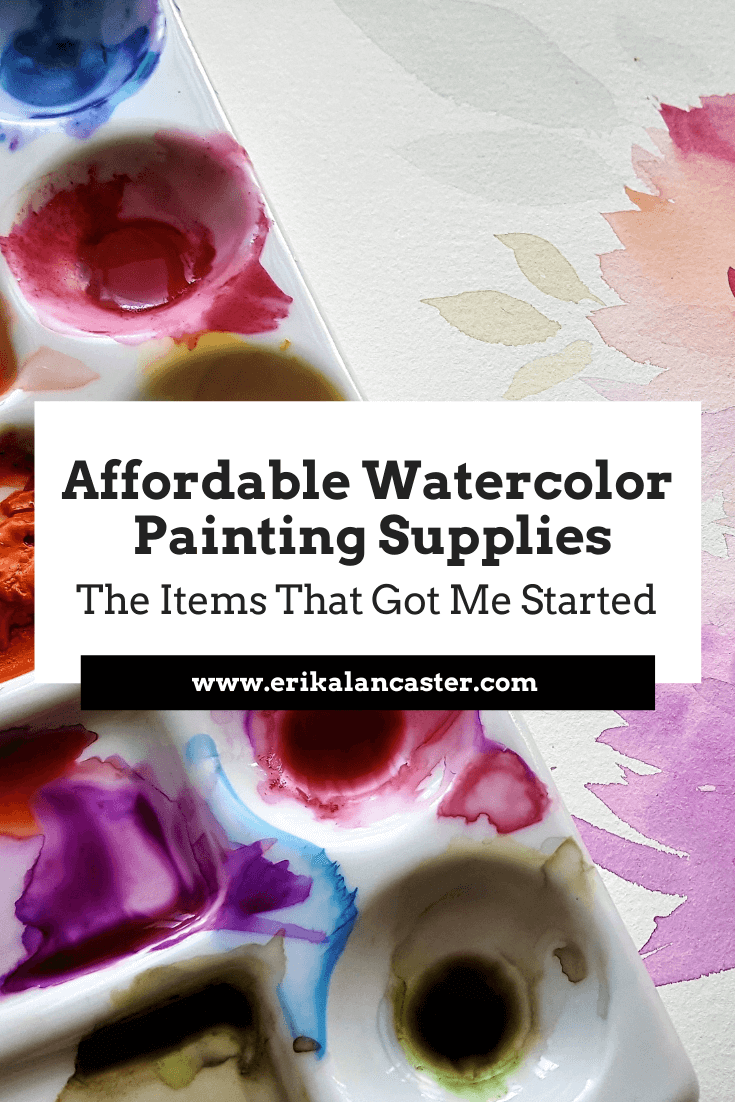
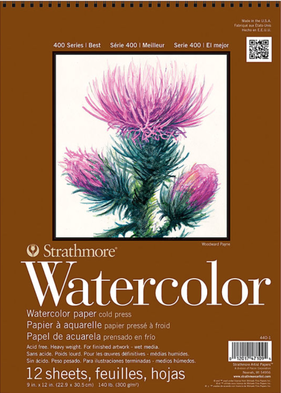
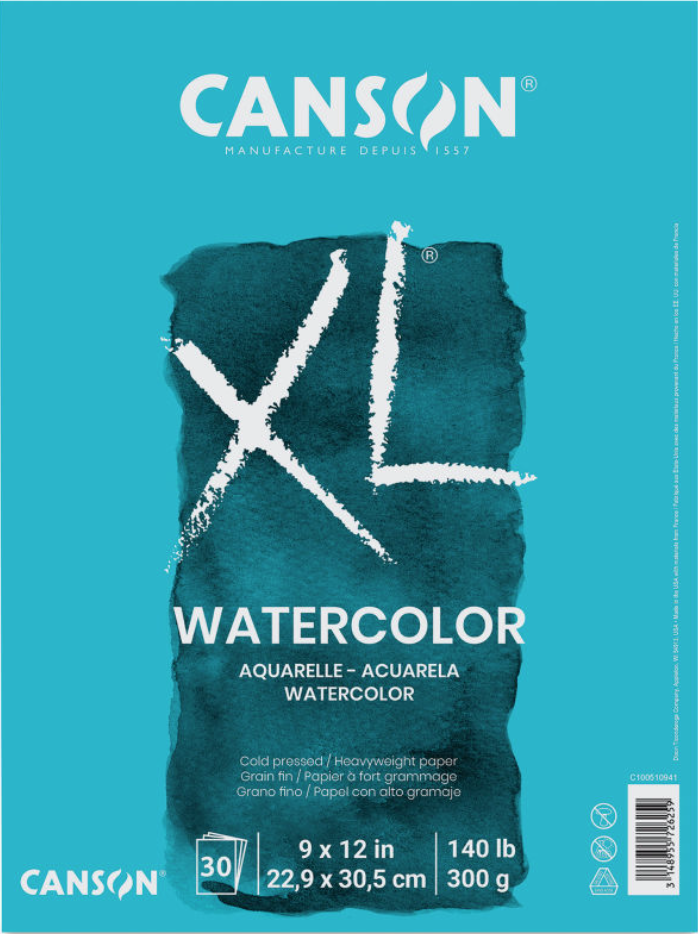
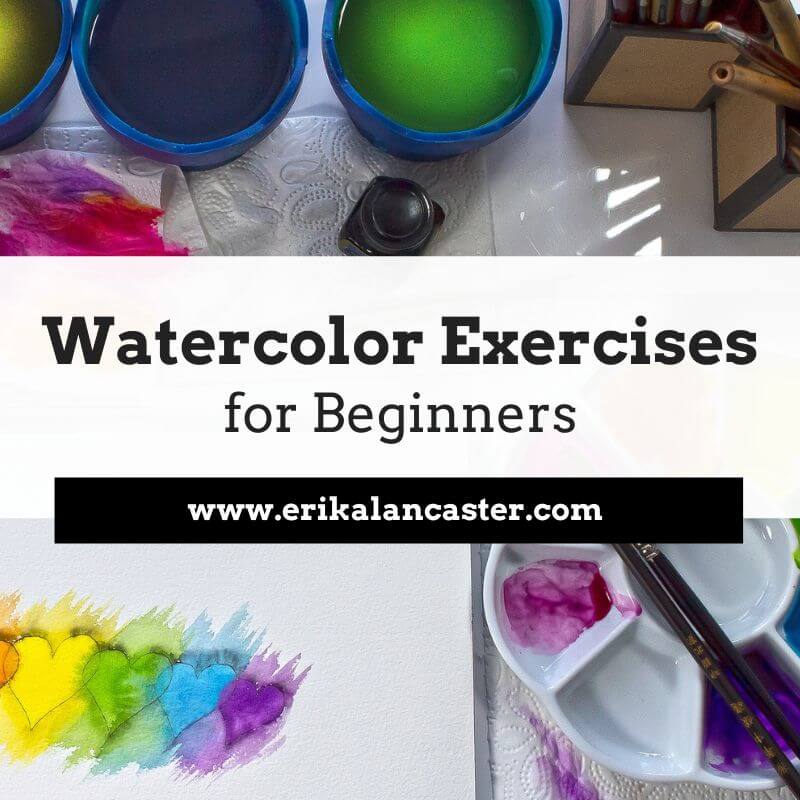
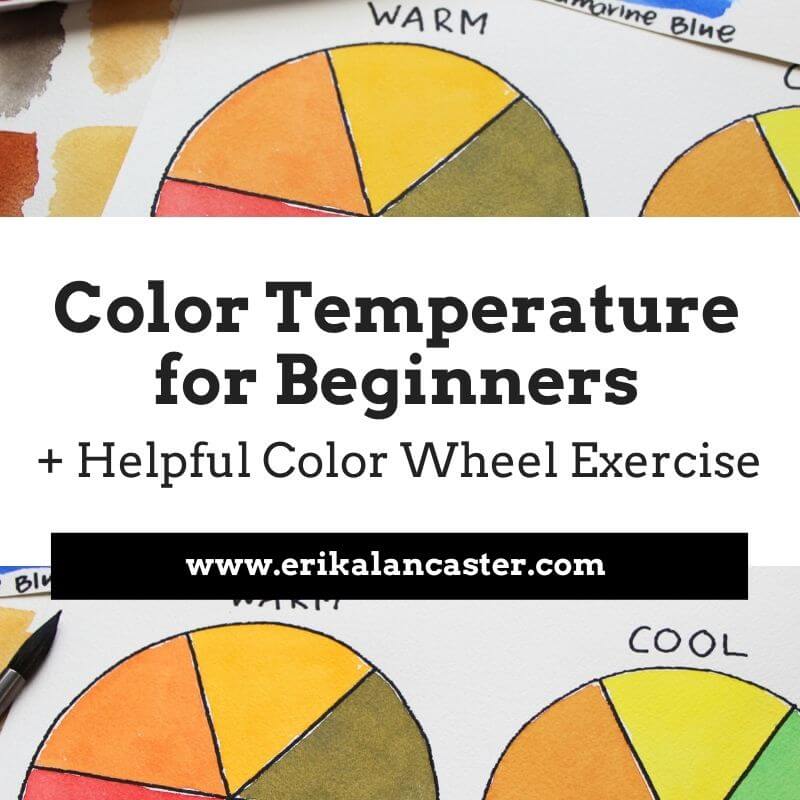
*This post contains affiliate links. I receive small commissions for purchases made through these links at no extra cost to you. These commissions help me keep this site up and running, in order for me to keep providing helpful and inspiring art content. :) Are expensive, super-high quality supplies really necessary to progress your watercolor painting skills? What can you do as a beginner just starting out to ensure that you're spending your money wisely and not on cheap materials that are going to make the learning process more difficult than it needs to be? In my Watercolor Supplies 101 class I explain about the common types of watercolor paint, paper and paintbrushes that you'll be able to find in art supply stores, a well as what I'd recommend for beginners. Today, I'll be sharing the exact products that I finally came across at the beginning of my watercolor painting journey that really allowed me to make substantial progress without breaking the bank. In the video included within this post, I'll be talking about these items. I'll also be sharing a time lapse of an illustration I created using a combination of these. When I was first getting started, I didn't have money to spend on the high-end paper, paintbrushes and paint sets that I saw professional artists using and recommending on Instagram and/or YouTube. As I tried to learn what I could from the pros, I heard them saying time and time again, that the higher the quality of the supplies, the better results will be. Especially, it seemed, when painting with this very volatile medium. Though you should definitely avoid the super-cheap watercolor paint/paper varieties because they will not really help you understand the medium's characteristics and will probably make the learning process much more frustrating, there are brands that offer excellent quality products at affordable prices that are perfect for those starting out. Rest assured that you can progress your skills far with accessibly priced products. I also think there's a lot to say for artists who're able to create amazing looking artwork with what they have on hand and that don't rely on only the best-of-the-best supplies. I still use several of these items, to-the-day. Not only for teaching and filming tutorials, but also whenever I'm not creating a painting or illustration I'm intending to sell or when the art will be scanned for prints or uploading onto shops online. Let's get to the video!
If you enjoyed this video and found it helpful, make sure to subscribe to my YouTube channel. I share a brand new video every week with art tips, drawing and painting tutorials and mindset/productivity tips for artists. *Subscribe HERE*
After almost four years of painting with watercolors I can honestly say that, while it's true that artists selling their work must be able to offer high-quality, durable artwork to their customers, beginners shouldn't feel the pressure to spend $40 dollars on sable brushes or $50 dollars on watercolor paper. Beginners should be exploring, trying different techniques, learning the do's and don'ts of the medium on hand, and thinking about what subjects and styles they'd love to become better at. They shouldn't stop themselves from creating because they're afraid of wasting expensive supplies. 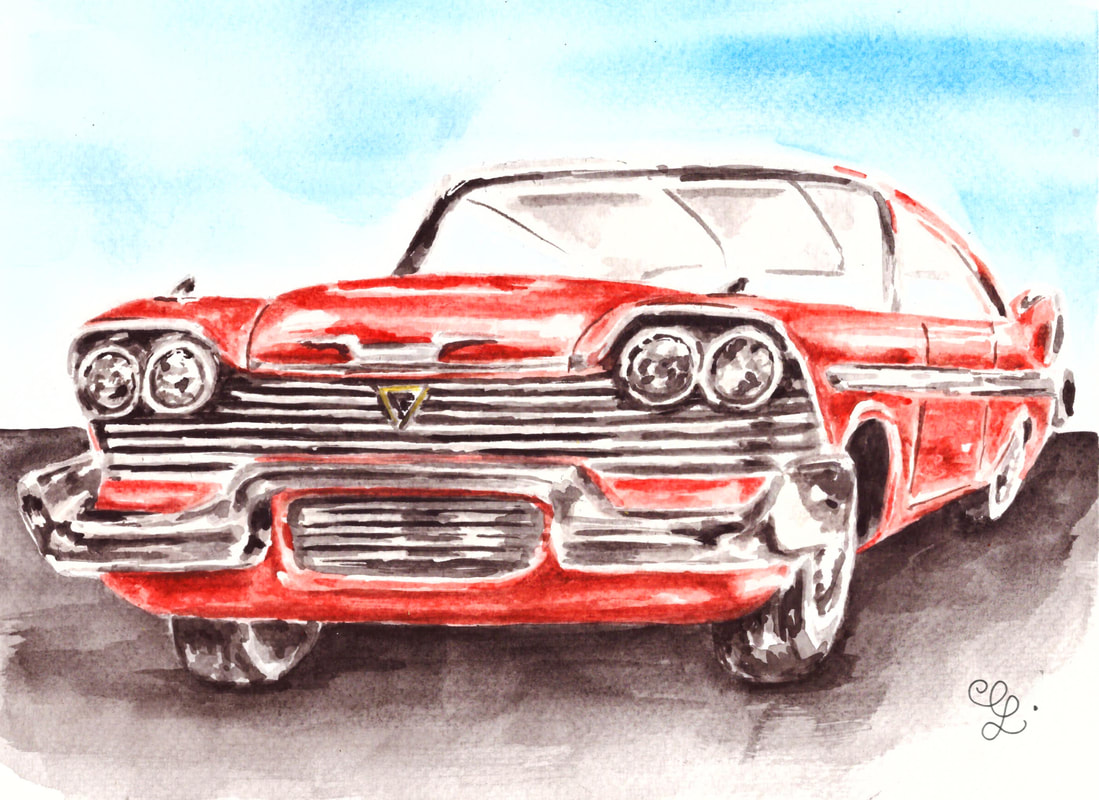
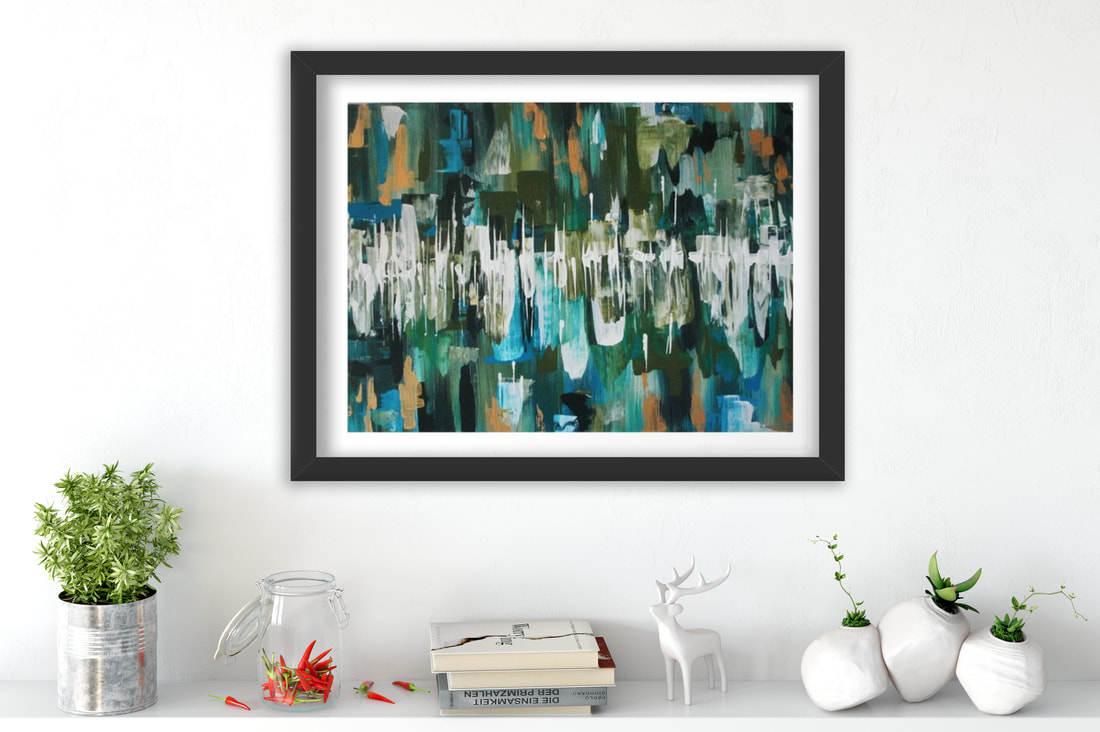
Watercolor Plymouth Fury by Erika Lancaster. Winsor & Newton 12-pan set on Fabriano watercolor paper.
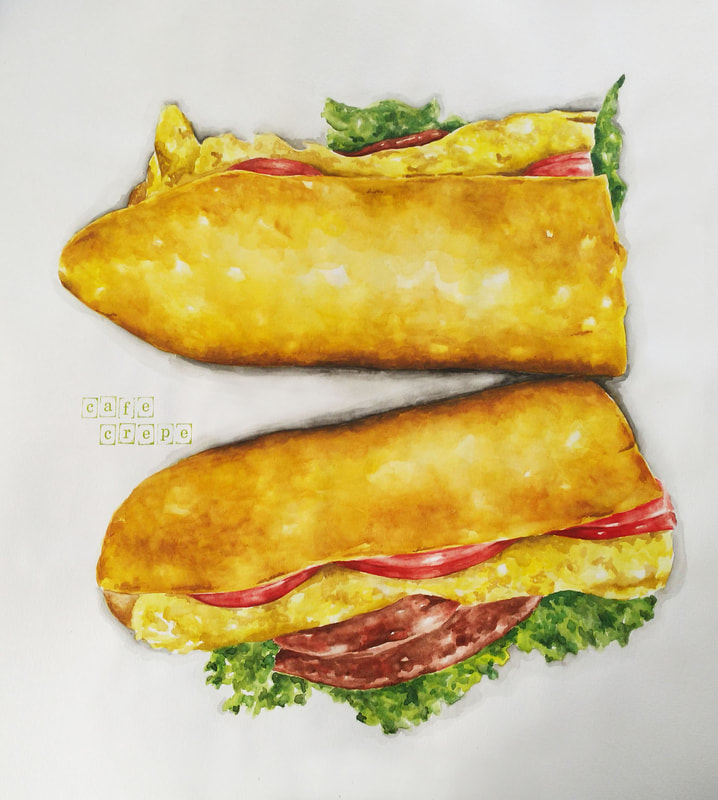
Watercolor Sandwich by Erika Lancaster. Sakura Koi Watercolors on Canson Watercolor Paper.
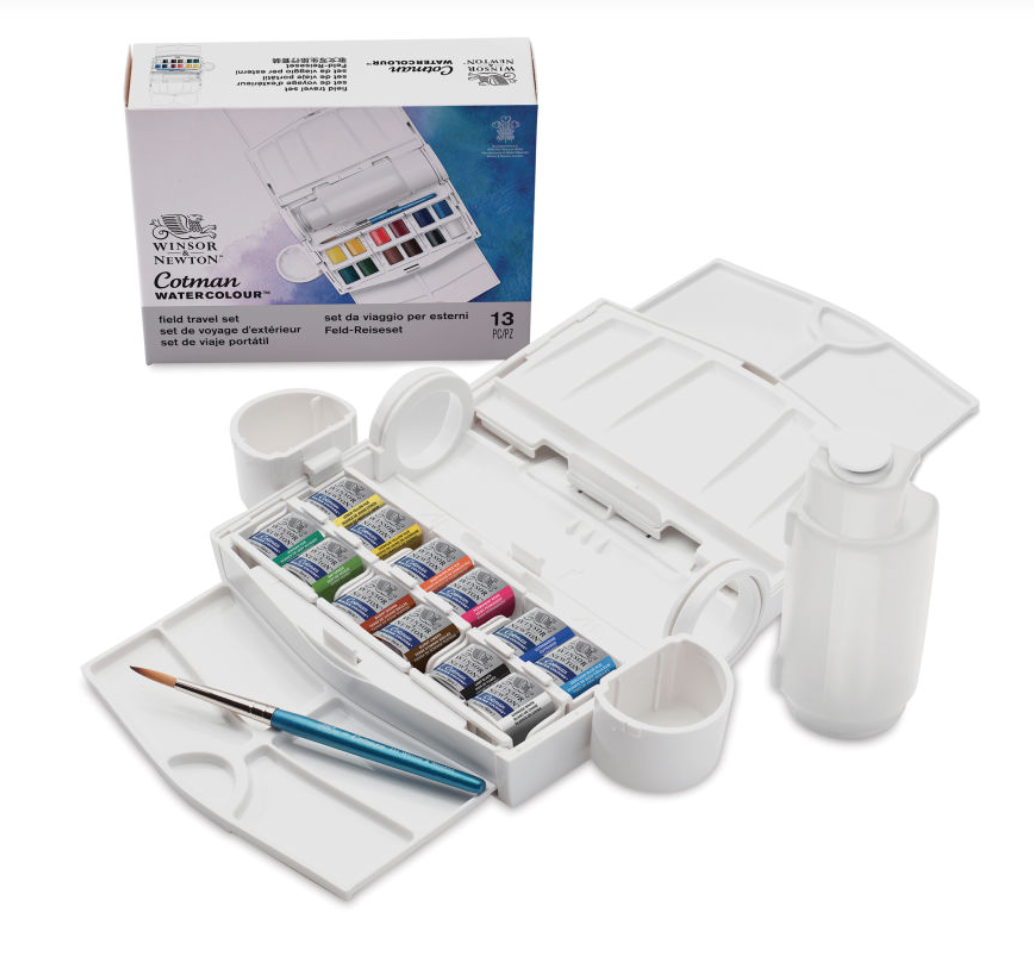
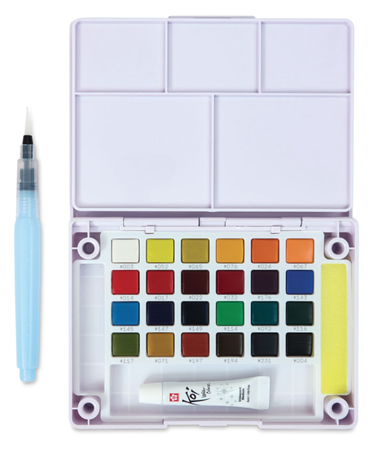
Awesome Watercolor Paint Sets for Beginners
|

|
|
|
|
|
Watercolor Paintbrushes
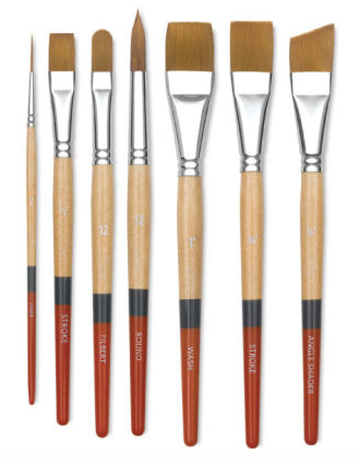
Princeton SNAP! Golden Synthetic Brushes $3.09 - $10.01
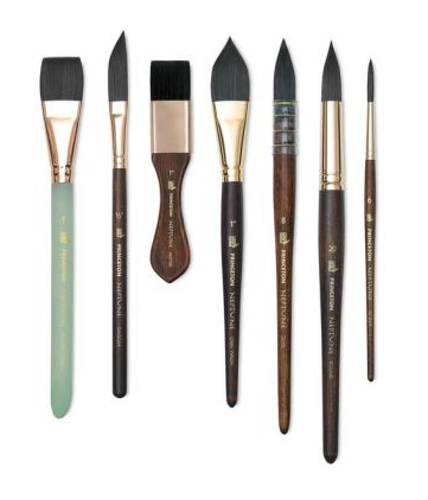
Princeton Neptune Series 4750 Synthetic Squirrel Brushes $4.18 - $51.15
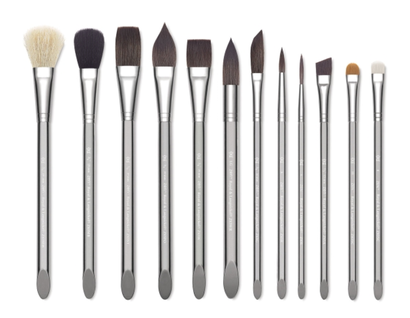
Royal Langnickel Zen Watercolor Brushes $2.99 - $5.99
I hope you enjoyed this post and learned something new, or got inspired to go and create a sketch for yourself. I wish you tons of progress and enjoyment in your artistic journey! :)
Hey there, fellow artists and art-lovers!
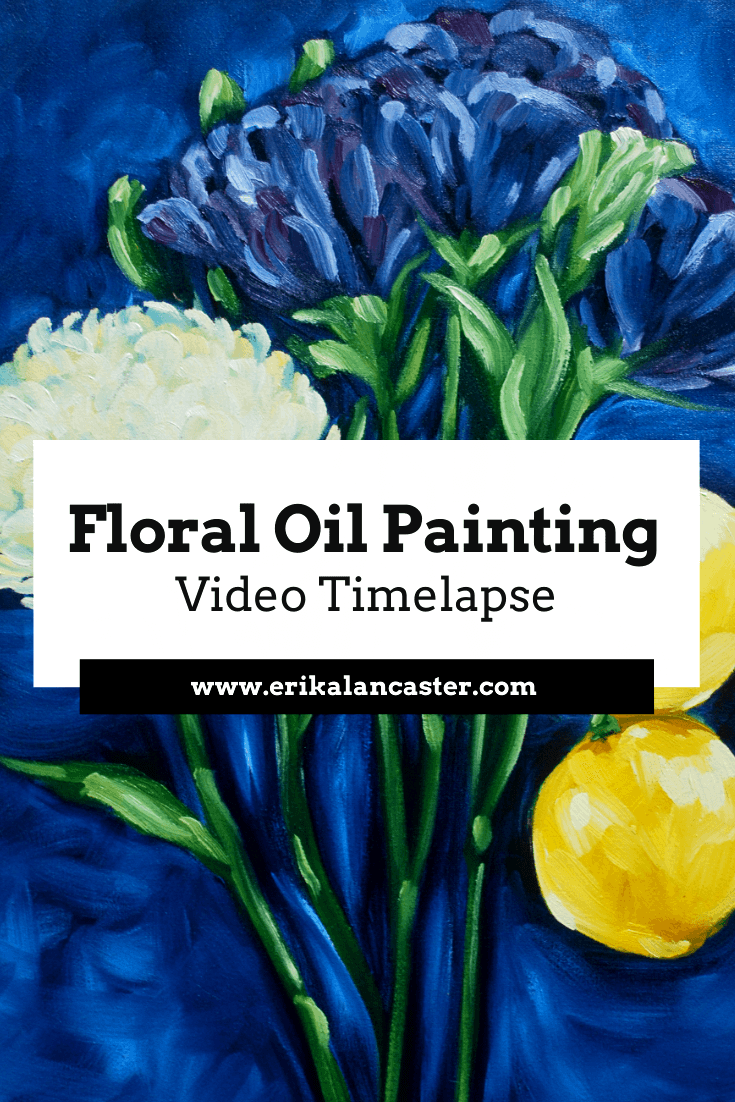
Today I'll be sharing the process behind my latest floral oil painting. The video included in this post contains a timelapse that I've recently uploaded onto my YouTube channel as a collaboration I did with Dena Tollefson, who also has a channel on this platform.
For a more in-depth explanation and tips on oil painting, visit my blog post Don't Be Afraid of Oil Paint + How I Paint a Still Life Using Oils.
If you enjoyed this video and found it helpful, make sure to subscribe to my YouTube channel. I share a brand new video every week with art tips, drawing and painting tutorials and mindset/productivity tips for artists. *Subscribe HERE*
Check out Dena's version of this challenge over at her YouTube channel.
For a list of my favorite art supplies and books, go here.
Check out Dena's version of this challenge over at her YouTube channel.
For a list of my favorite art supplies and books, go here.
Thanks so much for visiting today, and talk to you soon!

*This post contains affiliate links. I receive small commissions for purchases made through these links at no extra cost to you. These commissions help me keep this site up and running, in order for me to keep providing helpful and inspiring art content. :)
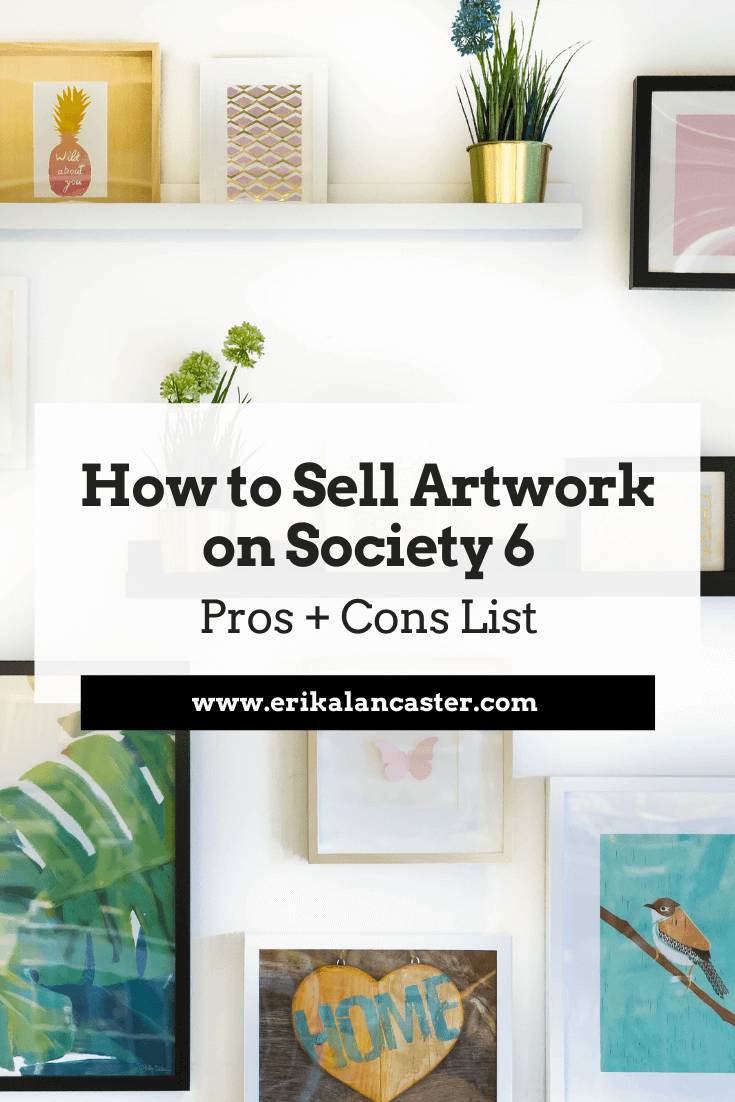
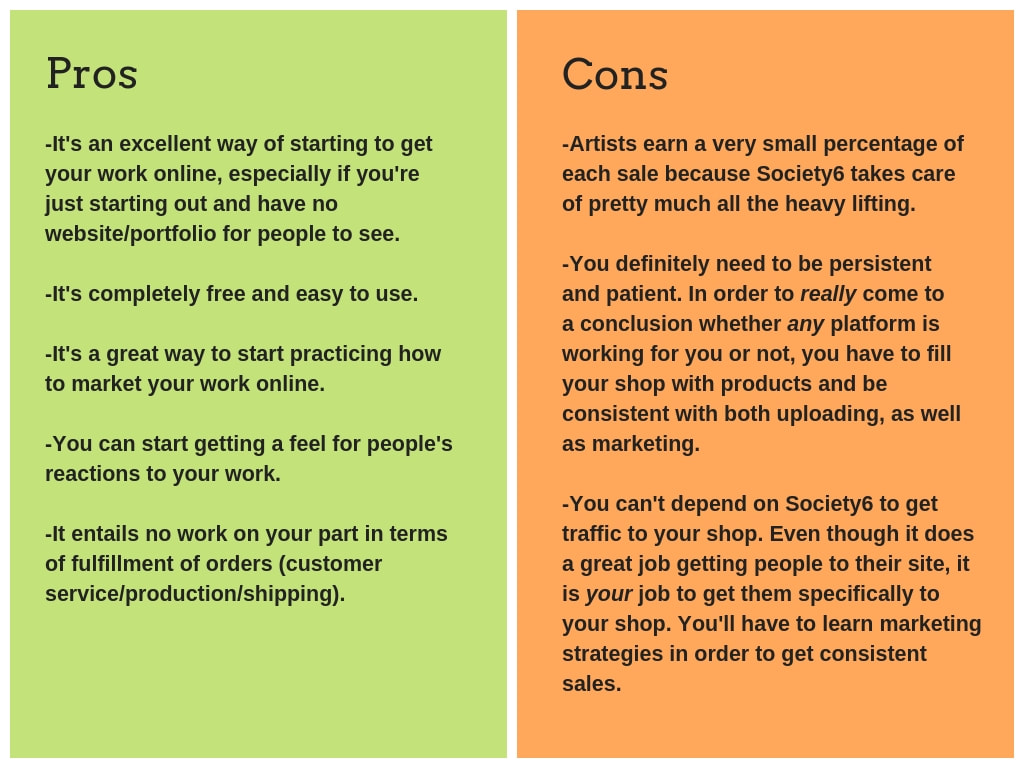
Are you eager to start selling your artwork online but perhaps feel overwhelmed with all the options out there? Wondering if print-on-demand platforms like Society6 and Redbubble are right for you? Do the technical aspects involved in creating on online shop and uploading your artwork effectively keep you from moving forward?
In today's blog post I'll be sharing my entire process for creating products to sell on Society6, as well as essential information you should definitely know if you're thinking of opening a shop of your own on this platform.
I'll also be providing a list of pros and cons about Society6 to help you make an informed decision on whether opening this type of shop is right or you.
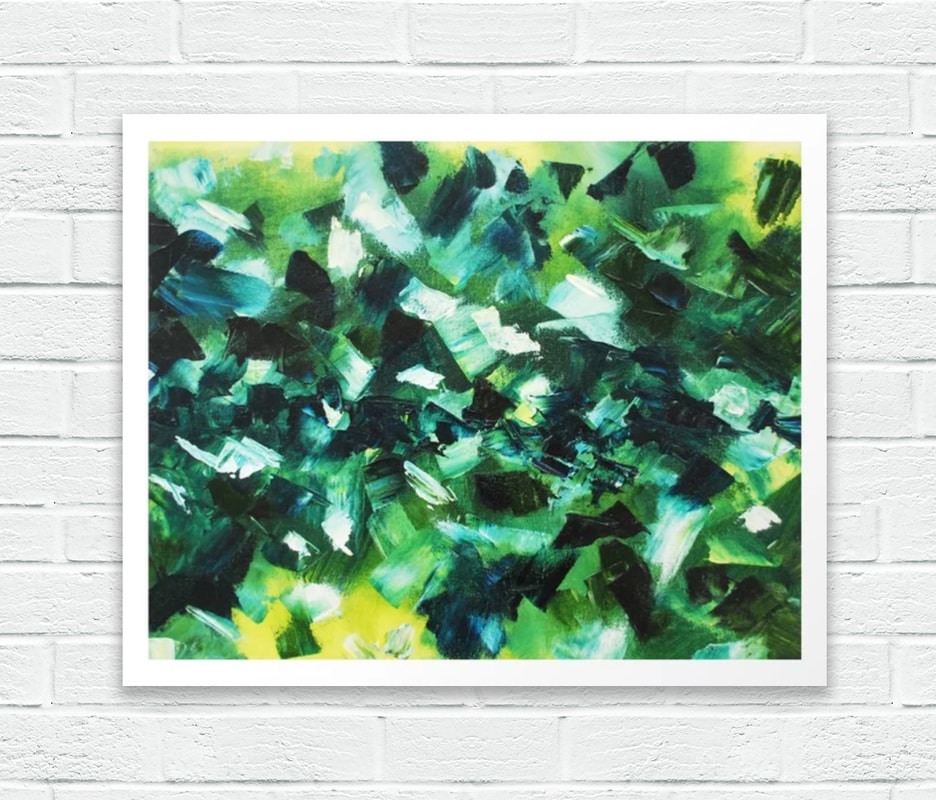
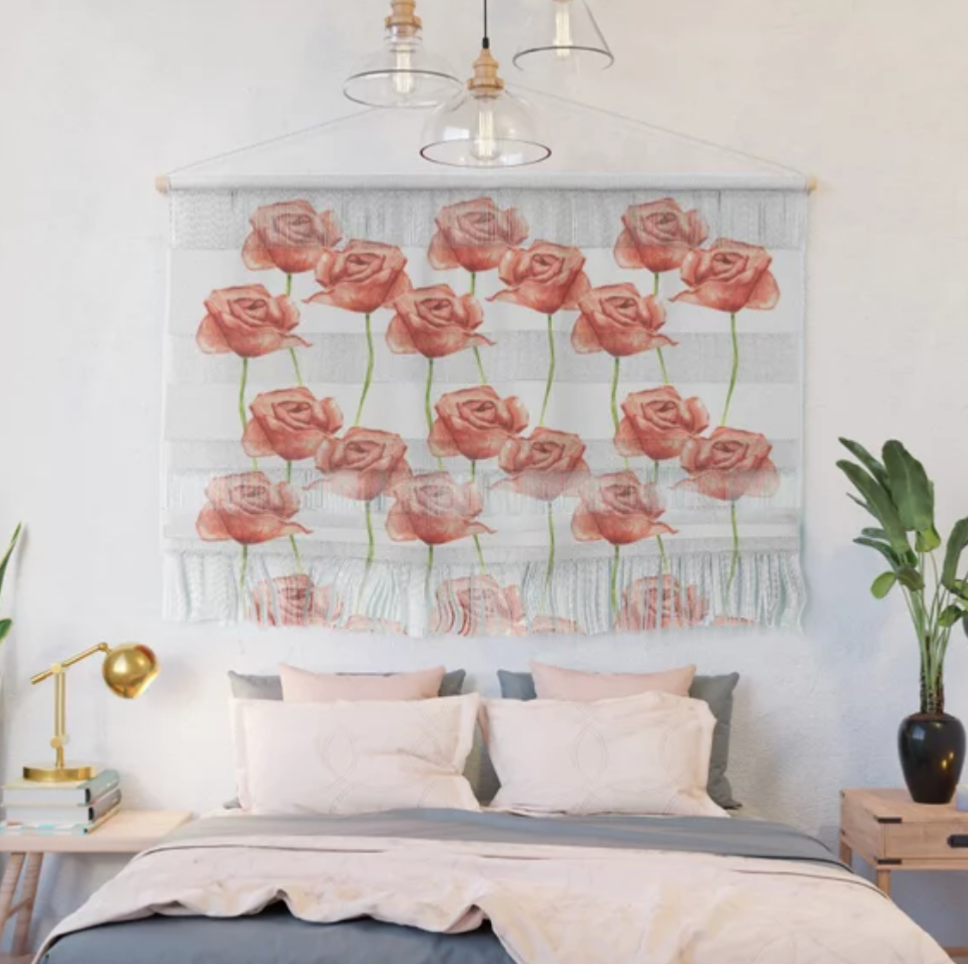
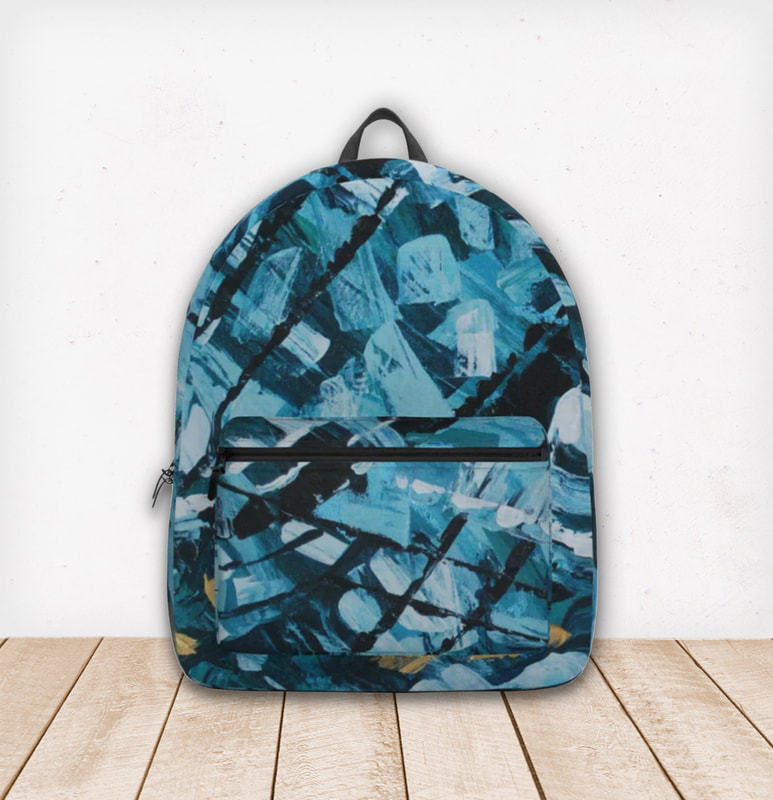
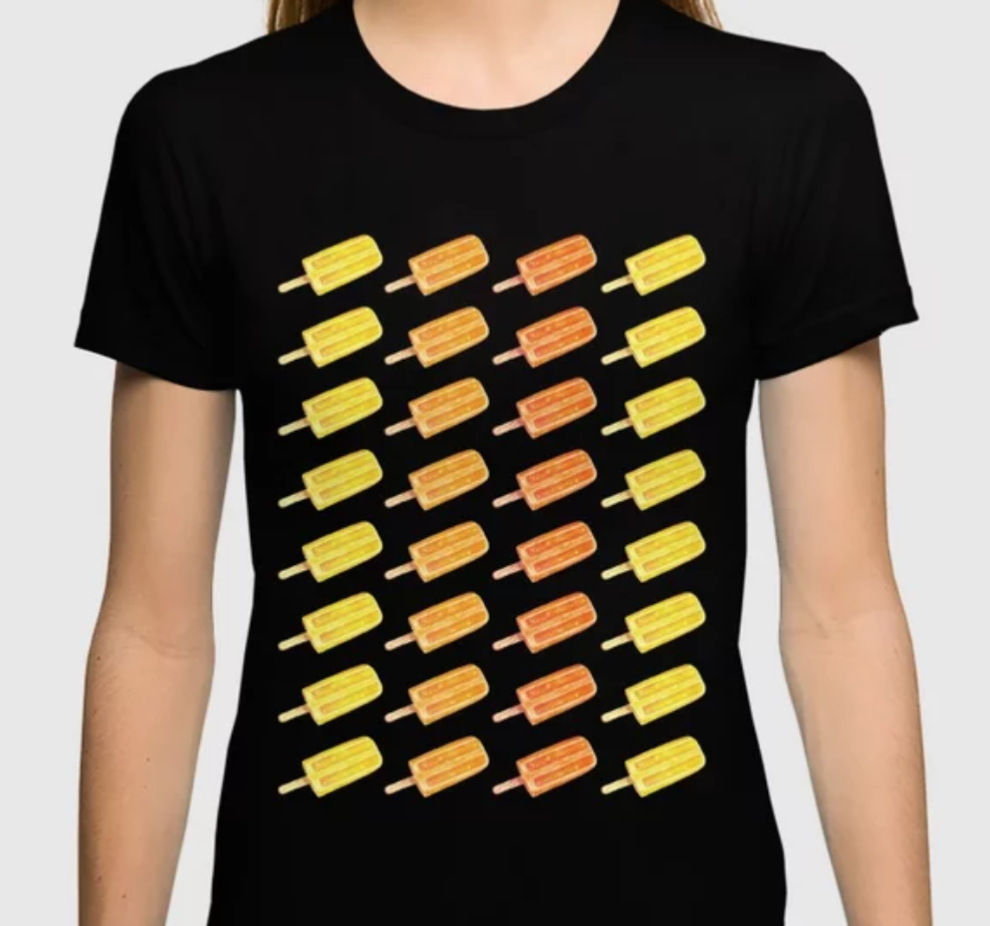
Society6 is an online marketplace that allows artists and designers to easily create their own shops and sell their work not only on prints, posters, canvases, and other kinds of wall art, but on a large variety of accessories like phone cases, tote bags, apparel and even furniture!
One of the reasons why I decided on Society6 over other platforms is because, in my research phase, I heard great things about the quality of their products from other artists.
About a year and a half ago, when I first started learning about different options for selling my work online, I was taken aback by the amount of platforms available and the differences between each.
Some of them require artists to go through application processes, others ask for fee payments for each artwork uploaded, others keep a huge percentage of the artist's earnings, etc.
Of course, there are marketplaces like Etsy through which the artist assumes all responsibility for customer service, packaging and shipping orders, which you can go for right-off-the bat if you want more control and direct contact with your customers.
I decided to create shops on both Society6 and Redbubble, as they are fast to open, easy to use and require no monetary investment. However, since before starting with my online art business journey, I knew that my end goal was to eventually sell my original artwork through Etsy.
The way I saw it, these smaller shops would be a great way to start developing a habit for creating new pieces and uploading them on a semi-regular basis.
They would also enable me to test out what people liked most and to start marketing my different products through social media.
I saw these shops as a stepping stone, as I knew I still had a ton to learn about before opening my shop on Etsy. Also, I'm all for creating a variety of income streams and plan to keep these smaller shops running even after my Etsy shop has gained some traction.
Setting up multiple income streams is a total must for artists of all kinds, in my opinion.


There are three things that you should do before deciding whether a platform/marketplace is right for you or not:
a) Research, research, research (but don't get stuck there)
This entails visiting the site yourself and reading the information the company provides. You must know what their terms are, the support they provide, how/when you're getting paid, the quality level of their products, etc. I also recommend listening to reviews from at least three different artists or designers that have been on the platform for a decent amount of time.
Also, think about whether the company's overall vibe (the mood and attitudes they transmit through their site, social media channels, advertisements, etc.) meshes with yours.
b) Give thought to what goals you have for your artwork
There are so many paths that an artist could go down.
Is your dream to sell paintings for large amounts of money and getting into galleries? Are you primarily a commercial illustrator working with clients? Would you like to venture into surface pattern designing? Would you like to have your own larger shop on Etsy (or on your own website) through which you'll take care of all production and shipping to your customers in the future?
You have to know what it is you want to do before investing too much time and energy into something that may or may not be right for you.
What does your gut tell you?
Listen to your intuition and what feels right for you. Then take serious action and stay consistent. As you continue learning, don't be afraid to veer off the path you initially chose if you discover its not right for you. This is normal!
Check out my free masterclass on Goal-Setting and Time Management for Artists here.
c) Actually do it and give it a decent amount of time
Once you've come to a decision (be careful not to spend such a long time in the research phase that you never actually get to anything), it's essential to put in consistent effort and be patient. You might be doing everything right and still see nothing happening for months.
Remember it takes time to see results on any platform and it's essential to stay consistent for a while before arriving at any conclusions. Always continue learning what aspects you can improve about your shop and how you can get your work out there effectively.
If you enjoyed this video and found it helpful, make sure to subscribe to my YouTube channel. I share a brand new video every week with art tips, drawing and painting tutorials and mindset/productivity tips for artists. *Subscribe HERE*
How to Scan, Edit and Upload Artwork Onto Society6
1. Creating Your Artwork
You can upload any kind of artwork onto Society6 and choose any (or all) of the items available to place it on if you so desire. However, it's important to take into account that not all kinds of artwork will look good on all types of products.
And, of course, the less amount of items you make available, the less options you will offer to your visitors, which translates into less sales.
With my limited amount of time, I decided to create patterns using the watercolor illustrations I was already creating for the calendars I send out to my art email insiders every month! With one same pattern, I would be covering most of the items offered by Society6 at once and they would look awesome.
I know creating patterns might not fit your own artwork but, if you wish to create patterns with your illustrations as I do, I highly recommend creating your artwork with little to no background so that it's easy to "clip out" in Photoshop (or the photo editing software of your choosing).
As you upload your first drawings or paintings and start placing them on products, you'll find what types of items suit your work best. As much as it's great to have more products to offer, don't feel obligated to create products that don't make your artwork shine.
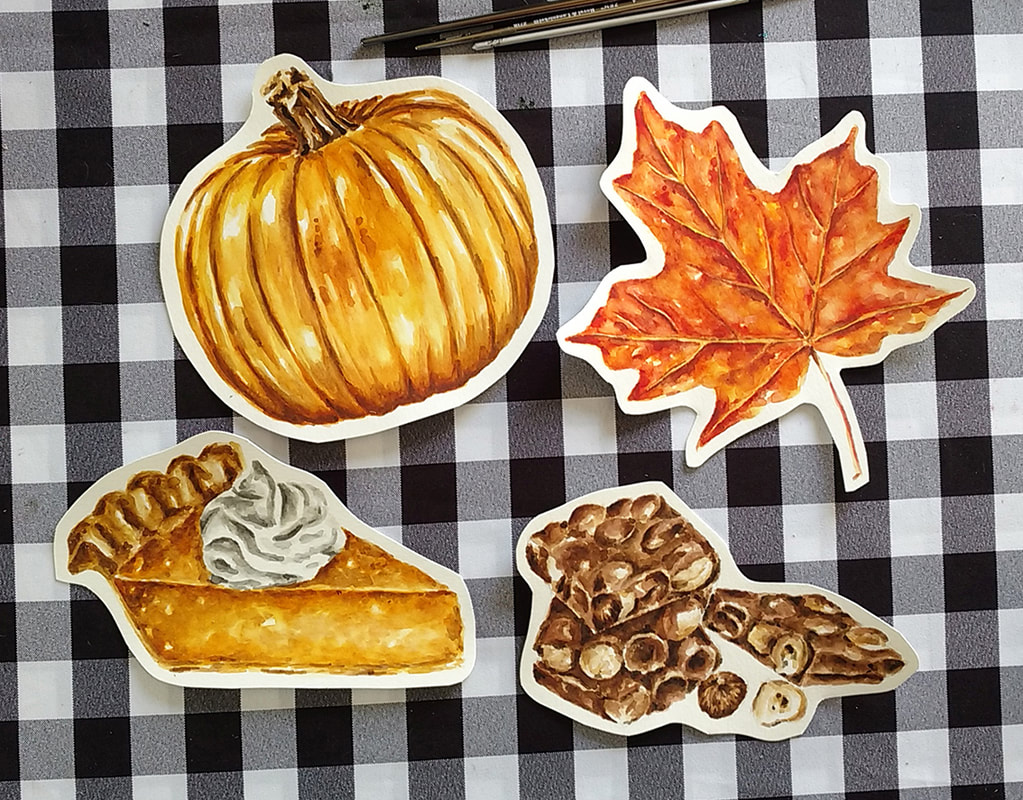
Watercolor food and botanical illustrations by Erika Lancaster. Winsor and Newton watercolors on Canson 140 lb. watercolor paper.
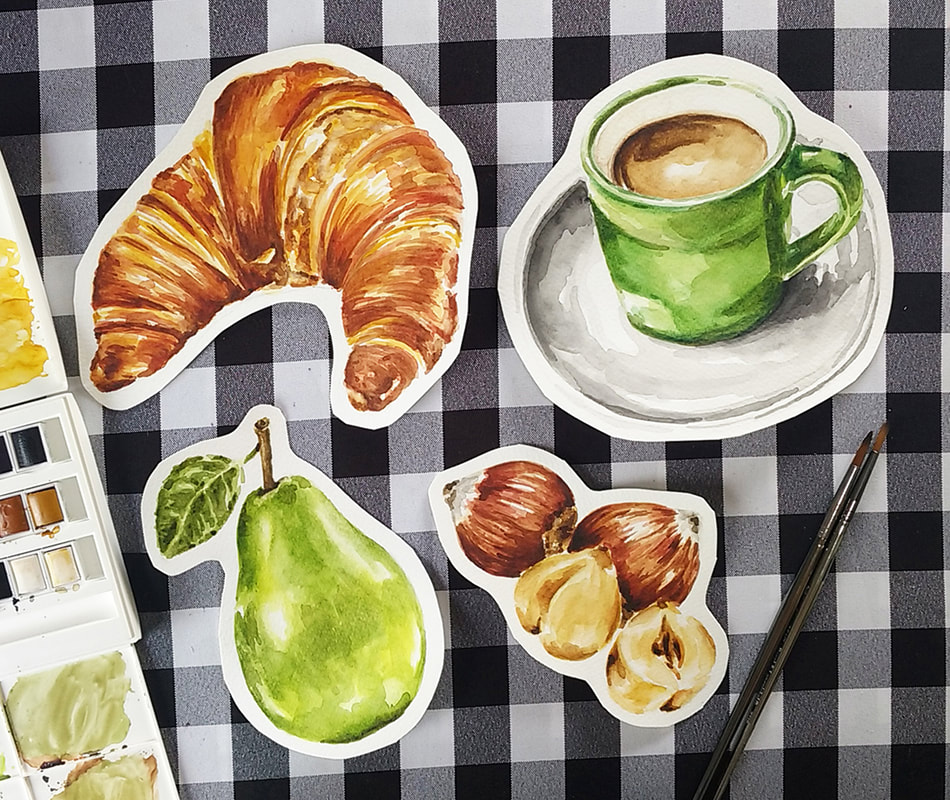
Watercolor food and botanical illustrations by Erika Lancaster. Winsor and Newton watercolors on Canson 140 lb. watercolor paper.

2. Scanning Your Artwork
In terms of the scanning process, there are a couple of things that you should have in mind. Firstly, the products you're intending to place your design on will be printed, which means that the resolution and quality of your scanned artwork matters a lot. Thus, you should make sure your scanner's settings are at at least 300 dpi (dots per inch).
There are artists that scan their work at higher resolutions, but this is the minimum. If you decide to scan at an even higher resolution, your scanning process will most likely take longer and your files are going to take up much more space on your computer.
Below are a couple of scanners that have been recommended by other artists who've bought these specifically with the intention of scanning their work and creating their own prints. After having read so many great reviews, I'm definitely going to be investing in one of these in the near future as I expand my business.
Great scanners for artists:
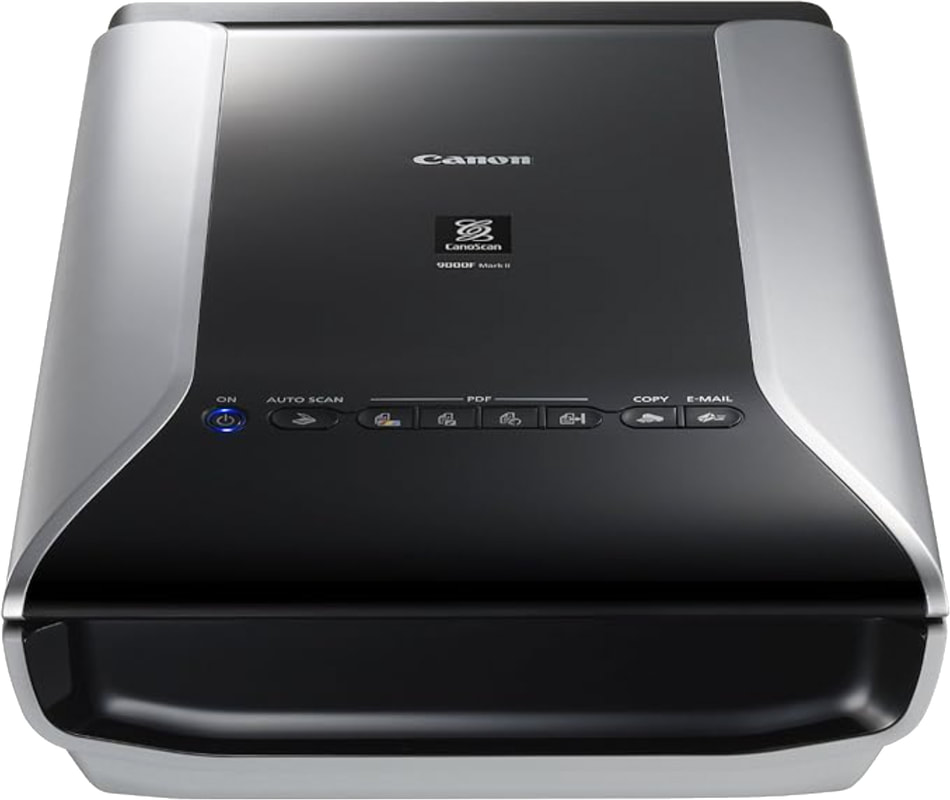
Canon CanoScan CS9000F Mark II, 6218B009
|
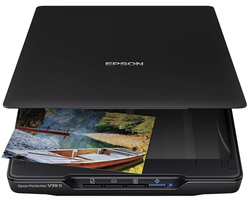
Epson Perfection V39 II Color Photo and Document Flatbed Scanner with 4800 dpi
|
3. Editing Your Artwork & Creating Your Designs

Epson DS-50000 Large-Format Document Scanner: 11.7” x 17” Flatbed
|
|
Once I have a high quality scan of my illustration on my computer, it's time to open Photoshop and move onto the cleaning/editing process, as well as creating any sort of pattern I'd like with it. If you don't currently have Photoshop, and don't want to pay for the software, don't worry!
You can download Gimp for free, which is a very popular photo-editing software you can get online for both Mac and PC. This popular alternative is even used by professional illustrators and contains pretty much all the tools that could come in handy for you as an artist.
In Photoshop, I mainly remove the background from my illustration, do any cleaning necessary (to remove hairs, etc.) and perhaps increase the contrast a tiny bit at times. To "clip" the illustration from the background I like using the Pen Tool, which provides me much more control than the Magic Wand selector.
You want to be careful when cutting your illustrations out, because any white spots you leave outside of your illustrations will get printed on the products! I always make sure to re-check my work when I'm done.
Every now and then, I also use Photoshop to manipulate colors so that I'm able to create colorful patterns using only one "base" illustration.
Once I've successfully separated my illustration from its background, it's time to create an appealing pattern with it! I visit Society6's Pixel Dimension Requirement page to make sure I'm creating my file in the right size before working on my pattern.
In this page, Society6 lists out the document sizes (in pixels) needed for each of their products. But don't worry, you don't need to create a separate file for each!
What I do is create a new document in Photoshop with their minimum recommended size of 6500 x 6500 pixels and create my pattern there. This size is covers most of the products on the list and the platform will automatically place it on all the products that require this size or smaller, which saves a lot of time.
There are currently only 2-3 products that require a larger size than this and you can create separate files for those if you wish. There are also a couple of products like stickers and t-shirts which you'll probably find need a separate design or layout.
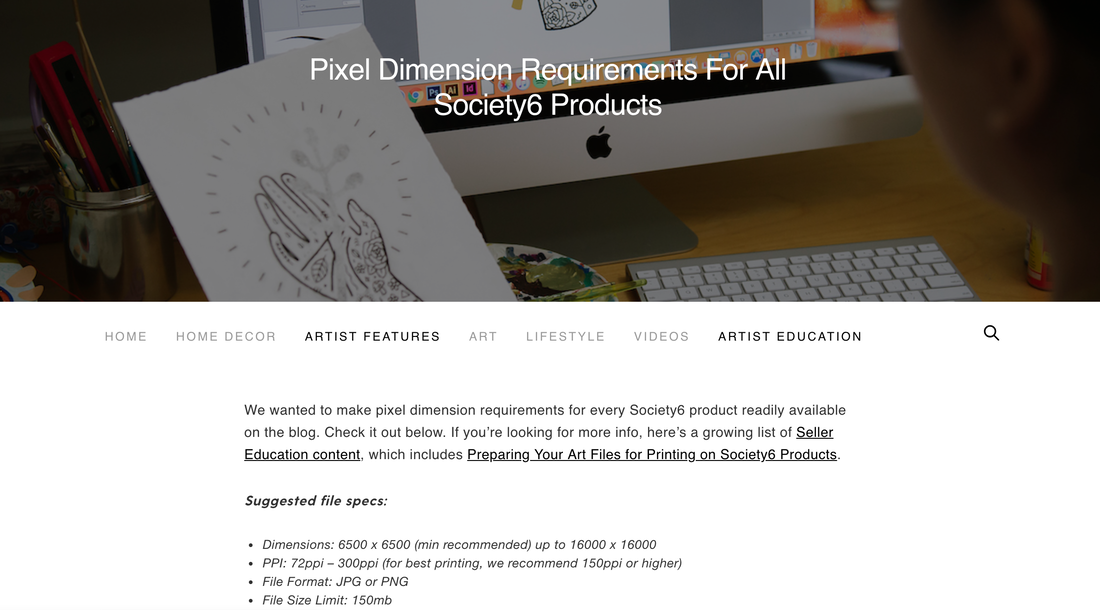
Pixel Dimension Requirements for Society6 Products. Click on image to visit site.
Once I'm happy with my pattern, I deactivate the background layer in Photoshop and save the document as a .png, which allows the background to remain transparent. This is the file you'll upload onto Society6.
Because I know I'm most likely going to have to come back to Photoshop to create separate .pngs for stickers and t-shirts, I leave it open.
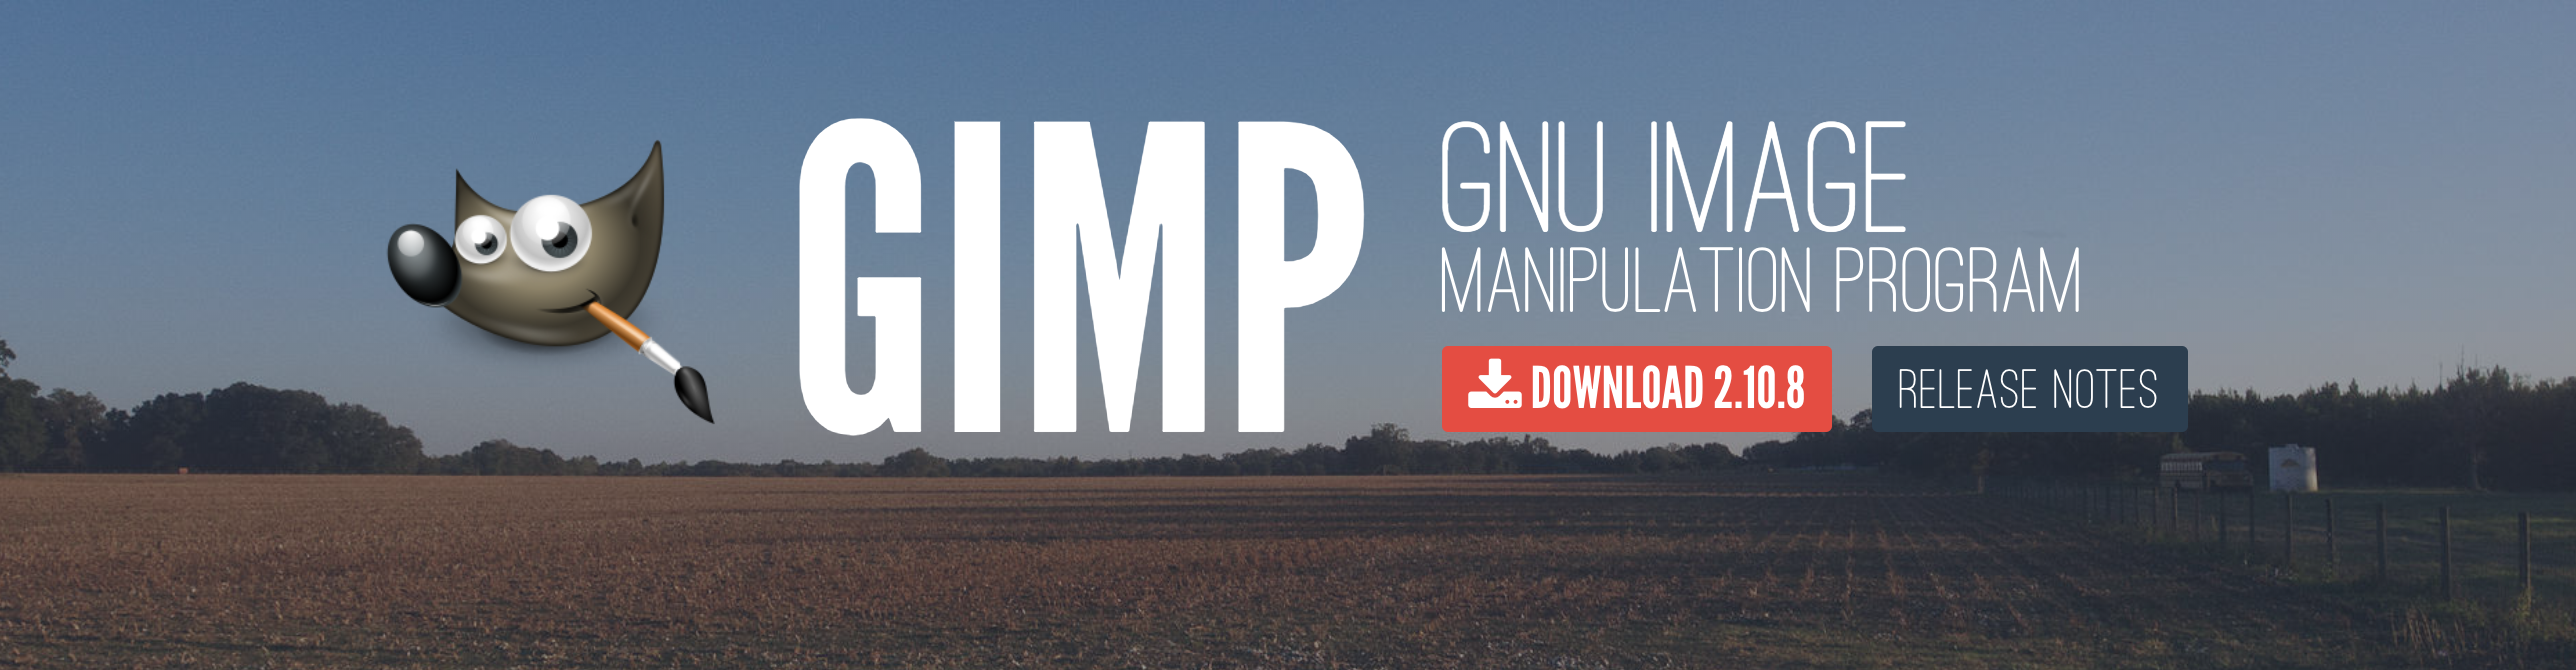
Click to visit Gimp's website and download the software.
3. Uploading onto Society6
Opening your shop on Society6 is very fast and easy. All you need is a PayPal account. I recommend giving thought to your Username/URL because you won't be able to change it later and filling out your Artist Bio as soon as your able. Upload a banner and an avatar image to make your shop your own.
Once that's done, all you have to do is click on the button at the top that says "Sell" and you're going to be taken through a very straightforward 3-step process. The platform take a minute to process your artwork when you upload, as it's placing it on all available products that it fits on.
Next, you'll have to fill in a title for your work, as well as tags and a description. A tip here is to put yourself in the buyer's shoes. Instead of typing in a subjective title for your artwork, think about what words visitors actually type into Society6's search bar when looking for products. Be descriptive, create a five word title, use up all the available tags, and create a good little paragraph.
Finally, the fun part! You'll be taken to the last section, in which you'll see your design on all sorts of awesome items. You get to decide which to deactivate if you wish. I highly recommend taking time to look over every single product to ensure that your design is at an optimum size in each.
All you have to do is click on each item and shift your design's size/location.
As you scroll down the Create Products page, you will see what products require a separate .png file. I usually need to create a separate file for stickers, as a sticker page has to have fewer elements and they have to have a good distance between them (stickers have a white outline around them that shouldn't overlap).
also create separate patterns for t-shirts that are usually more vertical and contain less elements than my initial pattern.
Create whatever .png files you need and upload them separately onto individual products by clicking on those items.
Finally, hit Publish and, in around 15 minutes, your products will be up on your shop!
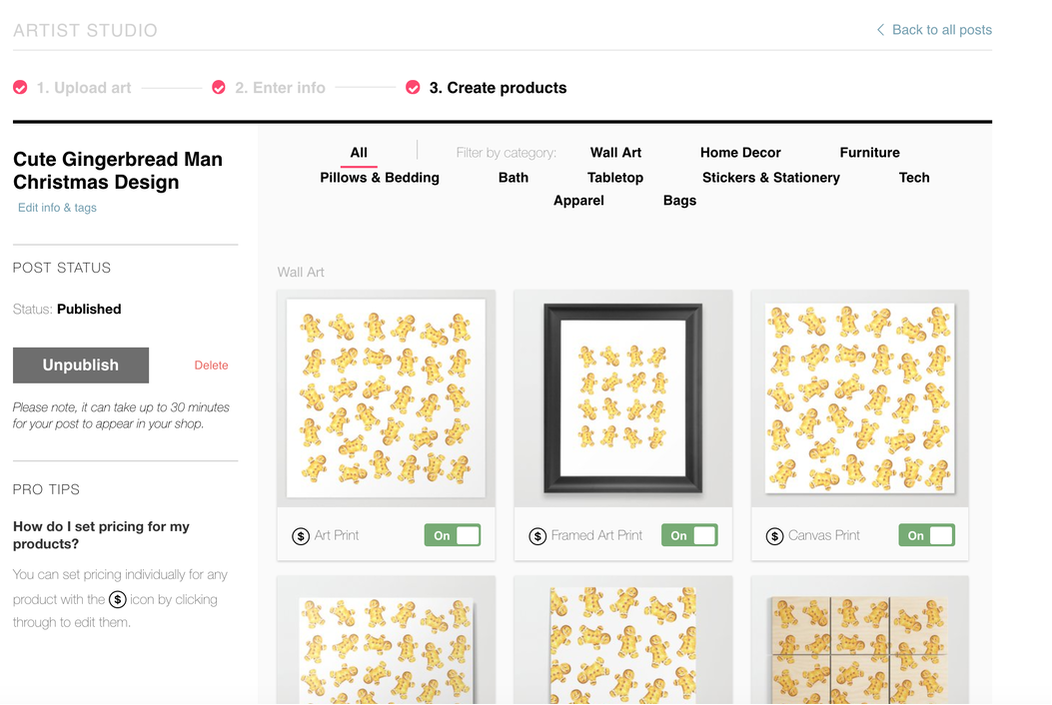
Back-end of Society6 store. Placing artwork on products.
*Next step! Market your artwork!
No matter how amazing your artwork is, if nobody knows about it, you're going to have a hard time making sales. Don't be afraid of putting your work out there!
While Society6 does a great job attracting shoppers to their site, their marketplace is saturated with incredible artists that have been on the platform a very long time and have formed a history/reputation for themselves. All of us need to go through that and have to accept and learn to enjoy the phase we're in.
If you're serious about selling your work online, I suggest optimizing your social media accounts so that you give your audience a clear idea of what you do and offer. Pick one or two and keep them professional.
Refrain from sharing personal things and stick to uploading pictures of your creative process, your favorite tools, what you find inspiring, links to useful articles that your target audience would find helpful, and share your new products!
Visit Society6's blog to find great tips for getting your work out there.
Pros and Cons of Society6 (and other similar online shops)
I hope you enjoyed this post and learned something new, or got inspired to go and create something for yourself.
I wish you tons of progress in your art journey and tons of luck with your sales!


www.erikalancaster.com
is a participant in the Amazon Services LLC Associates Program, an affiliate advertising program designed to provide a means for sites
to earn advertising fees by advertising and linking to amazon.com.
www.erikalancaster.com
is a participant in the Shareasale.com Affiliate Program, an affiliate advertising program designed to provide a means for sites to earn advertising fees by advertising and linking to Shareasale.com partner companies.
 RSS Feed
