Tired of having to depend on tracing and/or using grids when drawing or preparing for a painting? Do you want to be able to confidently sketch while out and about, in a coffee shop, at a park, while on vacation, etc.? Confused as to how artists are able to recreate shapes and proportions effectively when drawing freehand?
Most of my students and community members know that, even though I enjoy using references when drawing or painting (I use both photos as well as draw/paint from direct observation), I'm not a very big believer in tracing and using grids. Why? Because, after we've gotten to a certain level with our drawing, sticking to those methods for long periods of time and never challenging oneself with freehand drawing or sketching, tends to hinder our progress in a variety of ways. For one, tracing and using grids doesn't do much for our development when it comes to our visual measuring skills or our ability to lay down lines confidently. Not to mention, these methods primarily teach budding artists to create carbon copies of the reference. This may very well be what certain types of artists are seeking, but for artists like myself who are looking to bring expression, personality and even certain amounts of imperfection into our representational pieces, progress would just come much more slowly. Finally, because these methods focus primarily on copying, there's no reason for artists to further their knowledge of the subject on hand when it comes to proportion, 3D form and even perspective, which are all very important Art Fundamentals to wrap our heads around. If we don't understand important Art Fundamentals such as perspective and 3D form (and others such as anatomy if we're drawing human figures or portraits), there's just no way that we're going to be able to draw freehand with confidence and ease. For me, if my drawing practice is not somehow preparing me to draw from direct observation (otherwise known as drawing from life), it's holding me back. This is just me, though. And I'm aware we all have different goals, styles and ways of working as artists. But it's also important to be honest with ourselves regarding the types of practice that will help us get to our goals. Even though I like using references in order to have something to jump off from, I'm not going for 100% replicating or creating a carbon copy of what I'm looking at. I'm always taking away elements, bringing in elements, manipulating color, looking for ways to bring myself into my work and thinking of ways to improve the overall composition. And yes, I do believe that using tracing is a great option for beginners just getting started on their drawing/sketching journeys. It could also very well be a great jumping off point, even when the artist has already developed his/her drawing skills and is getting into a new type of subject. For example, when I was getting started with figure drawing, tracing over full-body poses helped me understand shapes throughout the body and develop that mind-muscle memory to a certain extent before drawing freehand. I also believe that there is a time and place for tracing and using grids, even when the artist is already highly skilled. Namely, when he/she is short on time, the composition is very complex or large, he/she is teaching classes, working on studies that focus primarily on the painting process, etc. You'll be able to find a list of my favorite drawing supplies here. 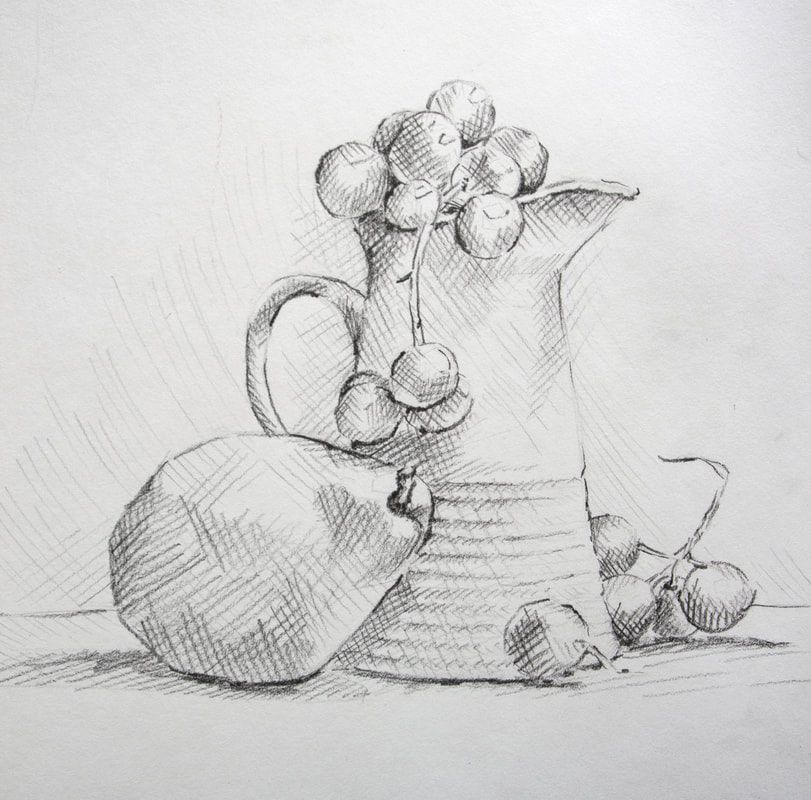
Still life arrangement in graphite by Erika Lancaster.
It's one thing to trace and use grids when one already knows how to draw and quite another to continue tracing and using grids forever, and ignoring the importance of learning to draw because you want to skip straight to the painting process or whatever it may be. If you're creating art for the fun of it, then it's perfectly ok. But if you're really looking to improve your art skills at a deeper level, it'll hinder you. I've said this once and I'll continue saying it: Drawing is the basis for all kinds of art. Even though I sell my paintings and consider myself to be primarily a painter, I'll always continue practicing my drawing/sketching alongside my painting, because I know how much this practice enhances and simplifies my process with everything else. And, if you're asking yourself if knowing how to draw is necessary if you're looking to develop a highly abstract style, I would say yes. The only scenario in which I'd consider learning how to draw as not necessary, would be if an artist is looking to do pouring type paintings or Jackson Pollock-type paintings, in which the paint in itself organically creates shapes and the composition is more erratic/less planned. But, if you're looking to ever leave that, it's essential to know how to draw and learn about Art Fundamentals. If you know these two at least on a basic level, not only will moving on to painting be much easier, but you'll be able to create higher quality work much faster. This is why,over on the Becoming Artists membership site, I share both watercolor and drawing/sketching tutorials, as well as full classes and assignments on Art Fundamentals. In the following video, I share my preliminary sketching (outline sketching) process for recreating effective shapes and proportions freehand. This is what I do every time I'm working on a new drawing, as well as before getting started with a new watercolor piece. I also provide lots of tips along the way that'll help beginners move forward faster with their freehand drawing. After finishing with the preliminary sketching process using regular graphite pencils, I use alternative shading/mark-making techniques (hatching and crosshatching in this case) to develop a wide range of values and create interest/depth.
If you enjoyed this video and found it helpful, make sure to subscribe to my YouTube channel. I share a brand new video every week with art tips, drawing and painting tutorials and mindset/productivity tips for artists. *Subscribe HERE*
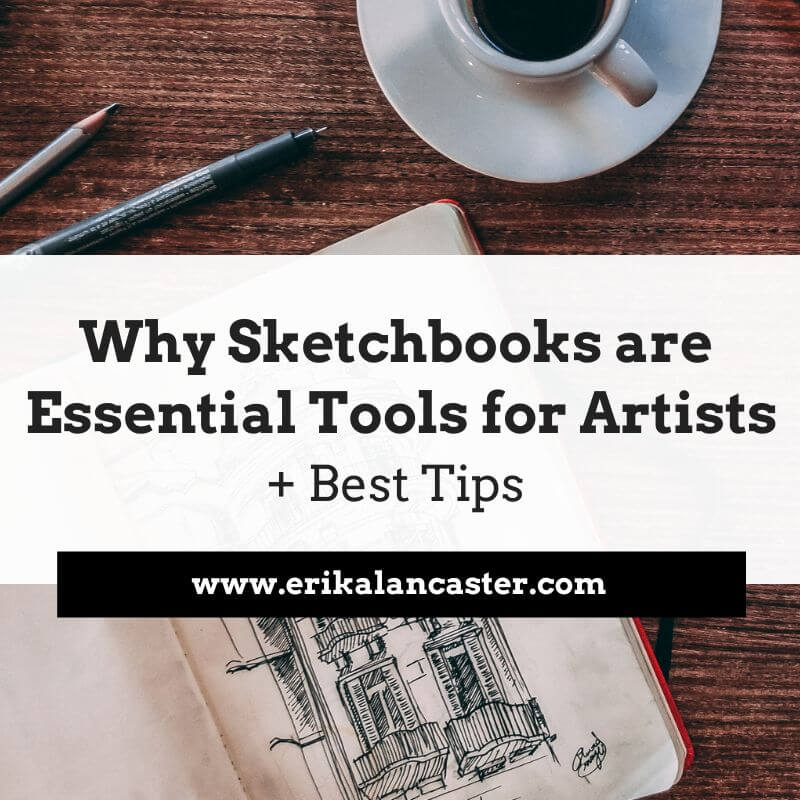
Freehand Sketching Tips for Beginners
|

Wow, I am really interested in freehand drawing. Thanks a lot for sharing that guide!
Thanks for reading, Adele!
Glad it was helpful. :)
Wish you tons of enjoyment and progress with your art.
So impressive your paintings are. I loved the creativity you have.
Hey, Adam!
Thanks so much for checking out this post, and for your kindness.
I appreciate it!
Hope to see you around. :)
I'm an o!der guy whose lifetime dream has been to have the ability to Draw/Sketch I can draft a home in a flash.But knowing that's all straight lines and flat planes ,I so want to bring things to life on paper but it seems I'm struggling any tips from the pro's?
Hello, William!
I'm so glad to hear that you're working on your drawing!
I have this other article with many tips on this that I think will be helpful for you: https://www.erikalancaster.com/art-blog/6-essential-tips-for-realistic-drawing
Thanks so much for reading and have a great day!
The key to mastering freehand drawing is to practice frequently and give yourself time for progress. You may improve your freehand sketching skills by practicing gesture drawing. To produce high-quality work, artists do not need tools, equipment, or tracings.
Hello what are some pens used by super great artists?
Btw I’m turning 14 this year
Hi, Luke!
I'd recommend looking, specifically, for artists using pens over on YouTube. You'll likely find a lot of recommendations on pens they enjoy using.
Personally, I really like Staedtler Pigment Liners, Micron Pens and UniPin Fineliners. I have some of these linked in My Art Tools tab here on my website: https://www.erikalancaster.com/favorite_art_supplies.html
Enjoy your art practice!
Great article! I found these freehand drawing tips incredibly helpful, especially as a beginner. The step-by-step guidance and practical advice make it easy to understand and apply. Thanks for sharing your expertise, Erika! - Tristian
Hello,
I'm glad to hear the article was helpful.
Thanks so much for reading and for taking time to leave comments. :)
Wish you tons of progress and enjoyment moving forward in your journey.
I especially appreciate your emphasis on practice and patience. Your personal anecdotes and the way you've broken down the process into manageable steps make it all feel so achievable. It's like having a mentor right there with us.
Thank you for generously sharing your knowledge and passion for art. Your article has inspired me to pick up a sketchbook and start doodling. It's the perfect way to unwind and tap into my creativity. Greetings from Germany!
Hey, there!
Thanks so much for reading.
I'm glad to hear this one was helpful and that it inspired you to draw.
Wish you tons of progress moving forward in your art journey.
Leave a Reply.


is a participant in the Amazon Services LLC Associates Program, an affiliate advertising program designed to provide a means for sites
to earn advertising fees by advertising and linking to amazon.com.
www.erikalancaster.com
is a participant in the Shareasale.com Affiliate Program, an affiliate advertising program designed to provide a means for sites to earn advertising fees by advertising and linking to Shareasale.com partner companies.
 RSS Feed
