Erika Lancaster- Artist + Online Art Teacher
  • HOME
  • BLOG + FREEBIES
  • YOUTUBE
  • PATREON
  • COURSES
  • MY ART TOOLS
  • GALLERY
  • Online Art Mentorship

Don't Be Afraid of Oil Paint + How I Paint a Still Life Using Oils (Alla Prima)

8/16/2018

4 Comments

 
Don't Be Afraid of Oil Paint + My Still Life Oil Painting Process
Follow
*This post contains affiliate links. I receive small commissions for purchases made through these links at no extra cost to you. These commissions help me keep this site up and running, in order for me to keep providing helpful and inspiring art content. :)
​


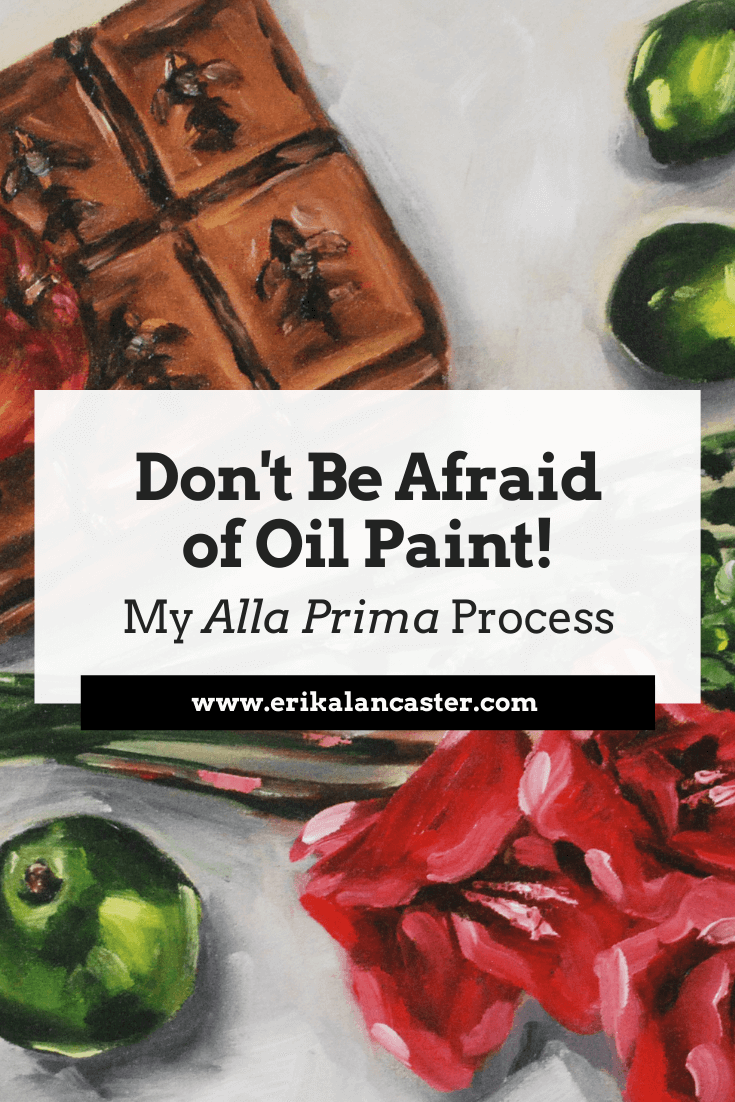
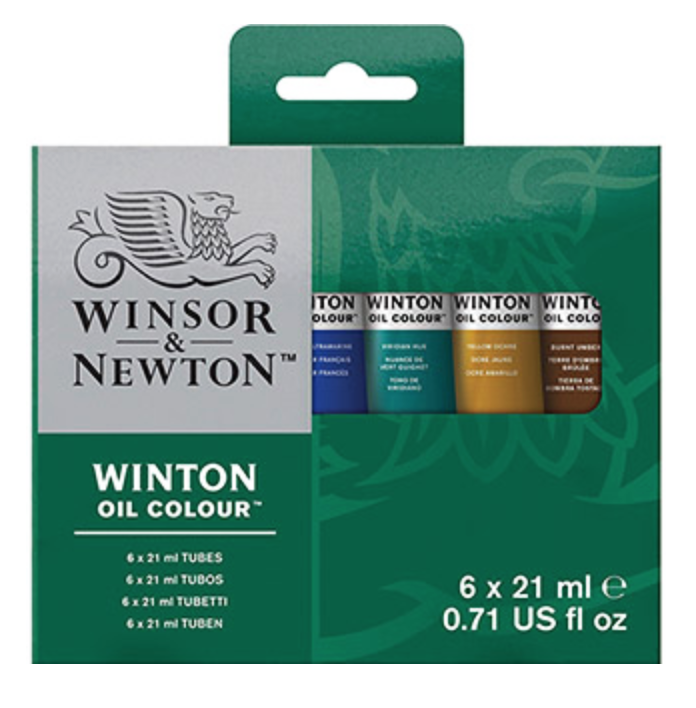
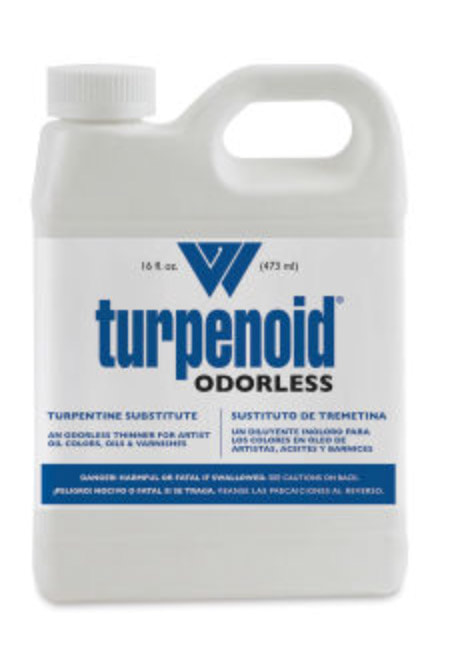
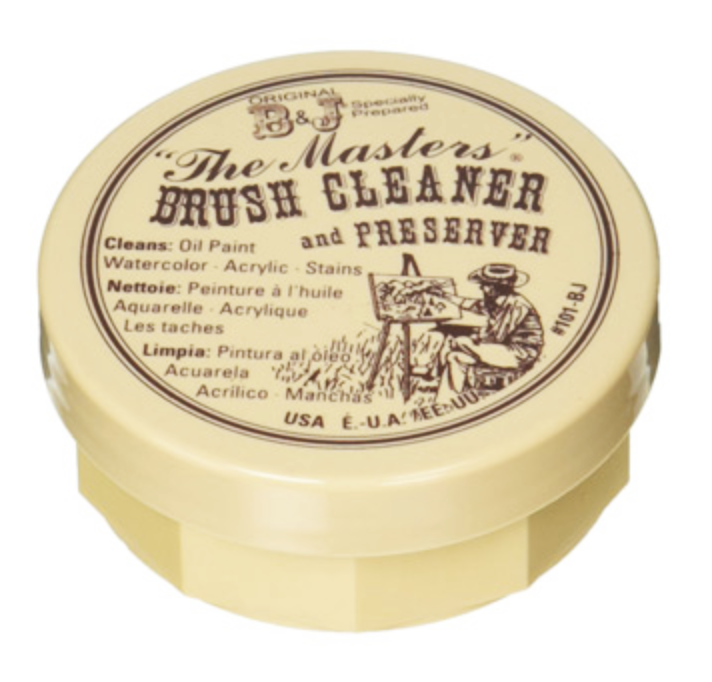
Are you curious about painting with oils but find them a bit intimidating? Do you feel that there are too many "rules" that you'd have to follow and that they would make the painting process anything but enjoyable? Are you tired of running into oil painting tutorials online that are far too technical and confusing to the point that you start tuning out and not want to learn the medium at all?


When I was first starting my oil painting journey, I got very confused and overwhelmed as I tried to learn from instructional articles and videos I found online. There were so many different types of mediums and solvents one could use, so many ways one could go about using them, and so many rules to follow in order to ensure effective drying of paint layers.

Not to mention, professional oil painters have different tips to offer which sometimes even contradict each other. 


In today's post, I'll be sharing my current process for creating still life oil paintings. I'll share the specific things I have in mind when creating my photographic reference, what I do to prepare before starting to paint, and the general steps of my painting process.

Still life is a subject I highly recommend all beginners to delve into when they are first starting to paint with any medium, as it allows us to practice not only compositional arrangement, but specific fundamental art skills like proportion and value placement.

This post also includes a painting time lapse video where you can see me create a complete painting from start to finish using my alla prima method!


What I have come to realize, after having explored oil paint first-hand and tried out a few different mediums and methods (and even ruined a few paintings in the process) is that there is no "right" or "wrong" way to go about creating an oil painting.

It is up to each artist to explore different supplies and methods until he/she arrives at what he/she is most comfortable with. It's a matter of not being afraid, experimenting, and slowly but surely arriving at the specific techniques that will enhance and work in favor of our particular painting style. 

This is not to say that you should completely disregard the most basic rules and safety measures, of course, like making sure you're working on a primed surface, following the "fat over lean" principle in order to ensure your painting will dry effectively, working in a well-ventilated area and avoiding having paint, mediums or solvents on your skin.

​
However, once you've understood these basic aspects of oil painting (and probably ruined a few pieces for yourself) you'll most likely find oils very enjoyable!

​
Flowers and Tray Still Life Oil Painting by Erika Lancaster
Red Cabin and Mountains Landscape Oil Painting by Erika Lancaster
Sunflowers in Vase Still Life Oil Painting by Erika Lancaster
Nature Collage 1 Oil Painting by Erika Lancaster
Sunflowers Oil Painting by Erika Lancaster
Blue Macaw Oil Painting by Erika Lancaster


​I've heard a bunch of reasons that people come up with to turn away from oils and reach for acrylics instead. Some of them are:
​


1. They are too expensive! 
There are both student-grade and artist-grade oils, the same way there are for acrylics and watercolors. Winsor and Newton is a brand that offers great quality products for beginners at accessible prices. *See supplies included in this post.


2. You need way too many supplies when compared to other kinds of paint!
What you need to understand is that the use of oil painting mediums is a choice, not a necessity. There are artists that don't even use mediums at all. Even the use of solvents is a choice, as you can use alternatives to clean with. There are people that even use regular dish soap to clean their brushes!


3. They are toxic and harmful for the environment! 
Oil paint is a mixture of pigment and linseed oil, which isn't toxic. Different color pigments have different toxicities, whether you're using oils, acrylics or even watercolors (unless you're using the super cheap Crayola-types). So you have to take safety measures with any kind of paint you use. 

What makes oil paint potentially more harmful to our health than say, acrylics, are the thinners and, possibly, mediums we use with them. If you're worried about toxicity and harming the environment, simply don't use thinners and mediums, or look for brands like Gamblin that create completely non-toxic products. 


Don't believe me when I say that mediums and solvents are optional? Check out this video from JerrysArtarama in which an experienced artist explains how he avoids using them altogether in this work.


4. They are a hassle to clean!
Are they, really? I find cleaning up acrylic paint even more frustrating, as it dries fast and hard on everything! Oils at least remain wet and they can be removed from most surfaces very easily with any kind of thinner.

I personally find acrylics more of a hassle to clean because, even though it can be said you need only water and soap to clean them, you need to clean them right away or anything hardens almost immediately. With oils, there is no problem if you continue working and take care of the cleaning at the end. 


5. They take too long to dry!
Depending on how you work, you may find this a negative thing or a VERY positive thing. Oils' slow drying properties allow the artist to create awesome effects.

However, if you need your paintings to dry faster, there are a variety of mediums you can add to your paint in order to make your paint layers dry in a day or two. Two of these mediums are Liquin from Winsor and Newton and Galkyd by Gamblin. 
​

6. There are too many technical aspects involved!
​As I mentioned before, don't allow yourself to get confused by tedious explanations from artists that have been doing this for decades and have very specific ways of working.

I highly recommend learning the basic do's and don'ts and tuning out all other specific recommendations that are right according to one artist and wrong according to the next.

​Stick to what matters and tune out the rest. You'll learn along the way.


​

Great Basic Oil Painting Supplies for Beginners


​
Winsor & Newton Oil Color Set
Winsor & Newton Oil Paint Sets
Studio71 Oil Painting Brushes
Winsor & Newton Monarch Brushes
Weber Odorless Turpenoid

​
Studio71 Stretched Canvas
Blick Studio Cotton Canvas Panels
The Masters Brush Cleaner and Preserver
Picture

​

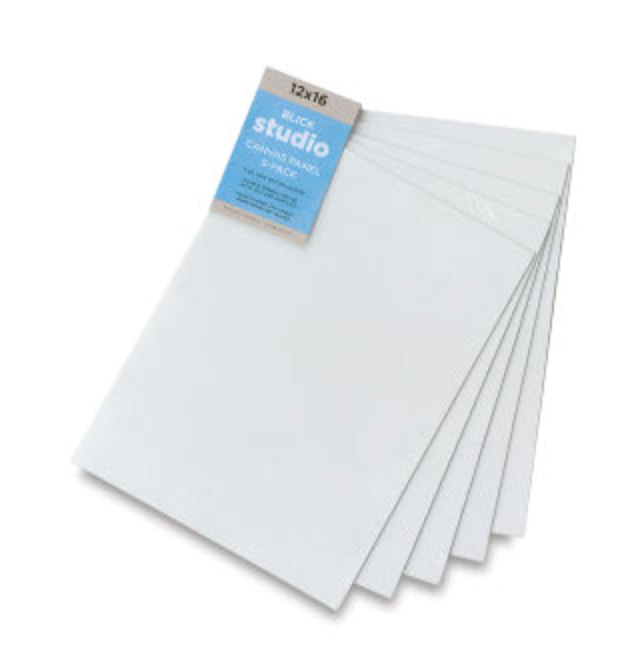
Aside from these supplies, you don't really need to buy much else! You probably already have everything else you'll need at home or can DIY it. For example, you can create a paint-mixing palette  by carefully removing the glass from an old picture frame (cover its edges with masking tape so you don't cut yourself while painting).

​Find some disposable gloves that you use for cleaning (or you can do as I did and use the ones that come in hair dye boxes -haha). Use regular kitchen paper towels for staining your canvas and/or cleaning, and dish washing soap to wash your brushes when your done.   


​
If you enjoyed this video and found it helpful, make sure to subscribe to my YouTube channel. I share a brand new video every week with art tips, drawing and painting tutorials and mindset/productivity tips for artists. *Subscribe HERE*
​

​
​

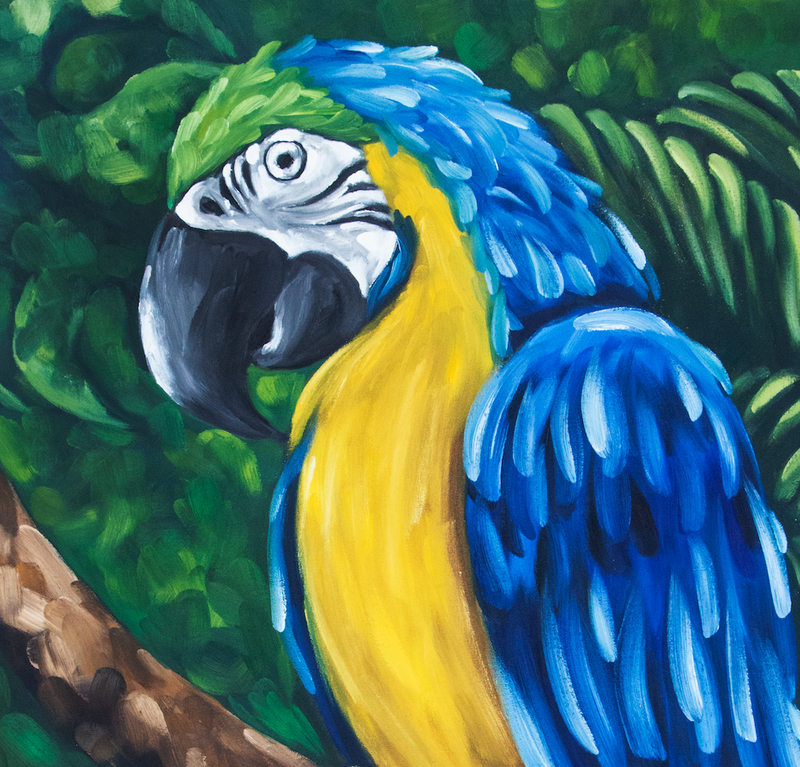
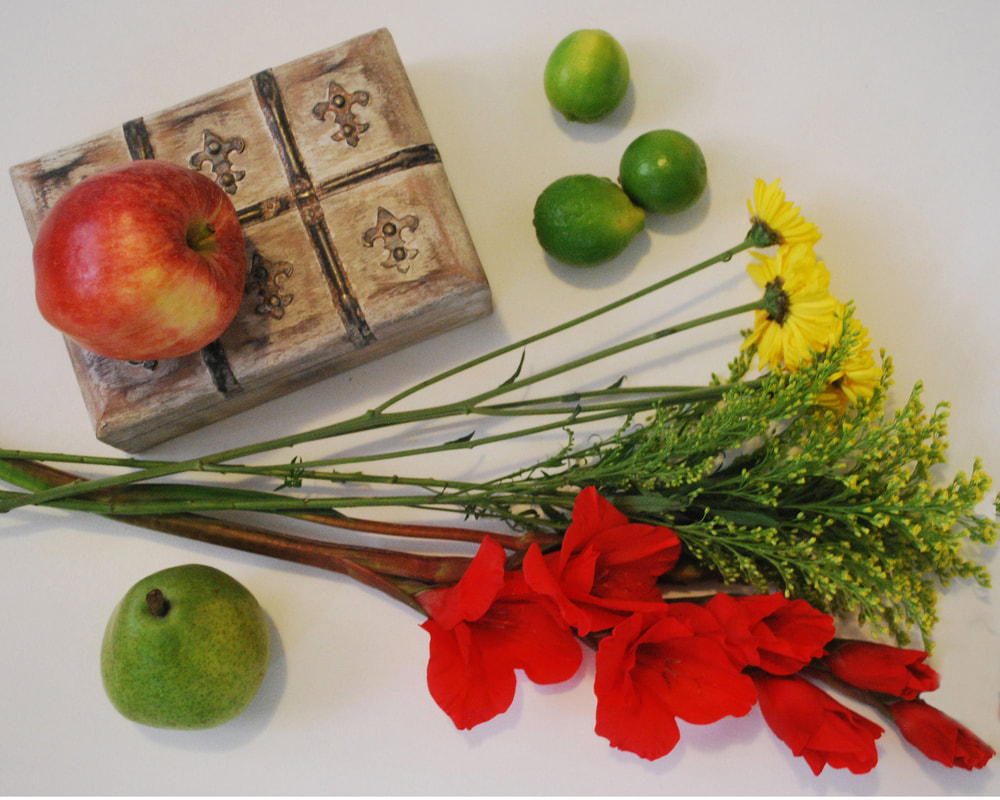
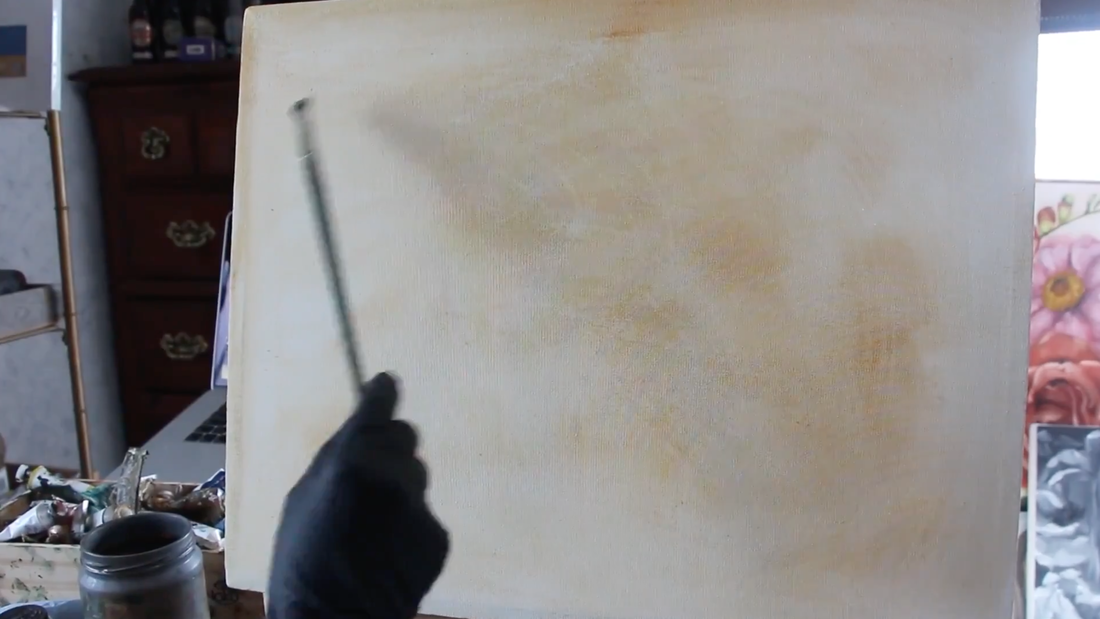
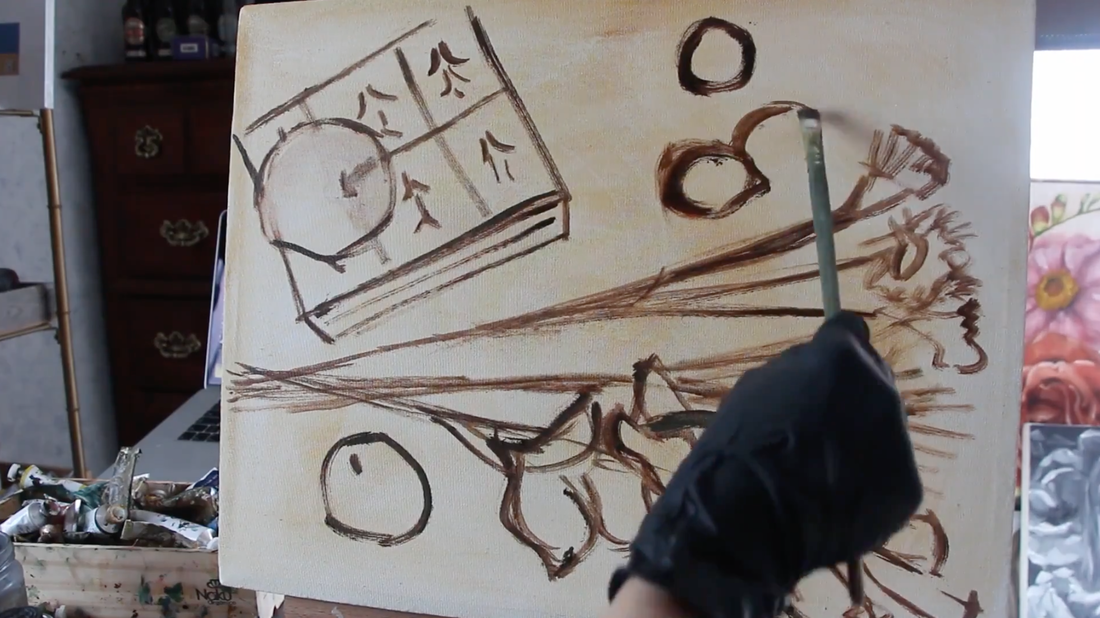
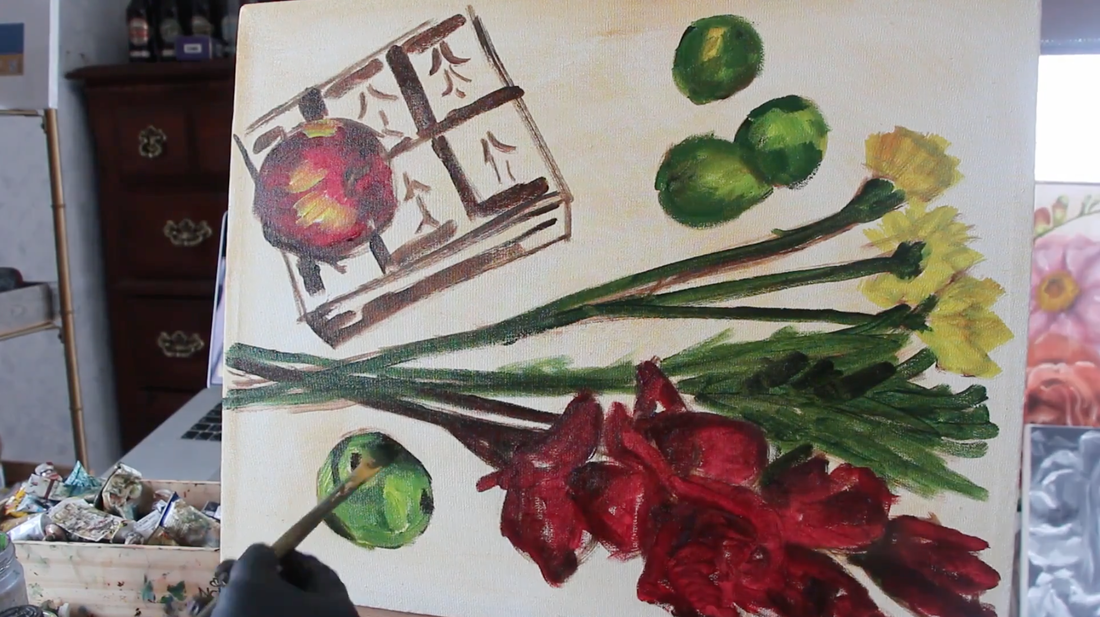
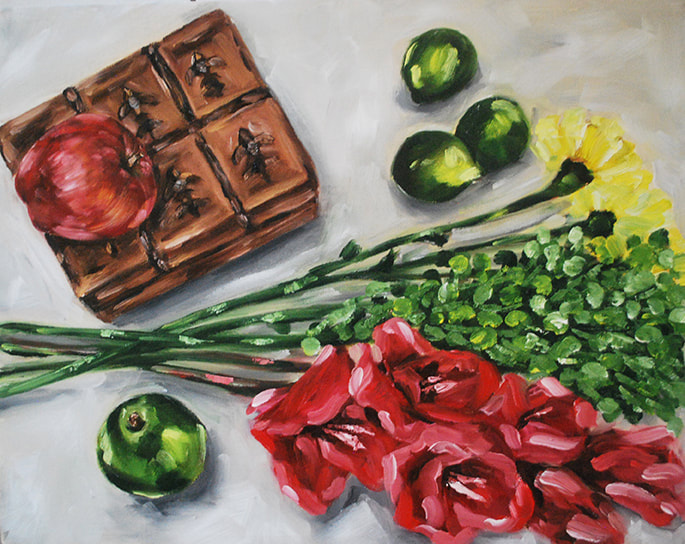
My Still Life Painting Process


​1. Taking a great reference photo

Having a great reference (whether you're using a photograph or painting from direct observation) is essential, no matter what kind of painting you are planning to create. 

Check it out my blog post titled How to Plan and Produce Great Art Reference Photos. In it, I explain the basic things you should have in mind when producing photographs to use as references for an artwork, and I also provide tips to help you achieve harmonious and appealing visual compositions. 
​

I highly recommend learning about composition and, at least, basic photography. Start forming your own art reference library as soon as possible so you don't have to always depend on photographs taken by others. It doesn't have to be difficult and time-consuming. Not to mention, you're also ensuring that your artwork is completely your own and that you built it from scratch. Going through this process leads to a deeper understanding and a greater artistic development. 


​

2. Editing/cleaning the photo in Photoshop

Still life art reference photo by Erika Lancaster
Final (cleaned) reference picture

After my photo sessions, I always open my images up in Photoshop and pick my favorite. By the way, I cannot tell you how useful knowing about photo-editing softwares like Photoshop and Gimp is for artists. If you haven't played around with one, I highly recommend doing so! You can download Gimp for free and it has a lot of Photoshop's capabilities. 

Once I've arrived at the photo I'll be using, I almost always clean it up at least a bit and resize it so that it ends up having the exact proportions of my canvas or substrate I will be painting on. This, for me, is essential, as it allows me to arrive at effective proportions and placement of elements within my space more easily as I'm creating my initial sketch (more about this below). 

For some more experimental projects, I create digital collages using combinations of photos or manipulate colors more drastically.


​
Picture


​

3. Staining/toning the canvas

Picture

The purpose of staining or toning a canvas is to get rid of the stark whiteness of it, so that it doesn't affect the way we see the colors we start placing on it. To stain my canvas, I choose a neutral color (in this case I chose Raw Sienna) and thin it out on my palette with odorless mineral spirits.

​I then use an old towel or rag (I love Scott Shop Towels) to create a transparent stain all over my canvas.
I don't worry if my tint is darker in some areas and lighter in others, as all of this will be covered later. 

I love painting  alla prima , which means that I complete my entire painting (at least ones this size or smaller) in one sitting. When using this painting method, you're basically applying your paint wet-on-wet and the fat over lean rule doesn't apply the same way as it would when painting in layers.

When painting in layers, you have to allow the bottom one to dry completely before applying the next. If the bottom layer isn't completely dry before you apply the one on top, the latter will most likely end up cracking (perhaps not right away but it will over time).

​
When you paint alla prima, this principle becomes a little vaguer, as you aren't painting in layers per se, and all your paint dries simultaneously. Nonetheless, it's important to know that certain pigments take longer to dry than others AND that thicker placement of paint will also take longer to dry whether you are painting wet-on-wet or wet-on-dry.

I always start my paintings using thinned out paint and move on placing it in thicker layers as I go, whether I'm painting alla prima or not. Also, I have yet to find a medium I enjoy using so...I don't even use one for most of my paintings! I highly recommend beginners to leave mediums out when just they're just starting out, as mediums make the whole process much more complex. 


30 Day Sketchbook Challenge

​

4. Selecting my colors

It's important to give thought to the colors you will be using prior to starting any painting. I like limiting my color palette and creating all required color mixtures using only those I have previously selected. To select them, I take a few minutes to observe my reference picture, think of the colors I will need to create them, and choose my tubes from what I have available. 

The colors I used to create this specific oil painting were:
-Raw Sienna
-Burnt Sienna
-Burnt Umber
-Primary Magenta
-Sap Green
-Lemon Yellow
-Titanium White
-Ivory Black


​

5. Initial sketch

Picture

After toning my canvas, I create a very loose sketch focusing on proportion and placement of different elements within my space. This is where having an image to work from that has the same proportions of your canvas is extremely useful. It doesn't matter if this sketch isn't perfect, because it's going to be painted over and shapes will be refined as the painting process continues. 

This sketch is an excellent way for me to start loosening up!


I almost always use a darker neutral tone, which in this case was Raw Umber. Notice how this paint mixture contains much less thinner in it than the mixture I created to stain my canvas with. 


​

6. Laying down large blocks of color

Picture

At this stage, I try to focus on recreating the large areas of color that I see, but I'm not being too careful, as these shapes will be refined as the process continues. I do my best to cover up large spaces on my canvas with the darkest values of the different colors I perceive in my picture. It helps to squint when observing the picture in order to tune out smaller details. 

I usually start with my darkest values and make sure to leave the placement of color mixtures that contain white in them until the second half of my painting process. The reason I do this, is because white tends to dull out the beautiful saturated darks that have been placed. It's important for those darks to stay there for the painting to really pop at the end.

Remember that it's essential for an artwork to have a wide variety in values and you don't want to erase those darkest values that have already been placed (this is not to say that you cannot place more darks later). 


​

7. Pushing through the "Ugly Stage"

This is the longest part of the painting process, as I move back and forth between the different elements in the composition. I sometimes get tired of painting a particular area and jump to another area. 

I'm working on laying down my brushstrokes more confidently and really keeping blending to a minimum. When painting alla prima, it's very important to place colors effectively and be very careful when blending because this can lead to muddy colors. Overblending is a big no-no.


​
​

8. Adding final highlights and details 

Still life oil painting by Erika Lancaster
Once I'm happy with the look of my painting, I move on to final details and highlights. This is a point at which I use my paint mixtures with large amounts of white in them. I also leave painting the background until the end most of the time, as it helps me clean up my composition a bit. 

Something else I love is using my palette knife for final details. In this painting, I used my palette knife to create the pistils of the flowers and to add texture to some other parts of the painting. 


Oils are one of my favorite painting mediums to work with, and if you are curious at all about what it's like to work with them, I highly recommend you give them a go. For me, nothing compares to their richness and the depth they are able to achieve. 

I hope you found this helpful and that I've encouraged you to give oils a try! 
​Thanks so much for reading!

​
​

Color Temperature for Beginners
How to Develop Your Observational Skills for Better Drawings Paintings
Essential Self-Care Tips for Artists and Creatives
4 Comments
Charlotte link
9/1/2018 10:25:49 am

Great post explaining why others should try working with oil paint, and very convincing I might add.

Reply
Erika Lancaster
9/8/2018 10:46:41 am

Hi Charlotte,

Thanks so much for checking out my post and taking time to comment! I'm happy to hear that you enjoyed it! :)
Do you work with oils?

Reply
Lynn Cooper
11/21/2018 11:41:44 pm

Have you painted with water mixable oils before?.I know of some artists that use these and water only and clean with water and soap.Thought i might try them as i never painted in oils before.

Reply
Erika Lancaster
11/22/2018 10:39:56 am

Hello Lynn,

Thanks so much for checking out this blog post and also for your comment. I personally haven't used water-soluble oils! I either use regular oil paints or acrylics, which I do mix with water.
But they sound very useful, especially for those just starting out! I'd go for it!
I'd love to hear how it goes for you!

Have a beautiful day! :)

Reply


Leave a Reply.

    Picture
    ​
    Learn Drawing and Watercolor Step by Step Tutorials

    ​
    Picture

    ​
    www.dickblick.com

    ​

    ​
    www.erikalancaster.com
    is a participant in the Amazon Services LLC Associates Program, an affiliate advertising program designed to provide a means for sites
    ​to earn advertising fees by advertising and linking to amazon.com.


    www.erikalancaster.com
    is a participant in the 
    Shareasale.com Affiliate Program, an affiliate advertising program designed to provide a means for sites to earn advertising fees by advertising and linking to Shareasale.com partner companies.
    ​

    RSS Feed

    ​

    Become an art email insider to receive:

    ​

    • My full Watercolor Blueberries tutorial (with downloadable outline sketch, reference photo and supply list)
    • Helpful tips and tutorials on sketching and watercolor painting
    • Artist mindset advice that I don't share anywhere else
    • News about my latest offerings designed to help you reach your full artistic potential
    • Access to the Art in Harmony Facebook group, which is full of over 2,000 amazing, positive artists from all over the world who're looking to grow together

    ​

      I'm committed to only providing valuable and inspiring content. You can easily unsubscribe at any time.

      *To subscribe you must be 18+ years of age.

      Built with ConvertKit
    Picture
    Picture
           
    ​  
    Website Disclaimer              Privacy Policy              ​Terms and Conditions
    ©  2025  Erika Lancaster.  All rights reserved.
    • HOME
    • BLOG + FREEBIES
    • YOUTUBE
    • PATREON
    • COURSES
    • MY ART TOOLS
    • GALLERY
    • Online Art Mentorship