
*This post contains affiliate links. I receive small commissions for purchases made through these links at no extra cost to you. These commissions help me keep this site up and running, in order for me to keep providing helpful and inspiring art content. :)
Interested in learning how to create beautiful looking skies that will enhance your watercolor landscapes? What are some different kinds of skies that we can create using this painting medium? Why is it useful to create different smaller studies of skies before actually attempting to paint a complete landscape? Welcome to the first part of the Watercolor Landscapes for Beginners Series!Landscape compositions are complex because they are made up of a large variety of elements, layers and effects. As beginners just starting out with watercolors, we usually still lack water control (check out my Tips on Water Control video over on YouTube) and are unaware of specific techniques that will lead to the effects we want to achieve, which can make painting a complete composition very frustrating and overwhelming! Due to all of this, I don't recommend looking for full-landscape video tutorials right off the bat. By taking things one step at a time, you are able to build a solid foundation, ensure a natural and more enjoyable progress, and make it a lot more likely to end up with a finished product you're actually proud of. This is why I've created this mini-series for you. :) In this series, we're going to be breaking landscapes apart into different commonly used elements or "layers". We will be studying each element individually, or in isolation, before using our learned skills and techniques to create a complete landscape. Today, we're starting with the furthest "layer" from the viewer in most landscapes, which is the sky. After this, we're moving into elements that are usually located within the foreground and/or middleground.
|
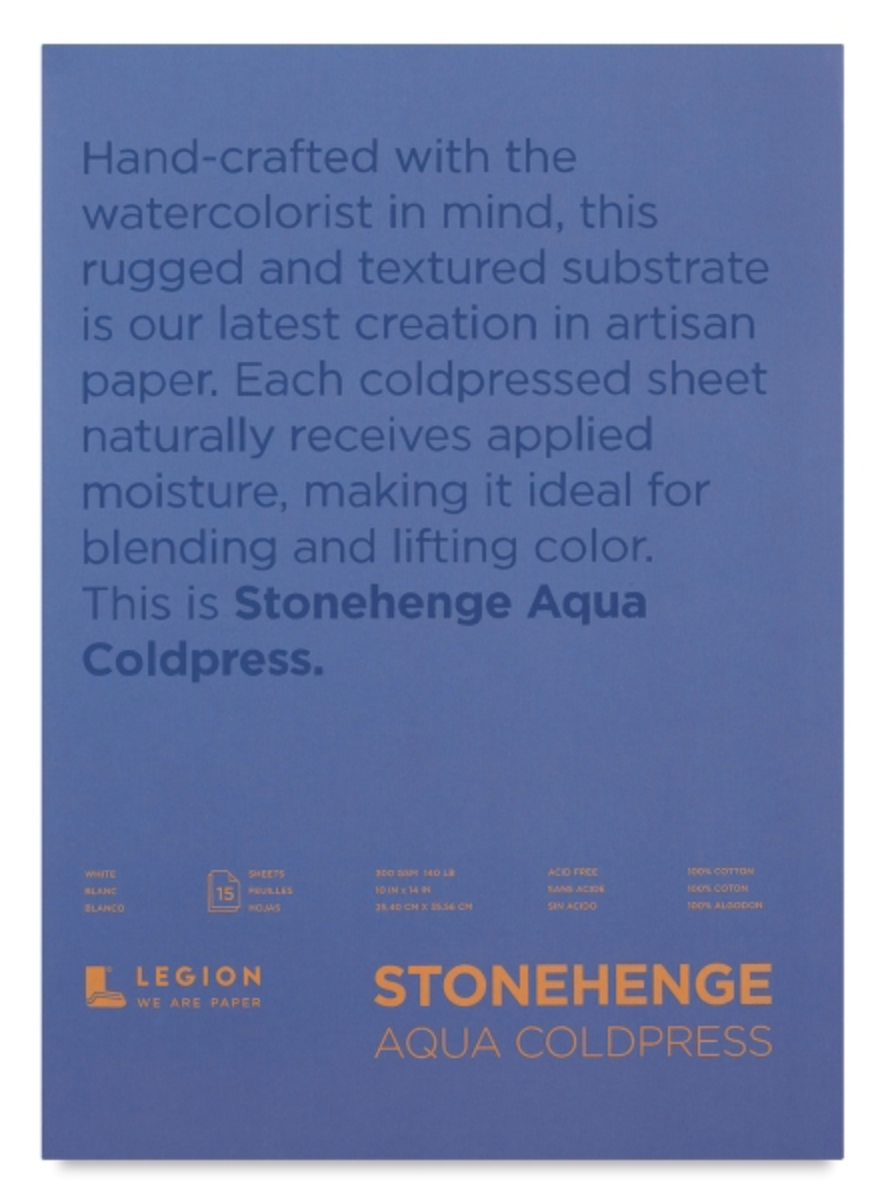
Stonehenge Cold Press Watercolor Paper

Scott Absorbent Towels
|
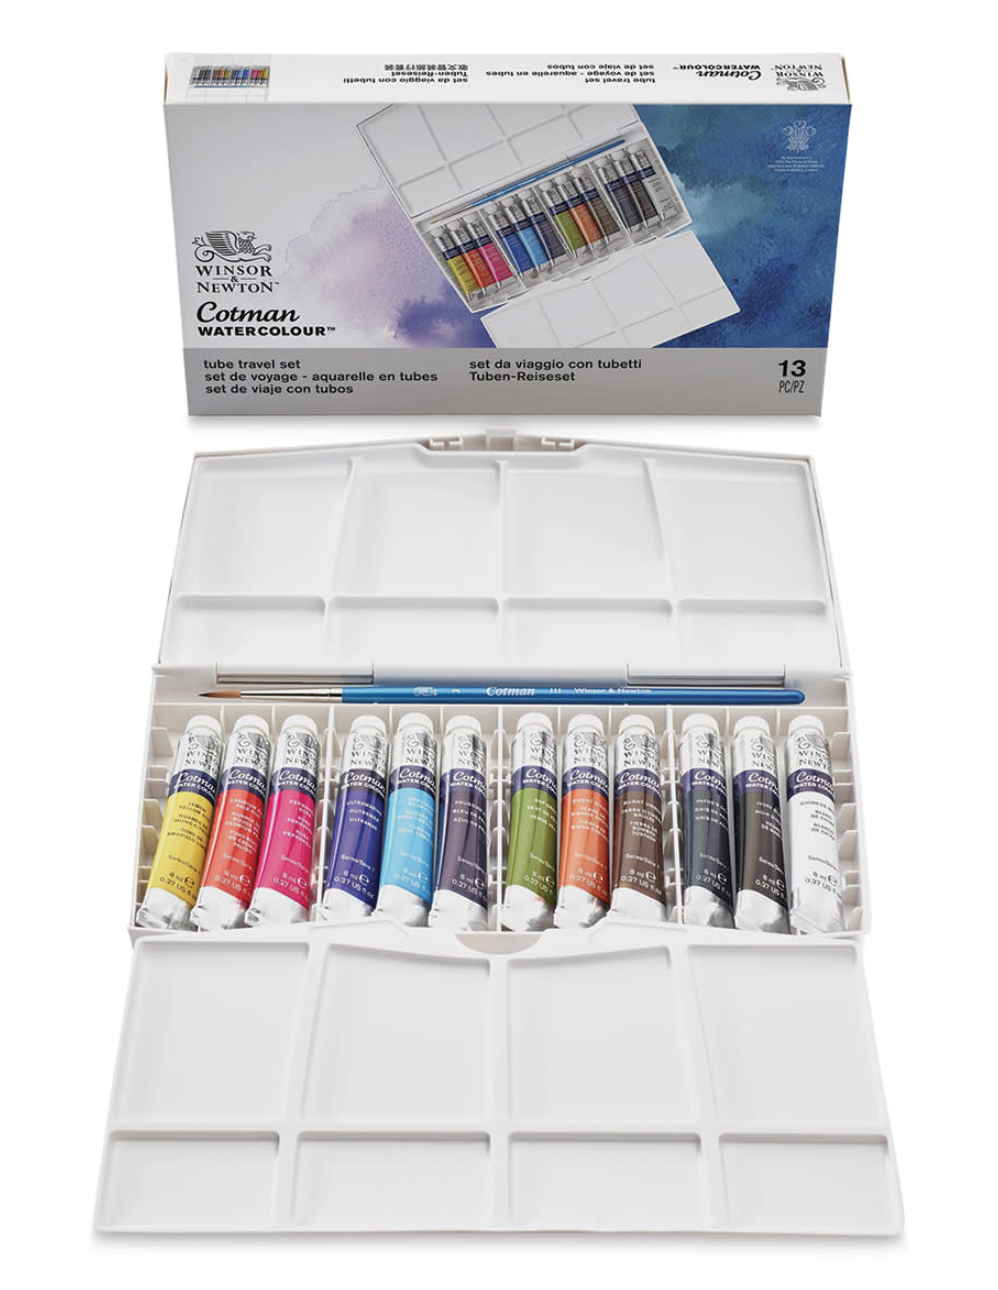
Winsor & Newton Cotman Tube Set

Princeton Neptune Watercolor Brushes
|
1. Start with your darker color at the top and make your color lighter/more translucent as you make your way down.
2. Save your white areas from the start. Do your best to protect these areas as you progress.
3. Allow layers to dry before applying subsequent ones.
4. As you start placing your darker values, make sure you are ONLY adding them were necessary. Avoid painting large areas of uniform, solid color/value (this leads to flatness and heaviness).
*Your rag or paper towel will be your best friend throughout the process because it allows you to "lift" paint off from your paper if you've placed too much.
2 Sky Watercolor Studies
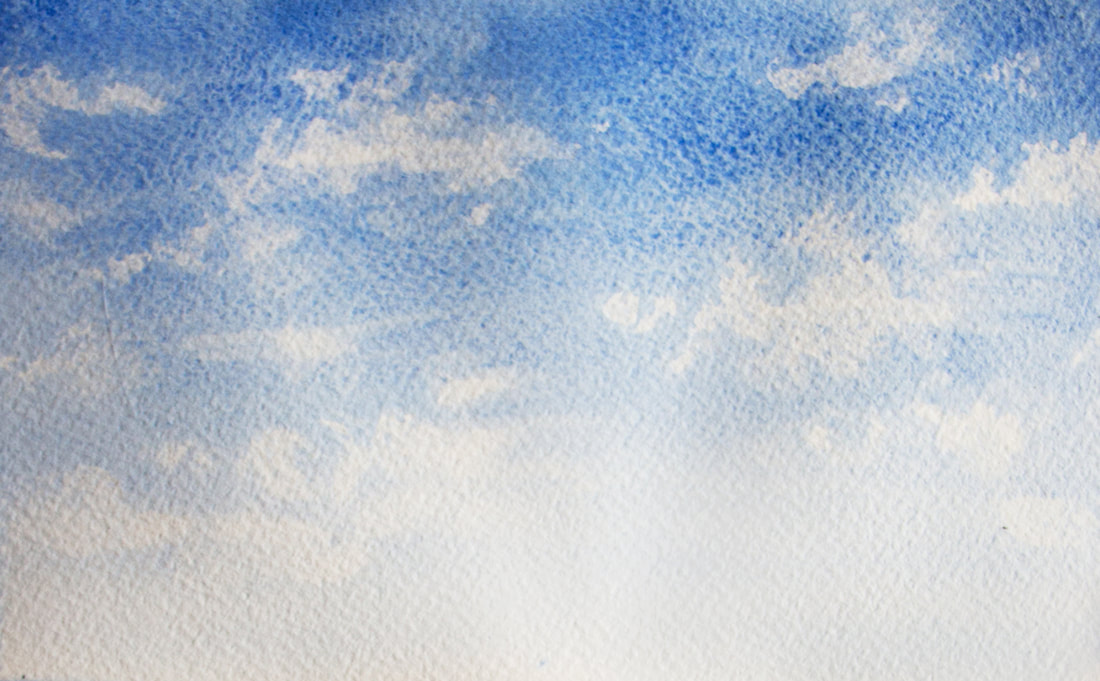
-Colors used in this study: Cobalt Blue
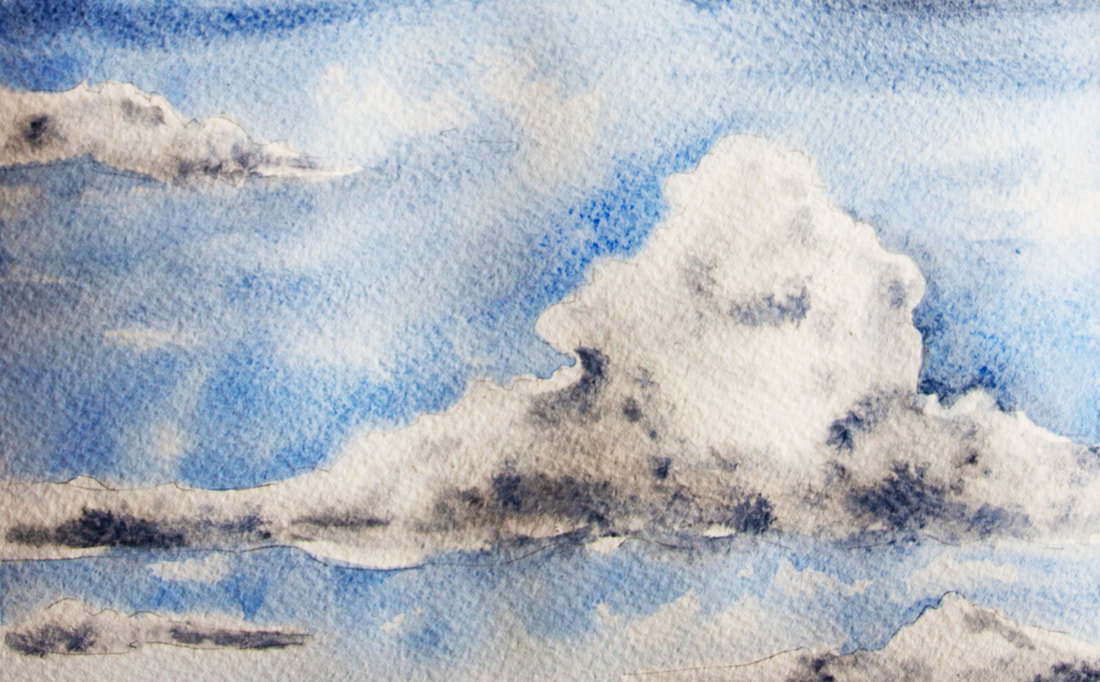
-Colors used in this study: Cobalt Blue, Ultramarine Blue, Burnt Umber

I highly recommend working on at least a few different sky studies before moving on to the second part of the series.
Take your time, re-watch the video as many times as you'd like, and remember to enjoy yourself as you get to know this medium!
If you've been reading my blog posts for a while, you probably know by now how I am a huge believer in learning to enjoy the process. I think the journey is just as important, if not more important, than the final art piece.
I encourage you to not focus only on creating a beautiful perfect finalized painting, but on spending time studying and experimenting with techniques, subjects and supplies.


Hi Kailin!
I do too! I refuse to give up other types of art media and also use oils and gouache, but watercolor is magical (and challenging)!
Good morning Janee,
I'm glad you found this article helpful! Thank you for sharing! :)
Thanks Mark!
I'm glad you found it helpful! :)
Nice post and beautiful artwork. I can tell you put a lot of time into making these pieces!
Hi Alex,
I'm glad you found the post helpful! These are "faster" studies, but I do like taking my time when I can. :)
Do you like watercolors?
It's a great idea for you to open up a series and get closer to your audience! Do you have your own gallery of paintings on your website for people to look at?
Hi George,
I'm glad that you're finding this content format useful! I do want to put out "mini-course" style posts because too much information at once can be overwhelming and what I want is people to keep on with their art and not get discouraged!
Some of my work can be found in the "My Work/Shops" section. http://www.erikalancaster.com/my_artwork_and_online_shops.html
You can find a button below my logo at the top of my website. I sprinkle some of my sketches and paintings here and there in between blog posts as well. :)
I don't know if showing my work in galleries is part of my plan. I do create fine art commissions locally and have plans to sell my work online, but consider myself more of an illustrator at the moment. Maybe in the future though!
Thanks so much for your comment and I hope to hear from you soon! Do let me know how your art is going for you!
Have a great one!
Wendy,
I know you can do it!!
Try it and let me know how it goes!
Wish you all the best!
I'm so glad you found this helpful Kat. :)
Let me know if you try these studies out!
I'd love to hear about it!
Have a great weekend!
Hi April,
It makes me happy to know that you found my post helpful! I really appreciate your kind words and hope to see you back here soon! :)
Have a lovely weekend!
Leave a Reply.


is a participant in the Amazon Services LLC Associates Program, an affiliate advertising program designed to provide a means for sites
to earn advertising fees by advertising and linking to amazon.com.
www.erikalancaster.com
is a participant in the Shareasale.com Affiliate Program, an affiliate advertising program designed to provide a means for sites to earn advertising fees by advertising and linking to Shareasale.com partner companies.
 RSS Feed
