|
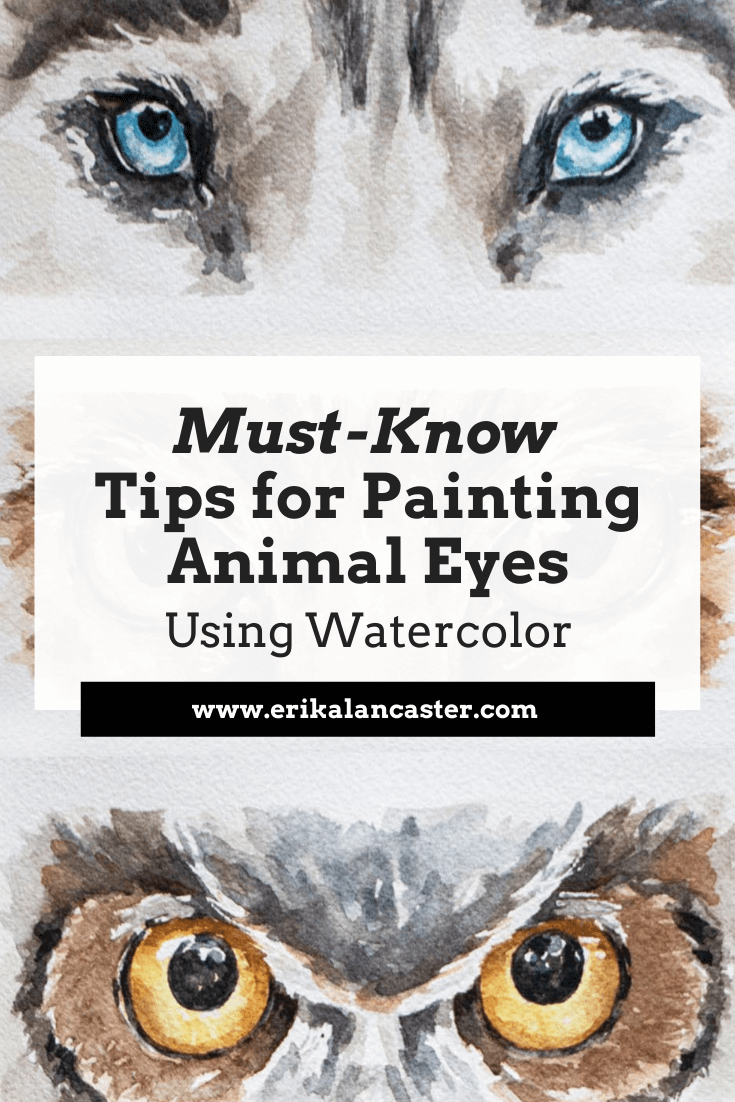
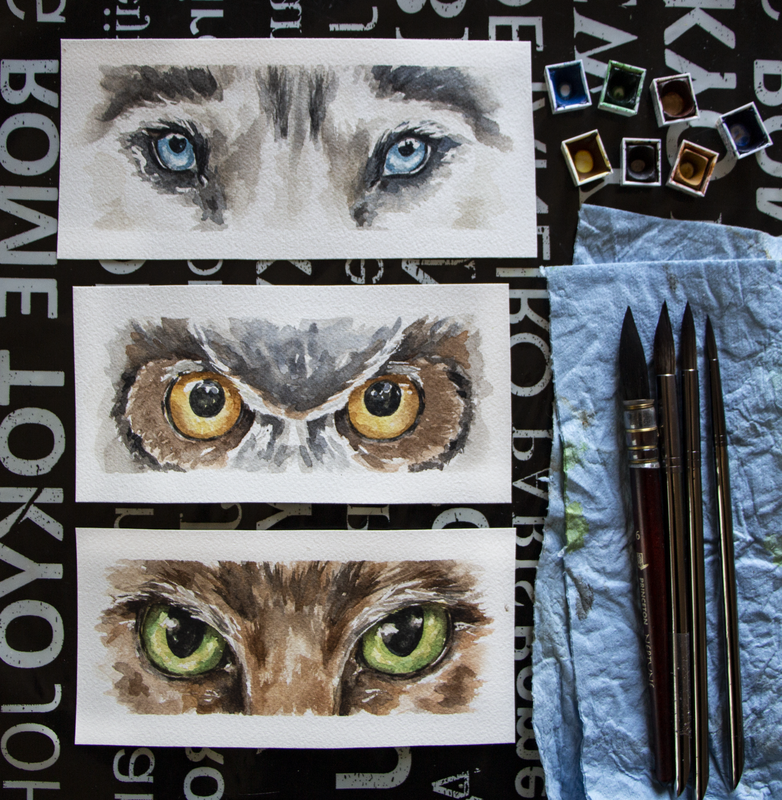
Would you love to paint animals using watercolor, but find it a bit intimidating? Have you tried painting animals in the past, just to end up disappointed and frustrated with your results? Would you like to be able to create animal paintings that are impactful and full of life? For animal-loving artists like myself, it can be incredibly rewarding to paint one successfully, in a way that communicates its beauty. One of the pieces of advice I most frequently give to my students and art community members over on Patreon, is to make time to break up complex compositions (or subjects) into elements, techniques and/or layers that can be practiced in isolation. This way, when we sit down to work on the complete piece, we're not only much more likely to be successful, but we'll also enjoy the process a lot more due to the understanding and confidence we've built through this previous practice and prep work. And this is exactly what I did in the video below in order to push my ability to paint animals using watercolor. I found three (quality) reference images of very different sets of animal eyes so that I could challenge myself and dove right into these studies. You can check out the three painting processes below.
If you enjoyed this video and found it helpful, make sure to subscribe to my YouTube channel. I share a brand new video every week with art tips, drawing and painting tutorials and mindset/productivity tips for artists. *Subscribe HERE*
This goes without saying, but eyes are one of, if not the, most important parts of any portrait, whether we're drawing/painting a person or an animal. Why? Eyes are able to transmit the person's or animal's essence and personality and, if drawn or painted well, they can make the entire piece come to life. Which means, they can also break the piece, if drawn or painted poorly. Oftentimes, artists decide to make eyes the focal point and draw more attention to them by making use of techniques such as: - Bringing in higher levels of detail in the eye area - Creating higher tonal contrast in this area Find a list of my favorite watercolor painting supplies here. Tips for Painting Beautiful Animal Eyes with Watercolor 1. Make time for isolated studies It's super smart to practice different elements and techniques in isolation or via smaller studies, as opposed to jumping right into complete paintings without having done any previous practice or preparation. When I was first getting started on my own painting journey, I used to go right into a brand new drawing or painting expecting a masterpiece, only to end up frustrated with my results. I used to have very high expectations of myself, even when I was getting started with a brand new medium or a subject I had never drawn or painted before. Then I had an awakening. Every-single-type of subject, whether it's a portrait, a landscape, a still life arrangement, etc., can be broken down into things that can be practiced separately. Taking time to practice things that we feel might be challenging for us before jumping in can make all the difference in the world. As mentioned before, this kind of prep work makes it much more likely that we'll not only end up with a final piece we love, but that we'll actually enjoy the process much more. For example, if you love drawing or painting portraits, learning about the anatomy of different facial features and and practicing each in isolation without the overwhelm of drawing/painting an entire face, is going to inform your final piece immensely. If you love drawing or painting landscapes, creating studies of different types of skies, trees and things like water or flowers, will make it much more likely that you'll succeed at that final piece. When it comes to painting animal eyes, understanding their structure, as well as their different parts is incredibly powerful. If we don't take time to study them, it can be easy to leave out little elements that are important in order for them to look believable. 2. Use high-quality reference photos When we're trying to achieve higher levels of realism, it's essential to work with references, at least in the beginning. In fact, I'd recommend both using photos, as well as drawing/painting from direct observation (otherwise known as drawing/painting from life). Why? Because without references and material to inform your work, you'll most likely be making up information and drawing/painting subjects the way you think they look like, and not what they actually look like. Unless you have a photographic memory or are a genius of some kind, of course. Plus, realism is all about those subtleties and details, which are super easy to forget if we don't have the subject in front of us in one way or another. Even if your goal is to later be able to draw things from imagination, using references is going to help you develop your observational skills and understand about Art Fundamentals such as light behavior, form and perspective, all of which are key and impossible to understand if you don't study what things look like in real life. Having said all this, learning to select the right reference photos for drawing or painting is essential, as we can make the process way harder for ourselves if we're trying to create a drawing or painting using a low quality image. Here are a few things to make sure your reference photo shows if you'll be using it as a reference for your artwork:
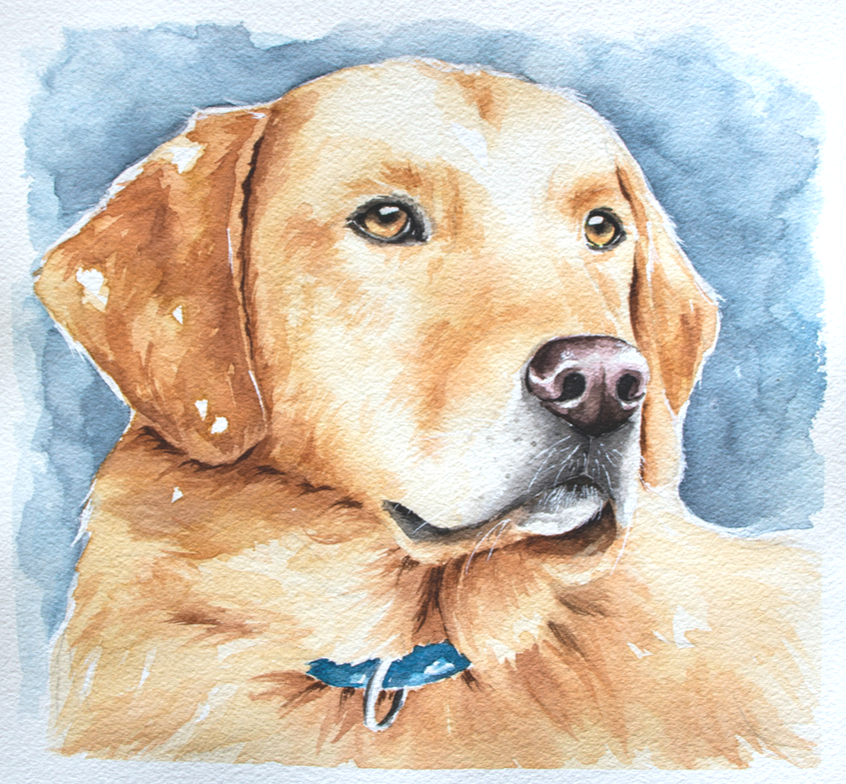
3. Choose your paintbrush sizes and switch between them mindfully along the way Before getting started with your painting, choose the specific paintbrushes you'll be using for both outside of the eyes, as well as for the detail inside of the eyeballs. The fur around the eyes can be described in a much more abstract/looser way and, at least for those first layers, medium sized paintbrushes work best (I like using round brushes in sizes 14-16). For the detail inside the eyes, we usually want much more control. Inside those eyeballs, we have very small (yet super important) elements to add in, such as the tear duct, the pupil, tear lines, etc., many of which we want sharp and defined. We also have to be able to work around those little highlights in the eyeballs, as these are essential in making the eyes look lifelike. For complete animal paintings or things like eyelashes, etc., it's also important to choose a very thin detailing paintbrush. I'd recommend practicing drawing thin lines with whatever paintbrush you choose before adding them in. 4. Plan when/where you're going to be using wet-on-wet techniques vs. wet-on-dry techniques *Wet-on-wet: Applying/dropping in paint onto paper that has been pre-wetted with clean water or has a layer of paint that's still wet- Great for organic color gradients, soft transitions from more saturated color to more translucent color and blurred edges. *Wet-on-dry: Applying paint on paper that is completely dry - Great for sharp, defined edges. Before starting with any watercolor painting, it's advisable to think of a strategy that'll help you arrive at the effects/outcome that you're looking for. As opposed to opaque painting mediums such as acrylics or oils, we're not able to cover up our mistakes with a layer of paint. Not to mention, saving our highlights is essential and, once paint touches paper, there's no going back to the whiteness the paper once had. And, yes, you can decide to add in your highlights at the end with white gouache or another medium, but it's important to understand that when we're working with watercolor, we're playing with the medium's translucency and the whiteness of the paper underneath to create a variety of different values. Usually, we want the whiteness of our paper to stand in place for our highlights and no white paint is actually necessary when working with watercolor, if we save those whites. I'd highly recommend not getting started until you have at least a general idea of how many layers of paint you're thinking of going in with, as well as which areas you want to use wet-on-wet techniques in, which areas you want to use wet-on-dry in, and which will require a layering of both. Also, along the painting process, continue asking yourself whether it's important to allow a layer of paint to dry before going in with the next. For example, when painting many of the details inside of the eyeball (highlights, pupil, etc.), you're probably going to want to go in wet-on-dry in order to achieve sharp outlines, but for the fur and elements around the eyes, wet-on-wet can come it very handy. Transitions between colors within the pupil can oftentimes also be created wet-in-wet. Five minutes of planning before getting started can go a long way in having a smoother painting process, and arriving at way more successful results! 5. Remember the spherical nature of the eyeball If you've never tried painting a sphere using watercolor before, it's extremely helpful, as eyeballs have a spherical form. *There are animals such as owls that don't have spherical eyes. Aside from the eyeball being a sphere, we need to remember that eyeballs are set deep within the skull and are covered/wrapped by an upper and lower eyelid with creates outwards/convex volume in the head shape. The sphere in itself is going to have different values throughout it, and the eyelids create shadows on the sphere, too! When we're drawing or painting human eyes, we're able to see much more of the sclera (the whites of the eyes), and it's easier to tell different values throughout it. Just like when drawing or painting teeth, even though the sclera is essentially white/off-white they are never one flat white value. If we leave them with only one flat value, and don't try to understand their 3D form, we risk our outcome looking quite cartoony and it will retract from the level of realism in the piece, even if the rest of the piece is realistically rendered. 6. Plan your highlights and keep them protected throughout the painting process Notice the highlights and lighter values in the reference photo both inside of the eyes as well as around them, and think of the strategy you'll be using to keep them protected throughout the painting process. Are you going to be using masking fluid to keep lightest lights protected, or will you be painting around them carefully? Whatever you decide to do, make sure that you plan for them, as once you cover up that paper with paint, there's no going back to the whiteness the paper once had. Those highlights are incredibly important to make those eyes come alive and look moist and realistic. Also, the more we can do to understand the structure of the animals head (brow ridge, snout size, rounded areas around the eyes, etc.) the more 3D and realistic our painting will tend to look. This is why doing skull studies is so valuable! 7. Start with a bright yellow layer in the eyeball when appropriate Whenever it makes sense, I like starting with a semi-translucent layer of bright yellow in the iris/pupil (avoiding the highlights), as this provides a glow to the eyes. Usually I like doing this with a color such as Gamboge or Permanent Yellow Medium. This works very well when the animal's eyes are amber colored and even green. However, I didn't use this strategy for the husky eyes I share above, because these eyes are blue and I would risk turning them green (yellow + blue= green). 8. Mindfully use soft/blurred transitions vs. defined edges When painting eyes, we're usually going to need a combo of shapes with soft/blurred out edges and hard/defined edges. Notice where these blurred out effects happen and where sharper edges are located in your reference. Usually, we have lots of soft transitions within the pupil, where one color turns gradually into another color. But when it comes to painting elements like little shapes along the tear lines, eyelashes, and pupils in some cases, we want the edges of our shapes to be defined. By giving thought to these things, you'll have a better idea of whether you should be painting on paper that's still wet, or whether you should allow the previous layer to dry completely before adding more detail. It's essential to stay patient! Aside from all this, if we're looking for higher levels of realism, it's important to stay away from the look of obvious/stark outlines around different elements. A lot of animals, such as cats, tend to have a darker (eyeliner type look) around their eyes. This may instinctively make us want to go in and create a hard outline around the entire eye and this will ultimately retract from the level of realism of the piece. In realism, there are no outlines and it's important to notice the subtle changes in values even in these areas that we may initially perceive as dark lines. Usually there's a line weight variation within the elements we initially perceive as lines, such as the tear lines, and even whiskers. Meaning, certain segments of those "lines" are thicker while others are thinner, some are darker while others are lighter. Capturing this leads to a more natural look. Notice moisture and any highlights along the tear lines, too! 9. Pay attention to the length and direction of hair growth around the eyes Whenever we're painting animals that have fur or feathers, it's important to acknowledge their length and the direction they're growing out towards. Not only this, but how this length and growth direction changes throughout its head and body (it's not the same all throughout!). If we mindlessly start laying down marks and lines without paying attention to our reference, we're most likely going to end up with an outcome that doesn't look very realistic, which is why it's so important to keep observing our reference photo. Whether you decide to paint the areas around the eyeballs before or after the eyeballs themselves, switch on over to the paintbrushes that you've selected for this and stay focused when laying down those brushstrokes that are meant to describe fur or feathers. The way you use your paintbrush should reflect the direction and length of that growth. This doesn't meant that you have to paint every-single-hair that you see in the photo (in fact I would never recommend trying to paint each individual hair), but noticing these characteristics and taking them into account as you're laying down those abstract shapes representing those groupings of hair or feathers, is essential. 10. Leave eyelashes and whiskers until the end (or keep them protected with masking fluid) Make sure you don't get ahead of yourself and leave eyelashes and/or whiskers until after the areas beneath and around them have been finalized. Sometimes, though, I do mask out the animal's whiskers using liquid frisket before getting started with the painting process. Generally speaking though, details like whiskers and eyelashes are created with lines or marks that are overlapping the other elements, which is why the layers underneath have to be finished. You don't want to have to go in a fix layers underneath after the whiskers or eyelashes have been added! Be patient and always keep thinking critically in terms of what should come first and what should come later. Also, make sure you're using very small paintbrushes that come to a thin tip for these final details and, if needed, always practice painting thin lines on a scrap piece of paper before going into your painting. This is something I almost always do myself, to the day. In the eye studies I share in this video, I approach the animal's eyelashes in a very abstracted way, using irregular shapes as opposed to trying to draw in every single eyelash in. Whiskers I do either mask out since the beginning or add until the end using white gouache. *Refer to Yellow Labrador watercolor painting above. Find a list of my favorite watercolor painting supplies here.
6 Comments
9/20/2021 06:23:20 am
Hello, Thanks for sharing this blog. this is very helpful for me . if you want any help regarding abstract acrylic paintings for sale then contact with Krisai art .
Reply
Evelyn Timidaiski
9/3/2022 12:05:57 am
Your video was extremely helpful. I especially liked the dog.It was a little fast.Thanks for sharing.
Reply
9/5/2022 04:42:04 pm
Hi, Evelyn!
Reply
LISA R CERVANTEZ
3/21/2023 04:38:17 pm
Hi Erika - I really liked all of the pieces, but I would have to say the husky eyes were my favorite. Guess I'm just a dog person but don't tell my cats! I think I got a lot out of the videos - hope I can find time to try some of them out!
Reply
3/29/2023 01:48:58 pm
Hi, Lisa!
Reply
Leave a Reply. |
www.erikalancaster.com
is a participant in the Amazon Services LLC Associates Program, an affiliate advertising program designed to provide a means for sites to earn advertising fees by advertising and linking to amazon.com. www.erikalancaster.com is a participant in the Shareasale.com Affiliate Program, an affiliate advertising program designed to provide a means for sites to earn advertising fees by advertising and linking to Shareasale.com partner companies. |







 RSS Feed

