|
*This post contains affiliate links. I receive small commissions for purchases made through these links at no extra cost to you. These commissions help me keep this site up and running, in order for me to keep providing helpful and inspiring art content. :)
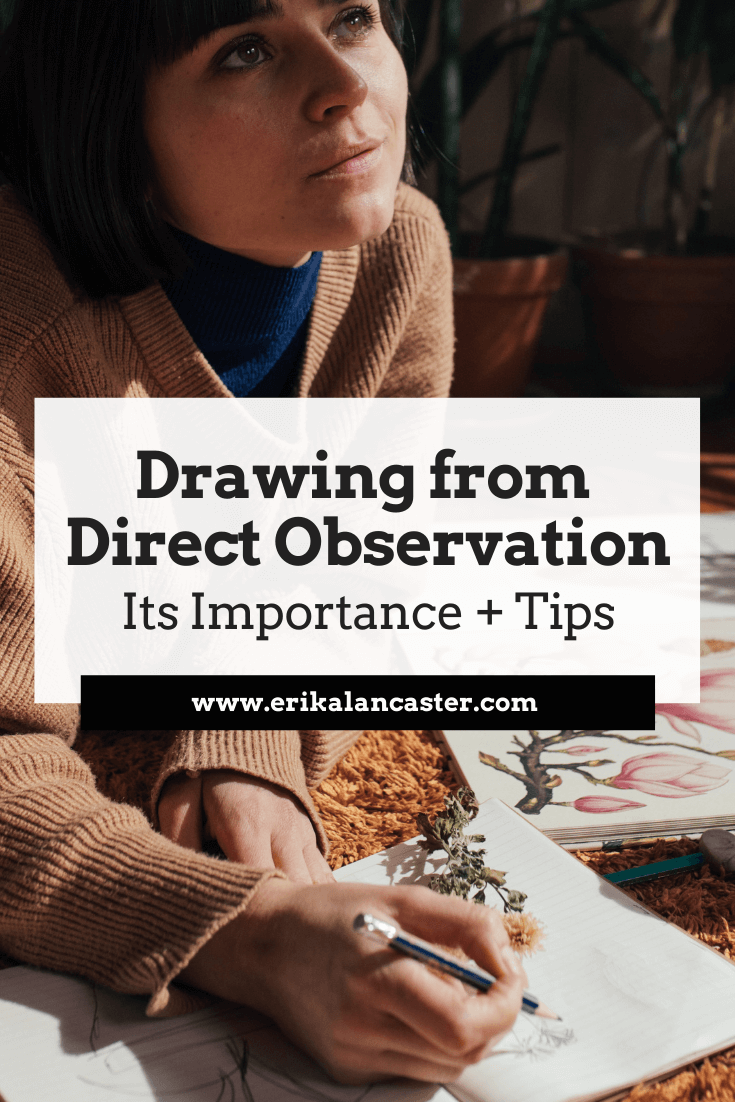
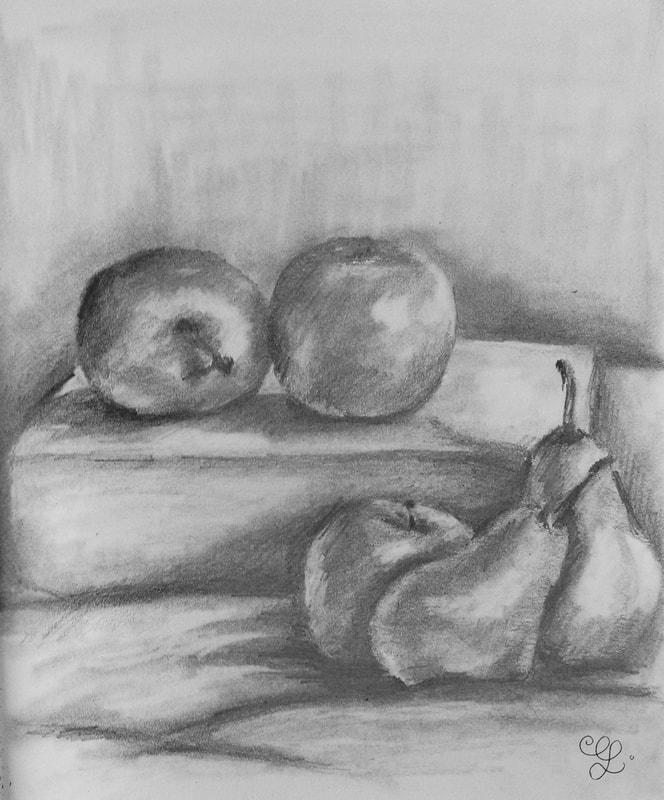
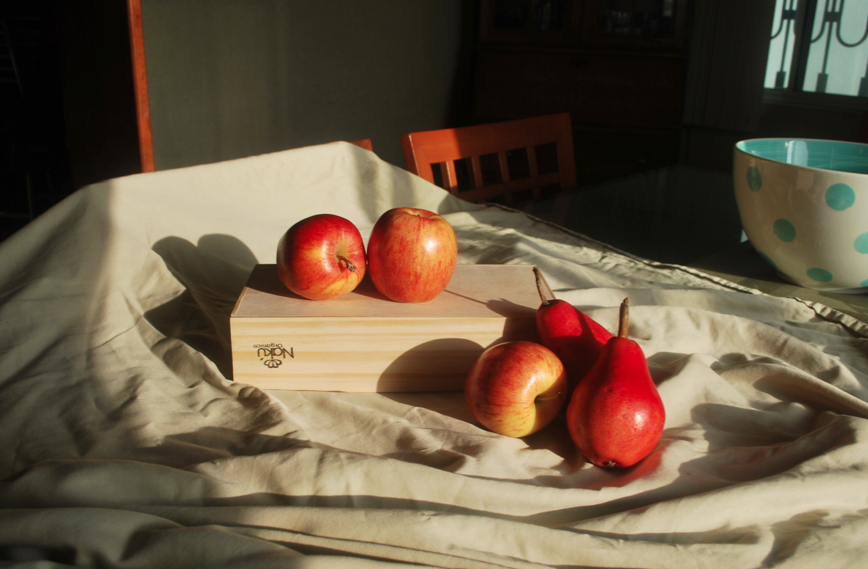
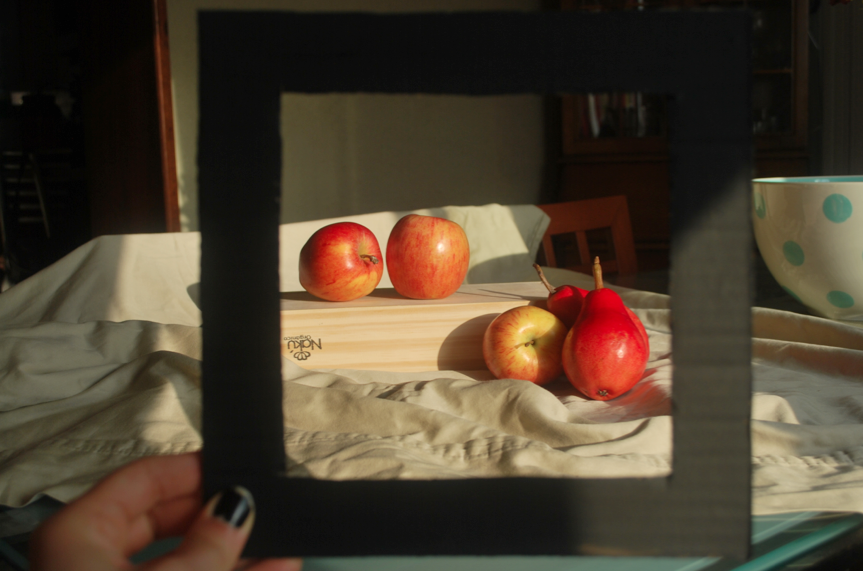
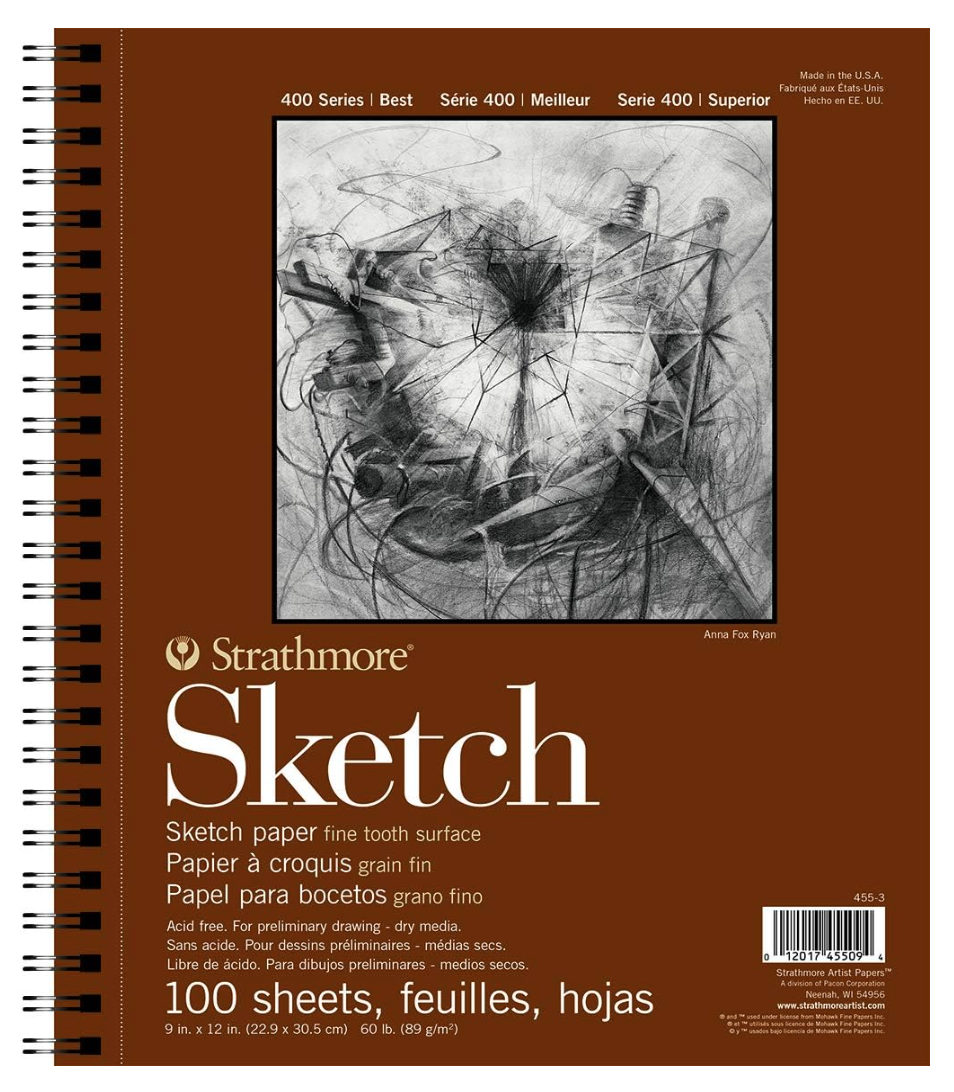
How often do you draw or paint from life? Do you find drawing or painting from direct observation a bit intimidating and/or a hassle to do? Are you aware of the artistic growth that can come when using direct observation compared to using only photographic references when creating art? Drawing from direct observation is also referred to as drawing from life. In this type of practice, the artist uses his/her medium of preference to draw a subject by observing it in real life as opposed to using a photograph as reference. It's important to note that the subject can be anything the artist chooses, whether it's an arrangement of objects, the human figure, a landscape, animals or anything else that can be observed first-handedly. Drawing from life can have many uses depending on your art style. In the traditional sense, artists did their best to recreate their subject matter as realistically as possible. However, a lot of us today use this method to create practice sketches in order to improve our gestural drawing. Others start projects by drawing or painting from direct observation and finish their pieces later in their studios. Though not every artist uses direct observation as means to create perfectly realistic representations of what it is he/she is seeing, this method is able to bring a level of energy and originality to art that simply cannot be achieved when using a photograph as reference. There's no question that this method challenges the artist in a way that using a photograph doesn't and it can greatly improve our skill. This blog post is going to shed some light on why making time to draw/paint from life is so important and how it's different from using a photographic reference to create art. I will also share ten tips that are going to help you create more effective artwork using this method. This blog post is the third in a four-part series about the use of different types of references when creating artwork: 1. Using Other People's Photographs to Create Art (when it's okay to use other people's photos and how to do it in a way that will ensure your artistic progress) 2. Creating Artwork Based on Your Own Photography (click here to learn fast and easy ways to produce your own reference pictures) 3. Why Drawing from Direct Observation is Essential and 10 Tips to Improve (click here to learn why this drawing/painting method is so important in order to progress artistically) 4. Using Collage as an Effective Method to Create Unique and Expressive Art (click here to find out why collage is so powerful and how you can use it to your advantage) Why Making Time to Draw from Life is Important Drawing or painting from life is a completely different experience to drawing or painting using a photographic reference that is printed out or displayed on a computer screen. In my opinion, an artist must continuously seek ways to challenge his/herself, and this is one of the best ways to improve our skills, as well as our knowledge of many important Art Fundamentals such as Perspective and 3D form. When an artist draws or paints from life, he/she is able to actually interact with the subject first-hand. As opposed to a photograph (which basically provides the artist with only visual information displayed on a flat surface), being able to actually interact with the subject brings us a wealth of information that will enhance our work in a variety of ways. If you are drawing a portrait, you are able to talk with the person and have a feel for his/her personality. If you are drawing an object, you are able to touch, smell and see its colors directly. If you are drawing an animal, you are able to feel what it's like to have it in front of you. If you are painting a landscape or scenery and you are actually IN the place, you're able to feel the energy around you. Your personal feelings and thoughts whilst experiencing the subject will translate into your work to make it richer and more expressive. You are able to have complete creative control when you draw from life, which means that you'll have to apply your thinking skills throughout brainstorming and preparation. You're not only going to exercise your observational and rendering skills throughout the process, but you're going to have to visually interpret what you're seeing and innovate using your personal style. Furthermore, when taking a photo there is always a chance of perspective being slightly distorted and colors being off. In a way, photographs are a processed rendition of what you can actually take in with your eyes. Photographs, at times, present us with views of scenes, objects or even people that are different from what we would normally expect to see. Our brains play a big part in why we see things in life the way we do, and cameras don't have brains (last time I checked). When drawing from life, there is no way to cheat. You can't trace or use grids. The artist is met with the challenge of translating real-life forms and perspectives onto flat substrates in order to create aesthetically pleasing compositions. It quite simply puts the artist's skills to the test in a way that using a photograph doesn't. 10 Tips to Help you Improve Your Life Drawing Skills 1. Make sure you have a good amount of knowledge of Art Fundamentals If you don't have basic drawing skills down and/or lack understanding of the Elements and Principles of Art, it's going to be incredibly difficult to create an effective piece using direct observation. I recommend studying Art Fundamentals and putting them to use by creating abstract compositions using simple shapes and then moving on to actual objects or subjects. Understanding basic topics such as like proportion, depth, form, value and compositional arrangement are vital. Check out my Patreon site for a library of classes and workshops on Art Fundamentals. 2. Frame it When we are standing or sitting somewhere our eyes can be drawn to many places at once, which can be very overwhelming when we have to focus on only one area. I like using some kind of frame when coming up with a composition because it helps me decide how my different items will be placed within the space I will be recreating. It also helps me mentally separate what is going to be inside my composition and what is going to be left out. 3. Start with grayscale/pencil My recommendation to beginners is usually to start working in grayscale. Working with pencils/graphite is incredibly useful in this case because they are easy to control and correct. Focus first on learning to discern between highlights, midtones and darks and recreating them in your drawing in their appropriate locations. Color comes later!
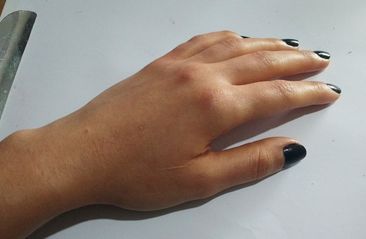
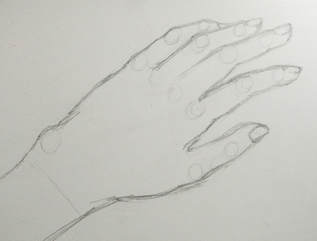
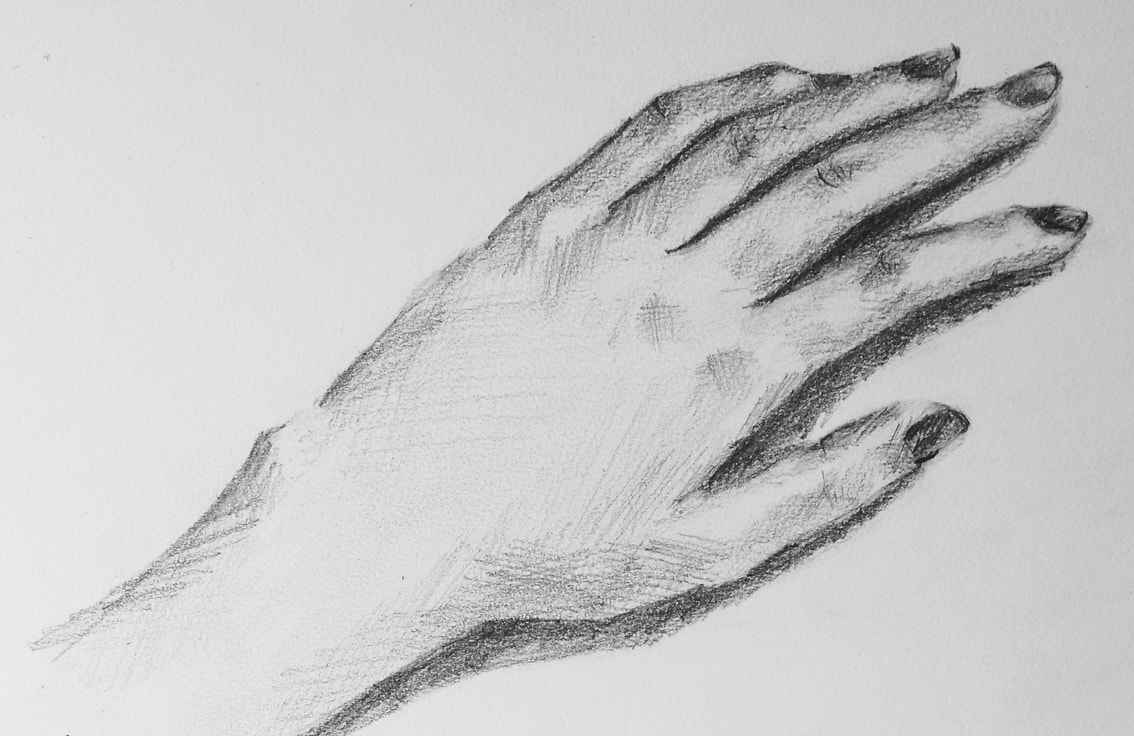
4. Once you have set up move as little as possible Slight changes in angle or distance from your subject can change the perspective in your drawing. Make sure before you start that you are in a comfortable position and chair so that you can work for as long as you need to! 5. Get used to looking at your subject constantly A lot of people spend more time looking at their paper than at their subject when drawing. You should be aiming to observe your subject at least 50% of your working time. Forget about drawing things the way you think they look and draw what you're actually seeing. Train yourself to constantly look at your source of information until this becomes natural to you. 6. Always start by creating effective shape, proportion and arrangement in space Focus on drawing only large shapes first (lightly). Concentrate on achieving correct proportions and placement of elements within space. Compare items in your composition to each other in terms of size, location and shape. Study how lines intersect and how angles are created between them. Practice visually measuring things and use your pencil/fingers as measuring devices as you're seeing your subject(s) at a distance. Make sure you give it a final look before moving on to the next step. 9. Add details and texture Think about what techniques you'll be using to transmit any needed textures (hatching, crosshatching, stippling, etc.) and add details carefully wherever necessary. Try to be subtle about it (remember in realism we rarely see lines). Unless you're going for hyperrealism, you should choose what is going to be included in your piece and what is going to be left out. 10. Apply your artistic license As the artist, it's your decision whether specific things are going to be included or omitted. It is not necessary to add every singe detail of what you're seeing. You can also consider rendering some parts in full and leaving others less detailed in order to pull the attention of the viewer to your focal point. Although artwork created through direct observation is usually expected to be realistic, it doesn't have to be (unless that is what you are going for)! Try to apply your own style and ideas to whatever it is you're doing. Remember slight smudges and imperfections are perfectly fine and sometimes even give a piece character. 7. Keep your preliminary outline sketch light When drawing your initial shapes and all the smaller shapes/lines within them, remind yourself to draw lightly. In real life there are no outlines. Shapes are actually separated from each other by changes in color, texture, value, etc. Artists who are skilled at producing realism are masters at capturing subtle changes. 8. Develop a good tonal/value range throughout your drawing Take your time developing a full range of tone/value throughout your drawing, starting lightly and adding darks as you go along. It's normal to think you have darkened an area enough and then have to go back to darken it as you progress. You should end up with a multitude of mid-tones and gradual changes in value. Make sure that you are really observing your subject and placing values appropriately. Don't guess! Use a blending stump if smooth gradients are your thing, or create different values using mark making techniques like hatching or crosshatching. I usually like using a mix of both. Check out my Guide to Shading Techniques: Hatching, Cross-Hatching, Scribbling and Others to learn and practice different ways of creating values. Free practice PDFs included!
If you enjoyed this video and found it helpful, make sure to subscribe to my YouTube channel. I share a brand new video every week with art tips, drawing and painting tutorials and mindset/productivity tips for artists. *Subscribe HERE*
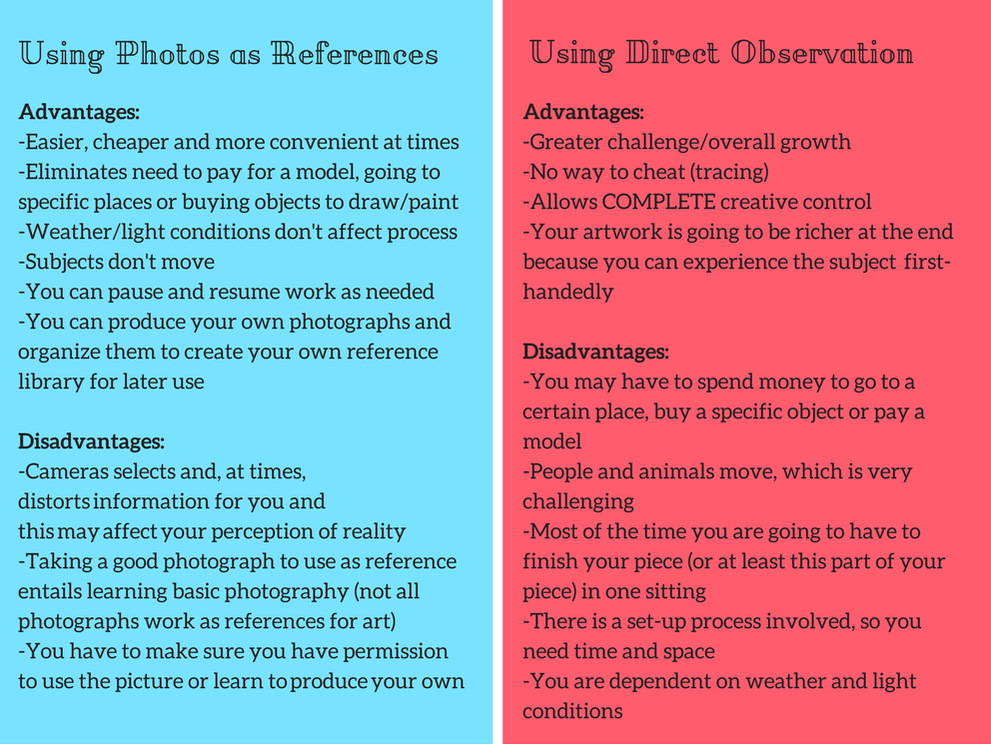
Advantages and Disadvantages of Using a Photographic Reference Vs. Drawing From Direct Observation To finish up, there is a time and a place for drawing/painting from direct observation and for drawing/painting using photographic references. Neither method is wrong or right. What is important is that the artist makes time to explore both on a continuous basis. Do you enjoy drawing or painting from direct observation? Approximately how much of your art is created by using photographic references and how much is created through life drawing/painting? Do you wish you could do it more frequently? I'd LOVE to hear from you! Let's discuss in the comments section below!
6 Comments
Erika
12/31/2017 11:05:20 am
I love using pencil as well! However I have found that I'm more of a sketcher when it comes to pencils than an actual graphite finished-piece type of artist. I do push myself to produce more realistic pencil pieces at times I am deliberately trying to practice, but most of the times I use pencil to create faster sketches. I think it has to do with the fact that I love to paint so much! Cheers, friend!!
Reply
a kid
9/12/2019 08:39:18 pm
I'm in 9th grade and our teacher has made us research this and I am finding it hard to actually draw and find information on various techniques pertaining to this topic
Reply
Erika Lancaster
9/13/2019 06:17:33 pm
Hello,
Reply
Leave a Reply. |
www.erikalancaster.com
is a participant in the Amazon Services LLC Associates Program, an affiliate advertising program designed to provide a means for sites to earn advertising fees by advertising and linking to amazon.com. www.erikalancaster.com is a participant in the Shareasale.com Affiliate Program, an affiliate advertising program designed to provide a means for sites to earn advertising fees by advertising and linking to Shareasale.com partner companies. |











 RSS Feed

