*This post contains affiliate links. I receive small commissions for purchases made through these links at no extra cost to you. These commissions help me keep this site up and running, in order for me to keep providing helpful and inspiring art content. :)
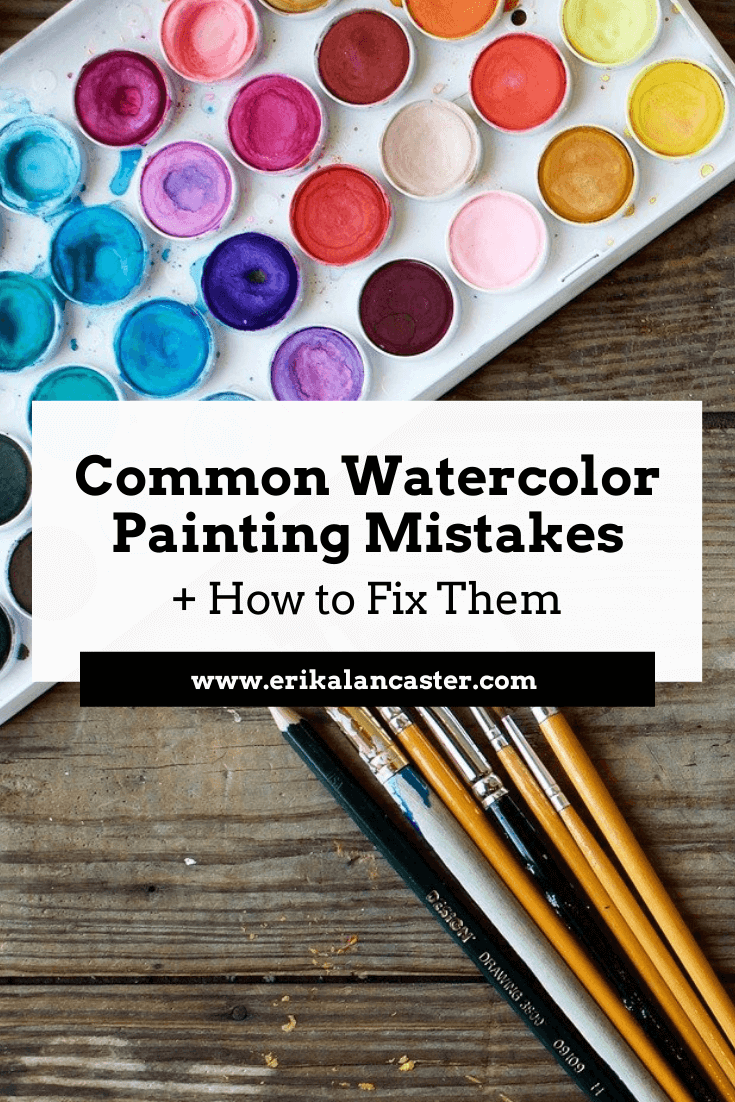
Do you feel like you're constantly fighting against your supplies when painting with watercolors? Feel like a failure after every single little mistake you make throughout your painting process? Do you frequently end up frustrated with yourself and throw away more paintings than you actually keep? In today's post, I'll be sharing five common watercolor painting mistakes and what I personally do to fix them or avoid them altogether. By making use of these tips and tricks, you'll end up with a painting that is going to have way more positives than negatives. When using watercolors, we cannot just simply cover up our mistakes with a new layer of paint. This artistic medium requires us to be much more mindful and delicate, even, right from the start of the painting process. I use several different kinds of paint for my own work and when I make the switch to watercolors, it helps me to remember that I'm using this medium's transparency, in combination with the whiteness of my paper, to produce a wide range of values. I am not covering up my substrate and layering paint, as I would with oils or acrylics, but using my paper in itself as my lightest value. This is what's going to help create watercolors' distinctive "glowing" effect. There's way more of a chance that you'll produce a great watercolor painting if you do, at least, a bit of planning before starting, and are able to remain patient throughout the process. It's also essential that you are aware of this medium's characteristics and have practiced basic exercises before jumping into a more complex subject. I highly recommend reading my blog post titled 10 Things I Wish I Knew Before Starting With Watercolors if you're just getting started. All this said, it's important to know that you don't have to get frustrated with yourself and throw away a painting every-single-time you've made a mistake. If you're mistake is small (which it should be if you're staying focused throughout the process), there most likely will be a way to make it less noticeable. There are also specific things you can do to avoid these mistakes in the first place! For the time-lapse video included in this post, I painted a subject that I knew would be extra challenging for me and would allow me to demonstrate how I approach my mistakes on a real project. Though I knew that my painting wasn't going to be "perfect" when that first mistake happened, I was determined to push through, and I'm happy I did. I learned a lot from it and will apply this knowledge in future paintings.
|
|
|
|
Five Ways to Avoid or Fix Watercolor Mistakes
It's important to understand that no mistake will be completely erased with any of these techniques. What you're trying to do is make them less noticeable, so that they don't distract from the great areas of your painting.
Mistake #1: Accidentally covering up your lightest areas (highlights)
Make sure that you take time to plan and decide how you'll be protecting your lightest areas before starting with the painting process. You can do this by either creating a "map" for yourself (drawing small shapes around these areas using a pencil) and very carefully working around them as you're painting.
If you're painting a very complex subject with very small areas you want to protect, I recommend using masking fluid, as I did to protect the whiskers of this cougar.
To learn everything you need to know about using masking fluid with watercolors, visit my blog post titled Using Masking Fluid with Watercolors: Everything You Need to Know.
How to fix it:
Use the lifting technique to remove some of the pigment from your paper. If your paint is still wet, simply take your rag or paper towel and gently blot your paper with up and down motions (not sideways as this will damage the paper).
If your paint is already dry, no problem! As long as you're using decent quality watercolor paint, they can be reactivated by re-wetting them. All you have to do is rinse your brush well, remove excess water from its bristles and do gentle circular scrubbing motions in the area.
Don't go back in with too much water, though, and stay mindful about not damaging your paper.
Remember that the more wet your paper is, the more fragile it is. So once you've removed all you can, just let it go and allow the area to dry.
*It's important to know that different colors are going to have different staining qualities on your paper, and that the quality/type of paper you're using will affect the outcome of this technique.
*Also, the thicker the paper you're working on, the more scrubbing and lifting it will allow without you damaging it. These techniques won't work well if you're using lightweight paper. I love working on paper that's 140 lbs. and thicker.
Mistake #2: Laying down too much dark paint in the beginning stages or creating flat/stark looking shapes or lines
Remember that a good watercolor piece requires patience. Take your painting one-step-at-a-time and always start with light, translucent values and work your way towards darker darks incrementally.
Look at your reference and add your darkest values only where you actually see them (usually even these areas have somewhat of a variation in color and translucency in them in order to avoid flatness).
Generally speaking, you want to keep very dark/saturated colors only in the areas that really require them and make use of the medium's translucent qualities.
How to fix it:
Went a bit crazy laying down way too heavily pigmented paint mixture in a larger area (or sooner) than intended? Don't fret! Use the lifting technique described in the previous point using your rag to gently blot the area while it's still wet or use your clean, damp brush to do some scrubbing.
Be gentle while you remove as much pigment as possible and allow to dry before attempting to do anything else in that area.
You can also use the pulling/spreading technique in order to dissipate the concentrated pigment into a larger area. Of course, you don't want to spread that pigment into areas that are meant to be white or affect other colors you've already placed, so be careful.
I've found, dissipating that stark line or edge into a gradient really helps remove that flatness that we've mistakenly created. Do what you can and leave it. Move on to work on other areas of your painting.
Later on, when the area is completely dry, you can go back in and make any overworked areas less noticeable by adding more paint carefully and playing around with values/washes.
Mistake #3: Bleeding colors (when you didn't plan for them)
It's really essential for you to know the different effects that watercolors allow and when to use different techniques. I wouldn't recommend moving onto a complex piece if you haven't practiced simple exercises that will allow you to know your medium's characteristics.
Essentially, when you place a paint mixture on a previously wetted paper, it will expand/bleed/intermix. This is referred to as the wet-on-wet technique and will lead to a blurred-out effect that you, most likely, do not want in some areas of your painting.
Before starting with your painting process, give thought to what areas you want blurred out, and which you want more definition in. The more defined you want an area, the more important it is for you to wait for the previous layer of paint to dry before applying more paint on top.
How to fix this:
Gently blot your paper with your paper towel immediately when this intermixing starts happening in order to prevent it from expanding more. Allow it to dry completely.
If the mistake is small and the color left behind is faint, chances are you will be able to add more definition to the area with subsequent layers once it's dry.
Mistake #4: Creating muddy colors
How to avoid this:
The very best thing you can do in order to avoid muddy colors to begin with, is to take time to test and experiment how the pigments you're planning to use mix together. Before starting to paint, give thought to the color palette needed for your composition. Plan the exact colors you'll be using, and keep your palette limited (5-6 colors usually works for me).
I cannot paint without my scrap piece of watercolor paper beside me that allows me to constantly test out color mixtures and transparencies throughout the process.
Know and understand the Color Wheel and the relationships between colors. Explore Analogous and Complementary colors, and decide how you want to approach deepening color values and creating shadow effects.
Take time to do exercises before even attempting to paint a complex subject or else you'll end up frustrating yourself more than you need to.
In the third class of my free Watercolor for the Total Beginner Mini-Course, I walk you through several color mixing exercises, which you'll find extremely useful!
*Don't mix more than 3 different colors together, unless you know what you're doing.
How to fix this:
If you've mistakenly laid down a muddy color on your paper, try to absorb what you can while it's still wet and allow the area to dry. There are some cases in which adding a light wash of a brighter color on top, will make the mistake less noticeable.
Mistake #5: Overworking or damaging your watercolor paper
If you're anything like me and you enjoy using techniques like scrubbing, lifting and layering, buy decent quality paper that's at least medium weight or thicker (140 lbs. and heavier). I personally cannot work on thin, flimsy paper.
However, even when using thick, quality paper, it's essential to learn when to stop and allow your paper to dry. The more experience you gain, the faster you'll be able to recognize when your paper needs time to recoup!
In the video included here, you'll notice I jump around a lot. If I do something I don't like, I absorb/lift what I can, and leave it. I work somewhere else and come back to that area to fix it later. I do not obsess over imperfections and move on with the process.
How to fix this:
Damaged paper simply cannot be fixed (unless you want to cut that part off). Of all the mistakes mentioned in this post, this is probably the deadliest, so stay mindful throughout the process so it never gets to this point.
Try not to get to obsessive over your mistakes, take a learning experience for what it is, and move on with the work you can do.
To finish up this post, I want to encourage you to not get frustrated over small mistakes. There is a certain beauty behind imperfection, and what you should be striving for with each piece is progress.
Trying to chase perfection with every single drawing or painting you create is probably going to end up hindering you and not allowing you to move forward as fast as you could.
Thanks so much for reading!
My sister loves to paint and I'm going to share these with her. Your paintings are amazing!
Christina,
Thanks SO much for taking time to check out my post and for your kind words! I really appreciate you taking time to do so, and for sharing this with your sister! :)
Take good care of yourself!
Hi Amber,
I'm SOOO happy to hear that you found this post helpful! :) It's challenging to go through that learning curve in the beginning, but you can totally do it if you are patient and keep at it!
I'm sure you could to this, too!
Thanks so much for taking time to comment!
These are great tips for beginners like us! Time to paint our masterpiece lol
Hey, there!
I'm happy to hear you found this post helpful!
You should totally go for it! Art is SO rewarding! :)
This article brought back so many memories! I remember when I first started this medium (in high school) and I despised it (painting people portraits) until I painted my dog and omg was it a beautiful process. I ran into the first issue you mentioned, covering up my white spaces until I was introduced to the masking fluid. That soon became my best friend! Thank you so much for this article, I hope I can get back at creating in the near future :)
Hi Rebecca,
I totally get what you mean! Those first few paintings of mine were AWFUL and it's very easy to get frustrated with oneself!
There are still a lot of improvements I want to make with my watercolor painting, but through being patient and consistent, I've managed to improve a ton already, which tells me that I'll only improve more and more.
I hope you get into it, because art is SO rewarding! As you mentioned, when you created those beautiful pieces, there's NOTHING like it!
Thanks so much for taking time to comment!
Hi Jana,
You're totally right... we ALL make mistakes... CONSTANTLY! And this is no reason to give up on the things that we love.
I know that it can be super frustrating in the beginning, but with practice and patience we'll totally get there! :)
Thanks so much for taking time to comment!
Hi Kristen,
So true... the characteristics that make watercolors difficult to work with are also what make them so unique and different from other kinds of paint!
Thanks for checking out this post and I do hope you have time to paint, some time! :)
Hi Briana,
Thanks for checking out this post and taking time to comment! I'm happy to hear you found it interesting even though you don't paint. :)
I'm not so familiar with water colors and painting but I find these really helpful. And you paintings are beautiful!
Hi Naomi,
Thanks so much for checking out my post and for your kind words. I really appreciate it! :)
I like your suggestion to create a map of the lightest areas in the painting to make sure they don't accidentally get covered. I've always enjoyed art and am interested in trying the medium of watercolor painting, but I want to learn more about the techniques first. I'm glad I read your article because I hadn't heard of the technique to map the painting's light areas beforehand.
Hello Daphne,
I'm so happy to hear that you're starting with watercolor and that you found some useful nuggets in this article.
Planning for highlights is SO important when painting with watercolor, and it was one of the things that was hardest to get used to for me (as I came from a background of oils and acrylics).
If you haven't checked out my Watercolor for the Total Beginner class that my email subscribers get access to (for free) I highly recommend you do!
It's full of fundamental things I wish I knew when I was first starting with this painting medium, useful exercises, as well as tons of different techniques. https://mailchi.mp/1bd771b97ce5/l2aj387g3f
Thanks so much for checking out this article and wish you all the best in your watercolor painting journey! :)
I'm actually comfortable with acrylic paint more than using watercolor, that's why I would like to learn more about the latter. I never knew that covering the lightest is forbidden. Maybe it's best if I'll just take a watercolor painting program, so I'll learn faster.
Hello Rachel,
Thanks so much for checking out this blog post.
Yes, in many ways, watercolor is the opposite to painting with acrylics and oils. And switching between different painting mediums is very challenging, for anyone, no matter how long we've been painting.
Each medium comes with it's own positives and negatives and specificities to get used to.
Planning and protecting the highlights throughout the painting process is important when working with watercolors, as the white of the paper stands for our lightest areas, as opposed to painting with acrylics in which highlights are most often than not added until the end.
This doesn't mean, however, that it is forbidden. :)
Lots of artists out there add highlights until the end using white gouache, acrylic paint pen, etc.
I have a lot of real-time watercolor tutorials in which I talk you through the entire process and provide downloadables via my Patron page, in case you're ever interested: https://www.patreon.com/erika_lancaster_artist
Wish you tons of progress and enjoyment in your art journey.
Much love,
Erika
Hi, Neena! :)
Thanks so much for reading and taking time to leave a comment. Means the world.
Glad to hear you found some helpful nuggets.
Wish you tons of enjoyment and improvement in your art journey!
Hey, there!
Thanks so much for reading and taking time to leave a comment. :)
Watercolor is a tricky medium, for sure!
Keep on learning and practicing and improvement will come. Promise!
Wish you a lovely day!
Watercolor Mistakes which you have seen again and again in beginners?
Hi, Vinayak!
Hope you're having a lovely day.
All of these are mistakes I've seen a lot in my beginner students and that I did myself when I was starting with this tricky painting medium. All of them. :)
Wish you tons of enjoyment and progress in your artistic journey!
It's great to learn that you should avoid mixing three different colors when using watercolor to paint. My wife is wanting to improve her art skills and she was wondering how she could start using watercolor to paint. I'll be sure to tell her that she shouldn't mix three different colors when painting with watercolor.
Hi, Aaron!
Hope you're having a great day.
I would definitely recommend keeping it simple, limiting your colors, and keeping your color mixing palette as organized as possible, especially when you're just getting started with painting.
Especially when you're just starting to learn about Color Theory and mixing colors, as it's very easy to create mud!
When working with watercolor, we cannot take back our mistakes or cover them up like we can when working with opaque painting mediums such as acrylics or oils, so it's even more important to plan the colors we'll be using and going in with at least a general strategy.
Wish your wife a ton of enjoyment and improvement in her journey with watercolor!
Thanks for reading and taking time to leave your valuable comment.
Thank you for providing these suggestions. They're really beneficial to newcomers like me.
Thank you for sharing these tips. they are very helpful for beginners like me
Hi, Mimi!
Thanks so much for reading.
Glad this one was helpful.
Wish you tons of progress and enjoyment moving forward in your journey. :)
Thanks for sharing this article ! it's really useful
Hi, there!
Thanks so much for reading.
Glad it was helpful.
Wish you a lovely day.
It is always great to stumble across an interesting topic of yours like this.
Leave a Reply.

is a participant in the Amazon Services LLC Associates Program, an affiliate advertising program designed to provide a means for sites
to earn advertising fees by advertising and linking to amazon.com.
www.erikalancaster.com
is a participant in the Shareasale.com Affiliate Program, an affiliate advertising program designed to provide a means for sites to earn advertising fees by advertising and linking to Shareasale.com partner companies.