Shading Objects Using Hatching, Crosshatching, Scribbling, and Other Drawing Pen Techniques7/11/2018 
*This post contains affiliate links. I receive small commissions for purchases made through these links at no extra cost to you. These commissions help me keep this site up and running, in order for me to keep providing helpful and inspiring art content. :)
Do you love the look of pen and ink drawings that demonstrate hatching, crosshatching, and other mark-making techniques, and need a bit of guidance to start putting them to use in your own work? How does one go about using the visual information taken in from a reference photograph and translate it into a pen and ink sketch that demonstrates three-dimensionality? In order to start adding a sense of believable form to a sketch, it's essential to understand how to create a variety in values using the art medium at hand. It's also very important that we practice taking in the visual information presented to us through either photographs or real-life subjects, so that we're able to describe form effectively through drawing. Using pen and ink can be intimidating at first due to the fact that it's permanent and we need to use mark-making techniques to create different values. There is a large variety of mark-making methods and they all lead to very different results. In today's post, I will be sharing the process that I go through when creating pen and ink sketches of objects using photographic references. I will be walking you through each step, from the selection of a great photograph, to preparing an initial pencil sketch, to actually filling that sketch in with ink marks. I will be exploring six different mark-making techniques so that you're able to see how the outcomes compare to each other. In my previous blog post titled Pen and Ink Sketching: 6 Shading Techniques, I gave a thorough explanation of each of the six techniques I'll be using here today. I focused on how to go about creating marks successfully using each, and provided essential exercises for beginners to start off with, including how to actually use them to start adding shading and form to an outline drawing of a cube. If you're a beginner just starting out with pen and ink, I highly recommend checking my previous post out. Both that post and this one include free downloadable pdfs that you can print out at home and practice with. *Find these free downloadables at the end!
If you enjoyed this video and found it helpful, make sure to subscribe to my YouTube channel. I share a brand new video every week with art tips, drawing and painting tutorials and mindset/productivity tips for artists. *Subscribe HERE*
My Process When Creating Pen and Ink Studies Using Photographic References
|
||||||||||||||||||||||||||||||
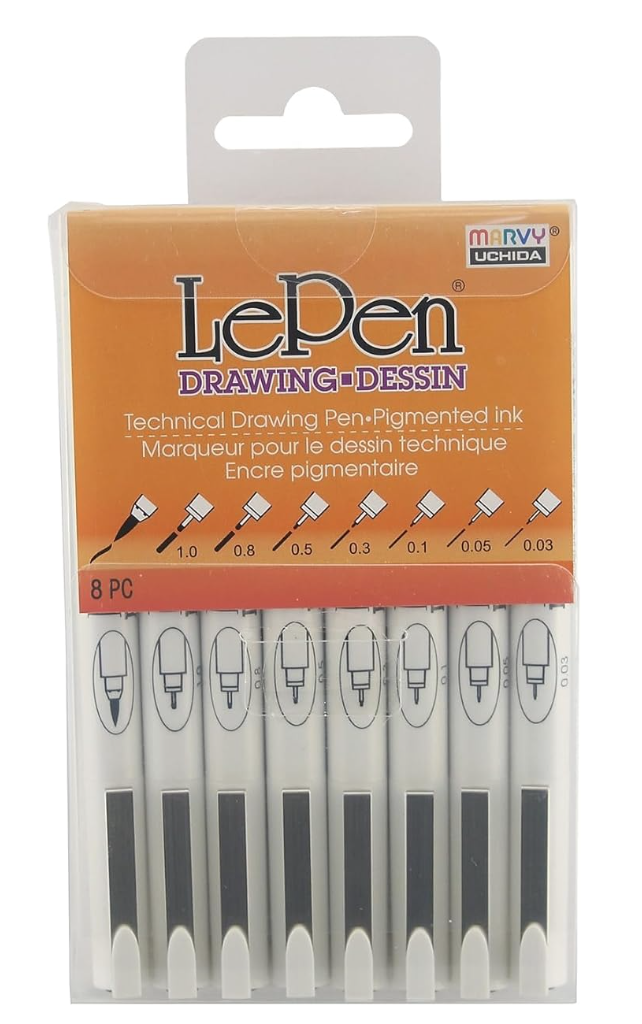
LePen Drawing Pens 8 Piece Set
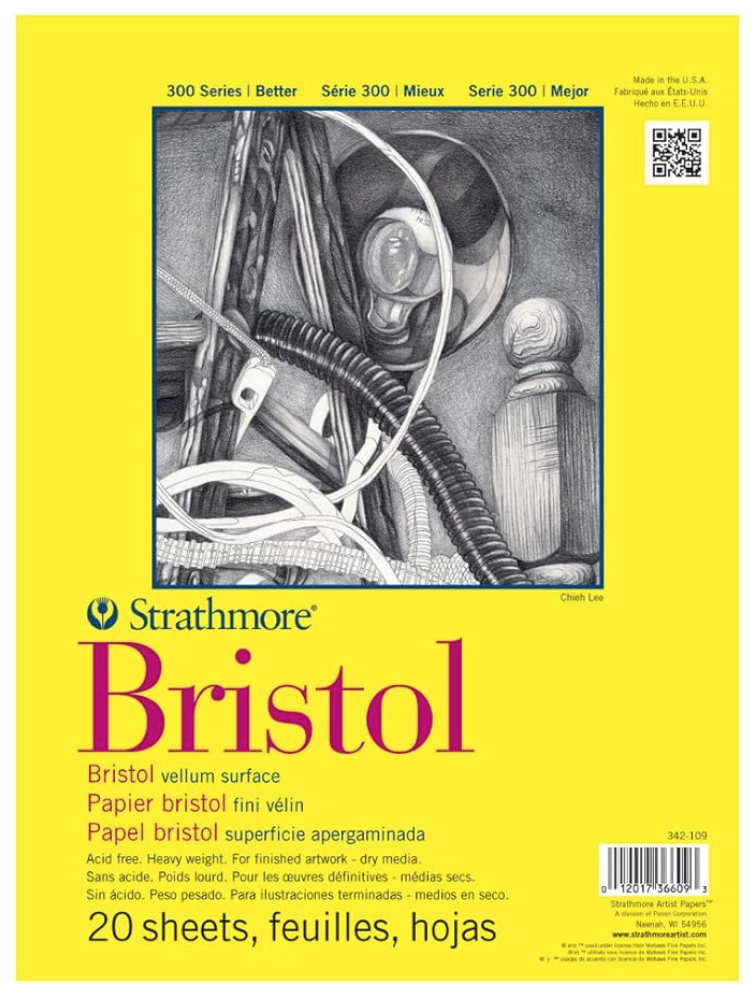
Strathmore Bristol Paper Vellum Surface
|
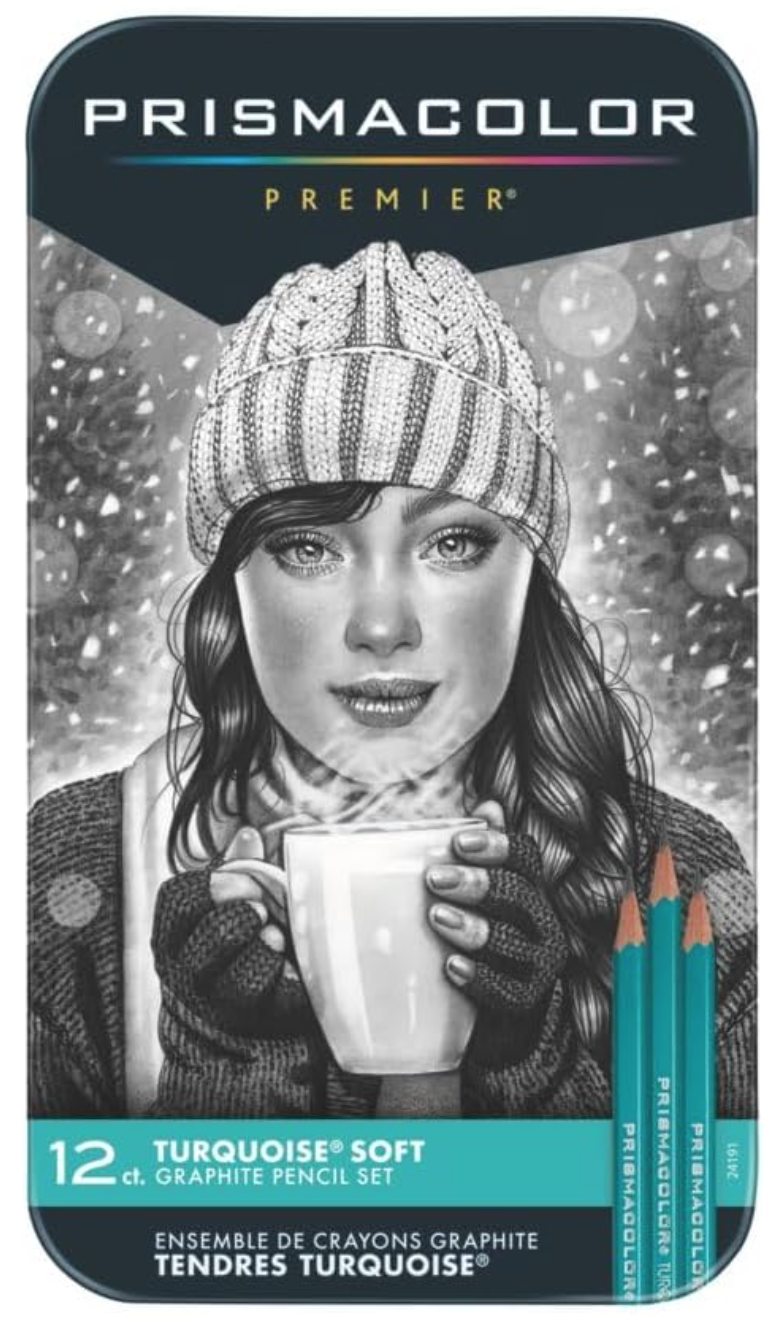
Prismacolor Premier Turquoise Drawing Pencils
Faber-Castell Dust Free Soft Graphite Erasers
|
2. Warming up
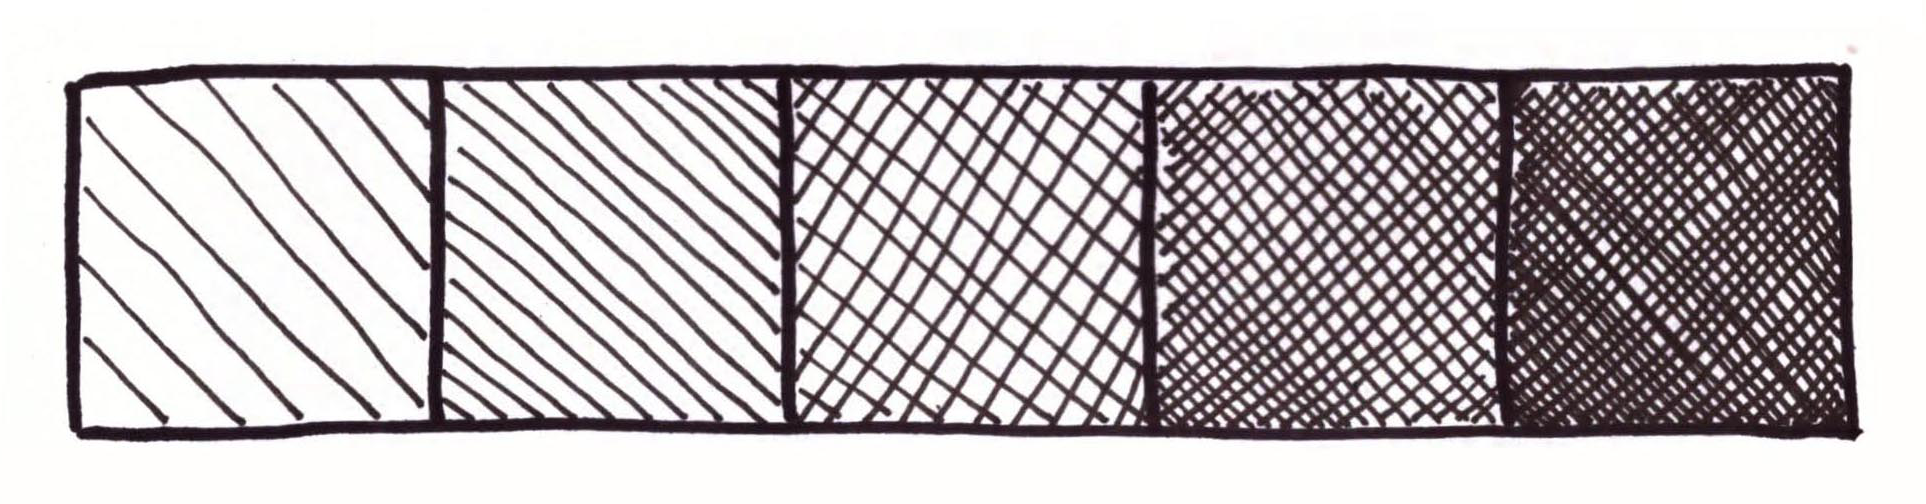
I enjoy warming up my hand by practicing the marks I will be using in my studies on a scrap piece of paper. If you're a beginner just starting with pen and ink and you're setting out to sketch an object in a way that actually transmits form, I suggest practicing value strips as well (there is a pdf at the end of the post that you can use to practice with).
It's absolutely essential that you understand how to create a variety in values using marks when it comes to sketching with a drawing pen, especially if you're looking to add believable structure and form to a drawing.
3. Choosing a great reference photo
When searching for a photograph to use as reference for any kind of art study, there are a few things you have to keep in mind. First, make sure that its contents are suited for your current skill level, especially when you are exploring a new medium.
This way, you'll be able to focus more on the new medium or technique. Aside from this, you must select a photograph that is high quality.
When I am choosing a photograph to work from, I make sure that it has a great resolution that will allow me to zoom in to view details as needed.
Photographs should also have great lighting, which means that they are not over or underexposed, and that there is a good range of values/balance between lights and darks.
If you have trouble discerning between light, mid-tone and dark areas, I highly recommend looking for photographs with a single light source and possibly opening up your image in an image-editing software like Photoshop to desaturate it.
Keep practicing this, because it's imperative that you gain practice doing this so that you're able to render values and place them accordingly when you're trying to make your drawings more believable.
To find more free, quality photographs to practice with, visit my post titled My Favorite Free Image Sites and Two Examples of References with Finished Illustrations!
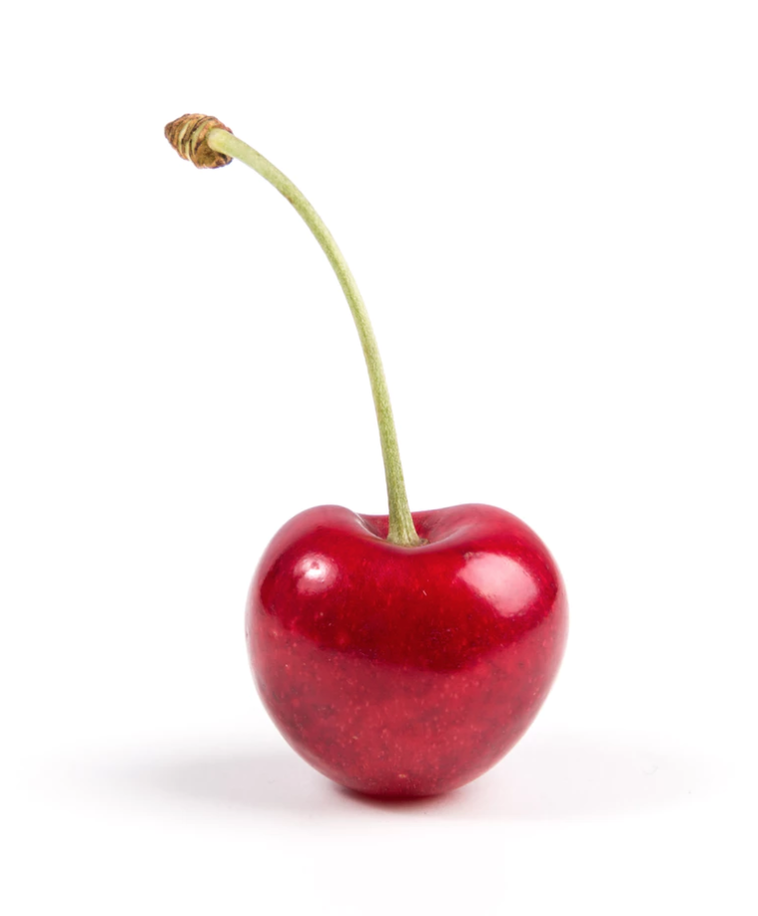
Photo by Thomas Quaritsch from unsplash.com. Click on link to visit site and download for your studies.
|
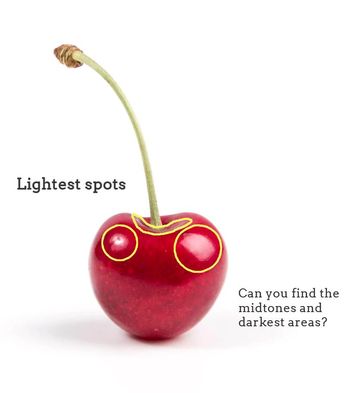
Photo showing lightest areas.
|
4. Creating an initial outline sketch (and lightest values map)
Once I have taken a moment to observe my reference picture and have pinpointed lightest and darkest areas, as well as mid-tones, it's time to create my initial pencil sketch!
This will entail creating a simple outline drawing of my object, paying attention to proportion and location of separate elements in regards to each other.
Also, at this point I also create a "map" for myself that will remind me where my lightest areas are located, so that I can protect them and leave them untouched by any marks. You can make this "map" as detailed as you'd like if you feel that creating more shapes with your pencil will help you throughout the mark-making process.
If you'd like to skip the outline drawing phase of this study and jump straight onto the ink mark-making, you can download either the large single cherry outline pdf or the six cherry outline pdf so you can practice all of the mentioned techniques!
Both of these free downloadable worksheets can be found at the end of this blog post.

5. Laying down initial layer of marks
First, I outline my initial pencil sketch (minus the smaller "map" shapes) using my drawing pen. Then, similarly to my watercolor painting process, I leave the lightest lights completely untouched by any ink and start adding in my first layer of ink.
What I like to do with these faster studies, is fill in all my mid-tone to darkest areas simultaneously using light pressure on my pen, making sure to work around my lightest areas.
In other words, by the end of this step, my entire mid-tone and darkest areas already are covered with that first "light" layer of marks.
6. Adding darker values
This is the part of the process that is the most time-consuming, as I work back and forth between mid-tone to darkest areas doing my best to create gradual shifts in value until the desired form is achieved.
Throughout this process, I constantly look at my reference picture.
It's essential to not go overboard by adding too many marks in mid-tone areas, but also to not be scared of going dark where needed (which is usually only in small areas).
Remember that there has there has to be a good range of values within your sketch or you risk "flattening" it out!
At the end, you can outline your sketch using your drawing pen once more if you wish! :)
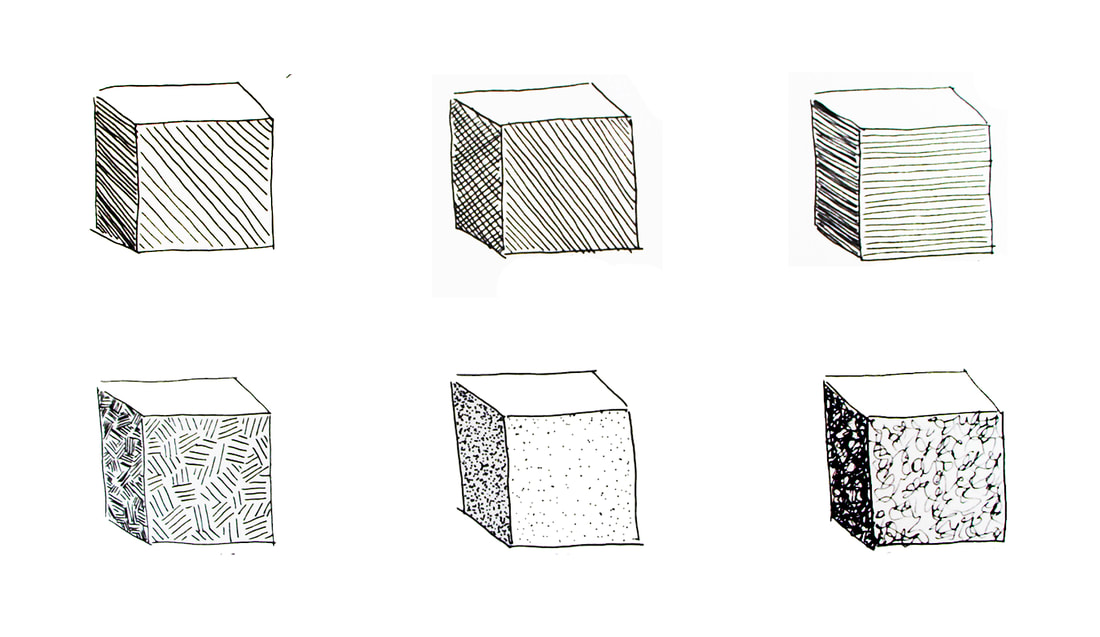
Comparing Different Mark-Making/Shading Techniques
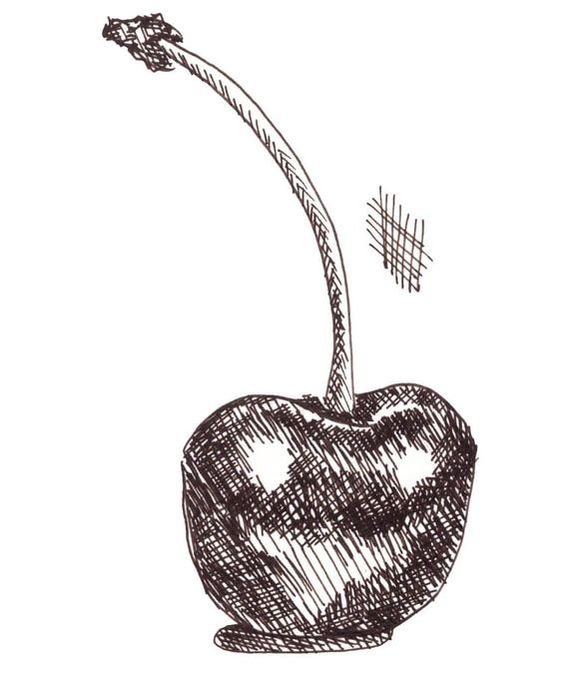
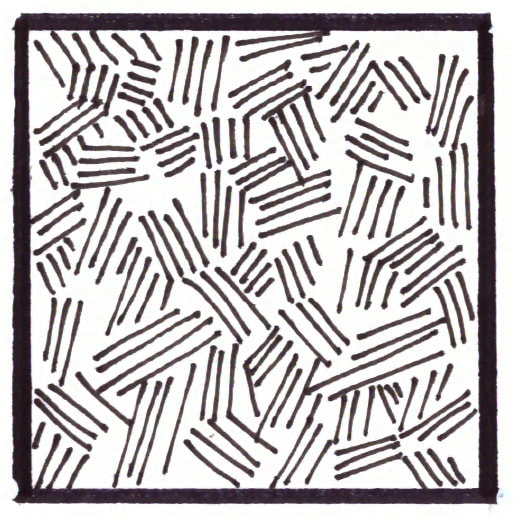
Hatching
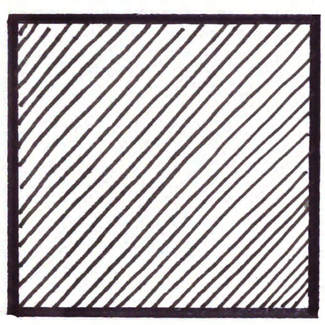
Hatching- Mark-making/ Shading technique
|
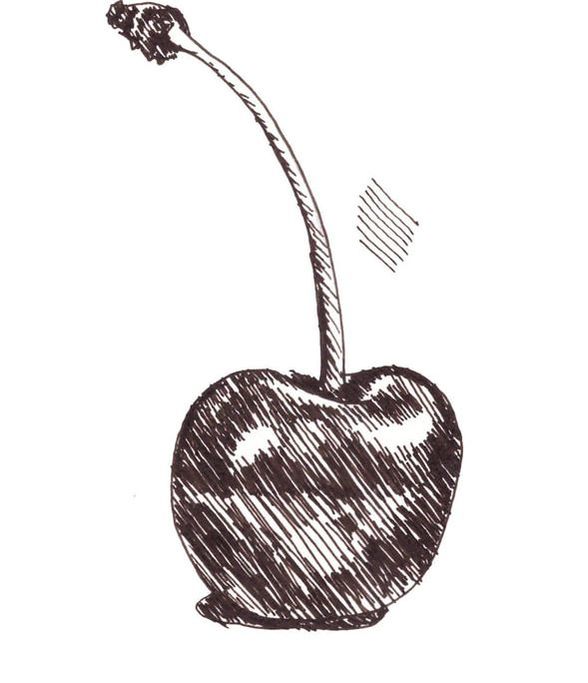
Cherry sketch showing hatching.
|
Crosshatching
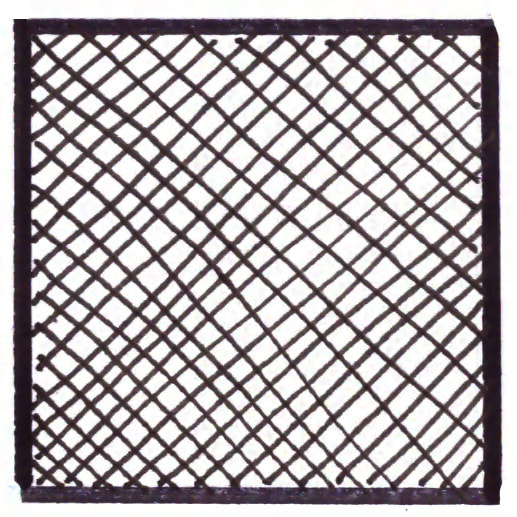
Crosshatching- Mark-making/ Shading technique
|
Cherry sketch showing crosshatching.
|
Contour Lines
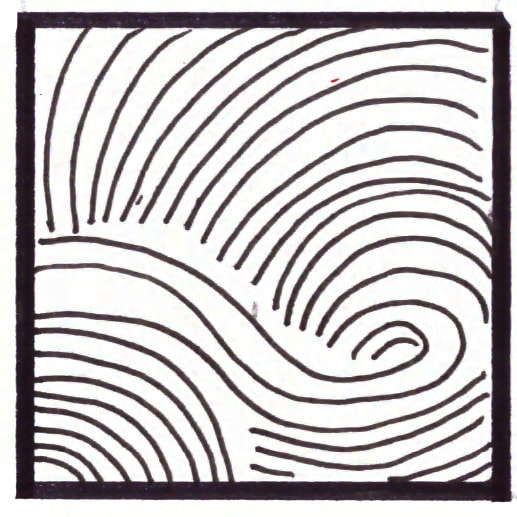
Contour Lines- Mark-making/ Shading technique
|
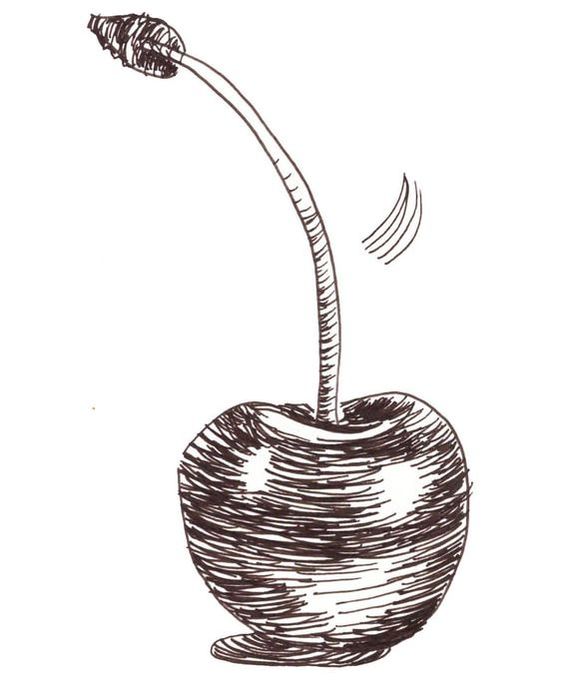
Cherry sketch showing contour lines.
|
Weaving
Weaving- Mark-making/ Shading technique
|
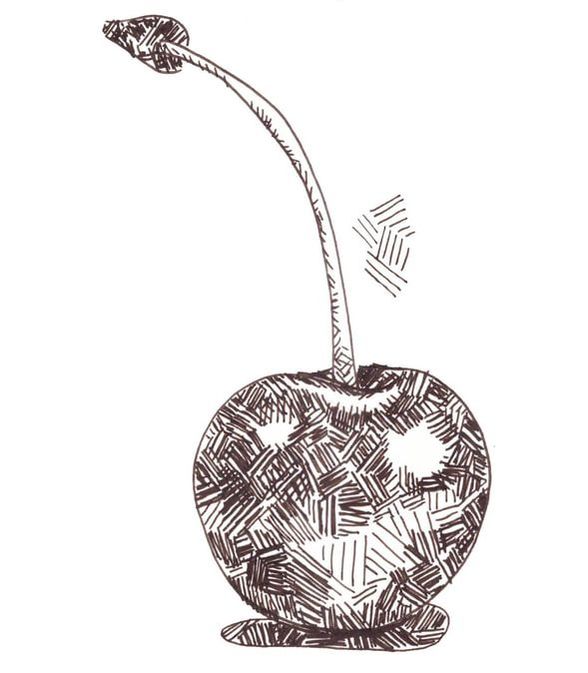
Cherry sketch showing weaving.
|
Stippling

Stippling- Mark-making/ Shading technique
|
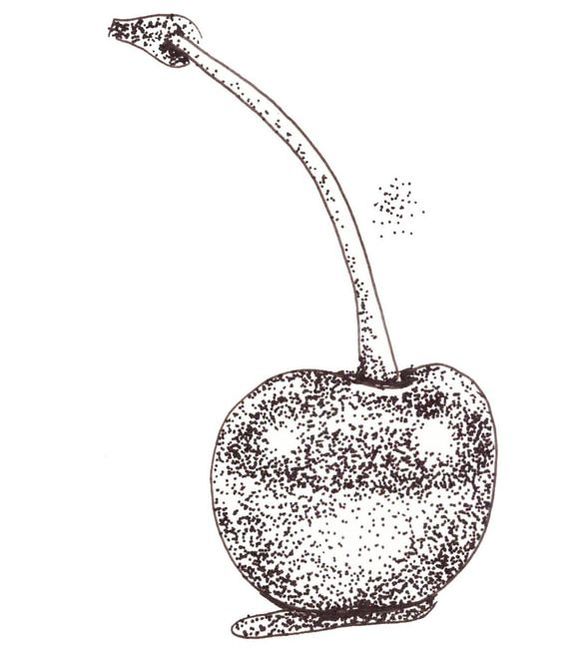
Cherry sketch showing stippling.
|
Scribbling
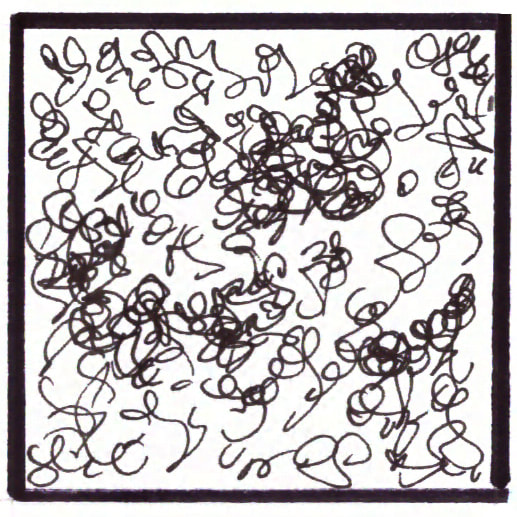
Scribbling- Mark-making/ Shading technique
|
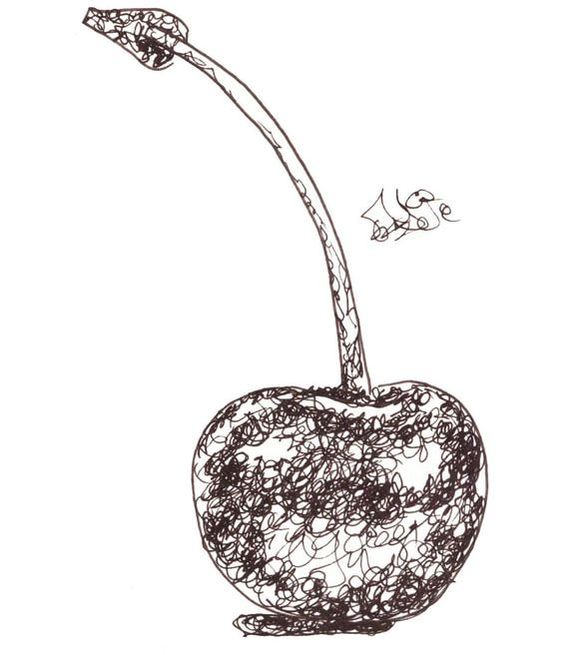
Cherry sketch showing scribbling.
|
I would recommend practicing at least a few different pen and ink mark-making/shading techniques because it's the only way you'll be able to know which ones come more naturally to you, as well as which can best create the effects you're going for.
My personal favorites are hatching/crosshatching and contour lines. I'd love to know which you like best below!
*Free downloadables!
| drawing_marks_lines.pdf |
| value_transitions_shading.pdf |
| cherry_outline_drawing.pdf |
| 6_cherry_outline_drawings.pdf |
Hi Nicole,
Thanks so much for checking this post out and for taking time to comment! :)
I'm happy you liked the look of these pen and ink shading studies.
Debrah,
Thank you so much for checking out this site I've created. Your words truly mean the world to me!
It makes me very happy to hear that you find it useful for artists starting out their journeys! :)
Hi Deanna,
I'm so happy to hear that you found this post clear and helpful! I try to be as thorough as possible with my tips and tutorials posts! :)
Thanks so much for taking time to comment!
I love to draw I found your site to have a clear message of understanding. Your teaching skills made this site interesting for more knowledge about the different ways to Cross - Contour Hatch. Thank you I will practice more later when I have more time in the day. I have taken Art classes in College loved it . My grade was A+ . In high school I took Commercial Art. I have thought about getting in a Art class as a hobby. At my age close to sixty and retired I think it would be a great hobby. Thank you again for this site to learn about Cross - Contour Hatch.
Hi, Tammy!
Thanks so much for checking out this blog post and taking time to leave your valuable comment.
I'm so happy to hear that you're working on your art and are thinking of taking up art classes as a hobby.
I've gained so much from art creation and creative hobbies, and really wish that for other art enthusiasts as well.
Love that you took Commercial Art in high school and that you're into alternative shading techniques. I can really relate to that as a Design student!
Wish you tons of progress and enjoyment in your journey, Tammy!
Hi, Erica ,
Thanks for your hard work ! Your explanation has solved my problem about hatching issues. I have watched some other channels, but yours is much better. I have subscribed your channel and I am going to follow it until finishing.
Thank!
Davis
Hi, David!
I'm so glad to hear that this one was helpful.
Alternative shading techniques can definitely be tricky.
I have a much newer tutorial over at my YouTube channel that you can find here:
Shading with Pen and Ink Must Know Tips and Techniqueshttps://youtu.be/gA0RCVNw1EE
Hope it's helpful and wish you tons of progress moving forward in your art journey.
Cheers!
Leave a Reply.


is a participant in the Amazon Services LLC Associates Program, an affiliate advertising program designed to provide a means for sites
to earn advertising fees by advertising and linking to amazon.com.
www.erikalancaster.com
is a participant in the Shareasale.com Affiliate Program, an affiliate advertising program designed to provide a means for sites to earn advertising fees by advertising and linking to Shareasale.com partner companies.
 RSS Feed
