|
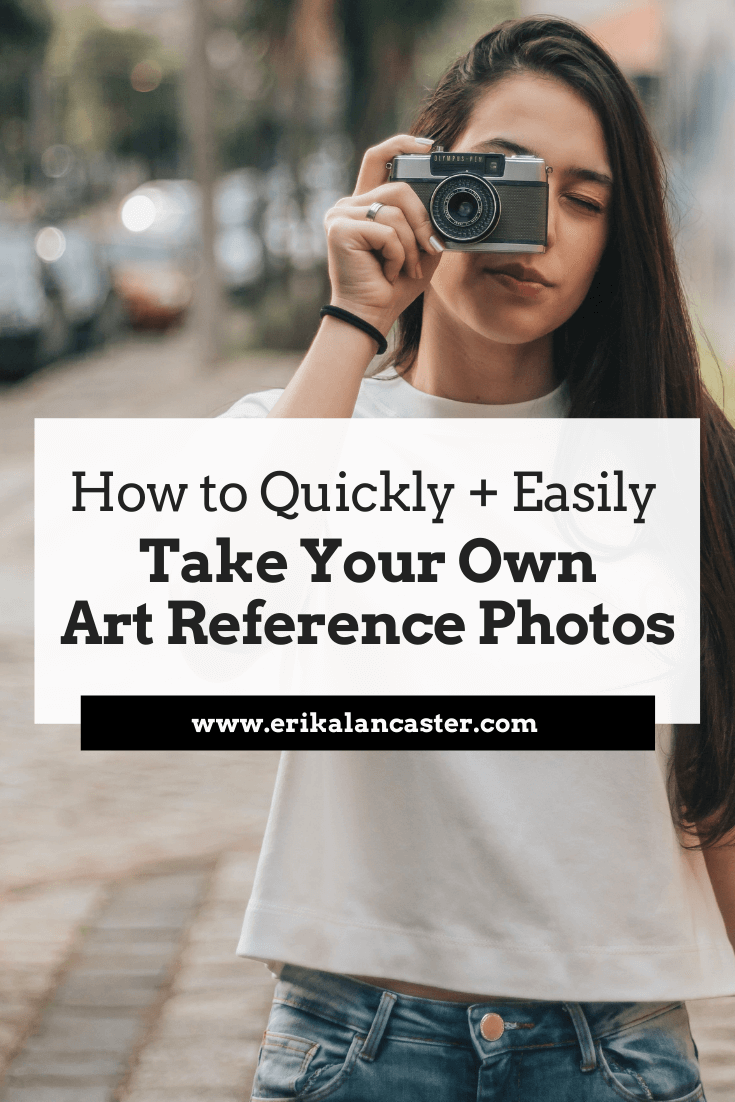
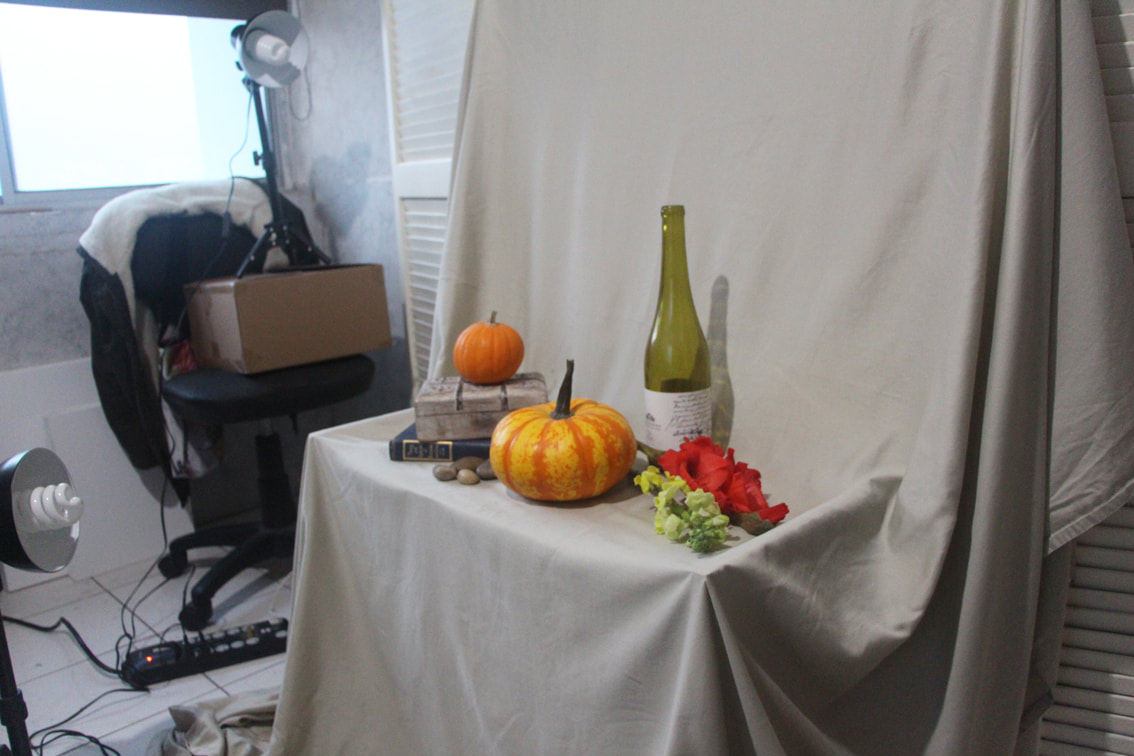
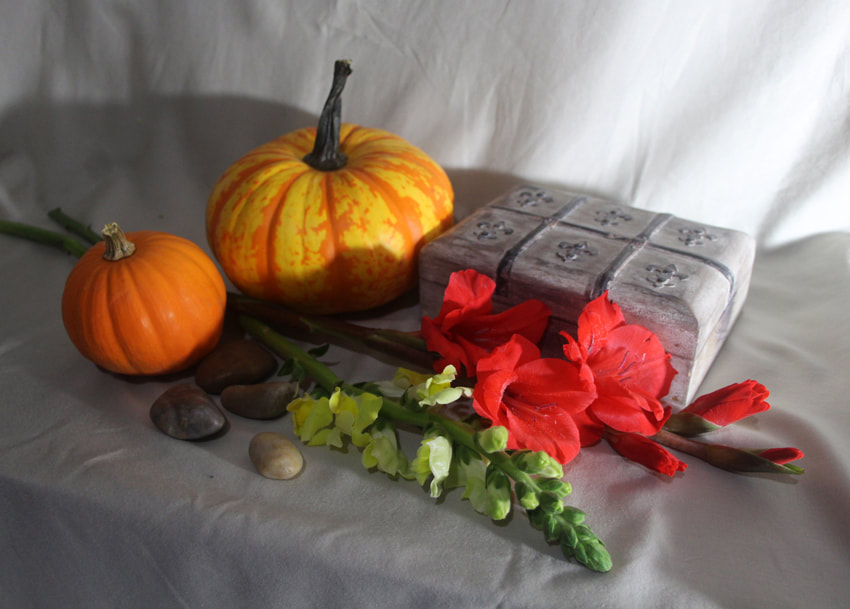
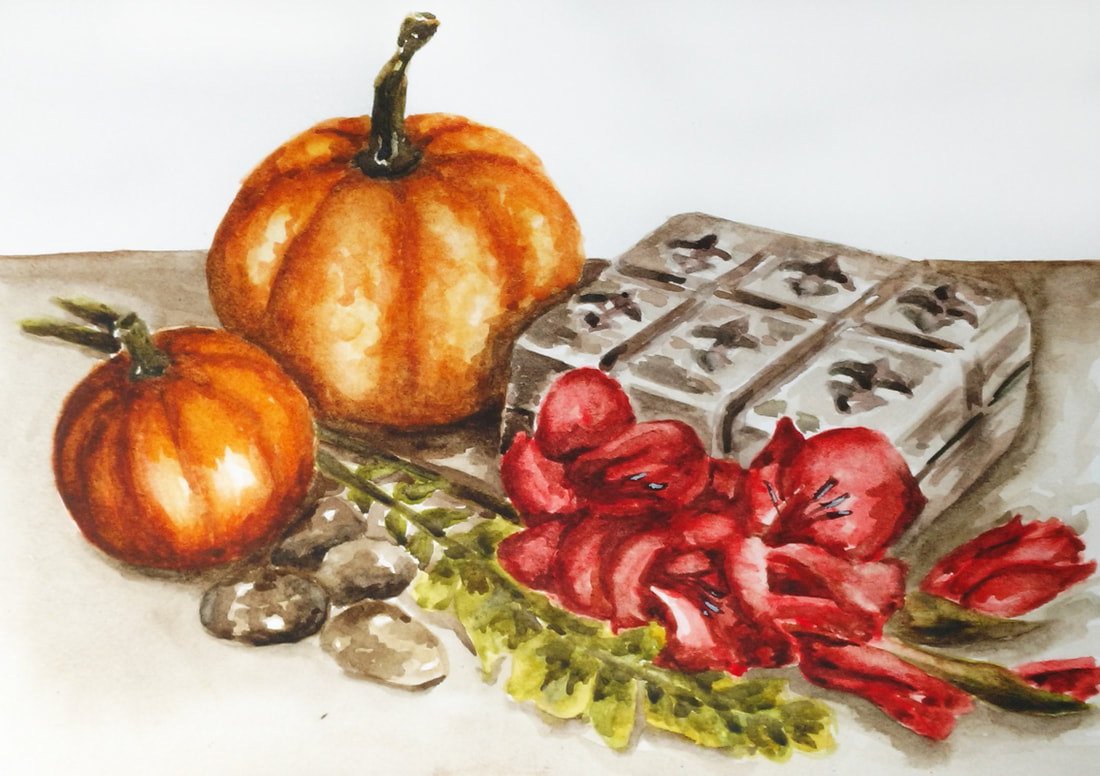
Are you constantly using photographs you find online as references for your artwork? Do you feel you lack the ability and/or resources to produce quality photographs to use when drawing or painting? More importantly, are you aware that not scheduling in time to produce your own reference images could actually be hindering your artistic progress? It is vital for an artist to work on forming an original collection of reference images to have at hand for both studies, as well as more finalized pieces. By taking time to produce our own original photographs we not only ensure that our artwork is truly unique, but we also start pinpointing subjects, colors, and general moods we are drawn to. This will all help us move toward finding our artistic voice and style. In last week's blog post (click here to read) I mentioned the specific situations in which using other people's photographs as references is acceptable. I also explain ways in which an artist can make sure he/she is progressing when using photos found online and ensuring that the finished piece is as true to the artist as possible. However, most of the time, we should be striving to work from our own photographic references. Today, I will give you ideas and the essential information you need in order to produce effective original photographs quickly and easily. It can actually be quite fun to do! This post includes a YouTube video in which you can see me create a still life arrangement in my studio and I also share a time-lapse of a watercolor painting created with the selected picture as reference. So make sure to check that out. This blog post is the second in a four-part series about the use of different types of references when creating artwork: 1. Using Other People's Photographs to Create Art (when it's okay to use other people's photos and how to do it in a way that will ensure your artistic progress) 2. Creating Artwork Based on Your Own Photography (click here to learn fast and easy ways to produce your own reference pictures) 3. Why Drawing from Direct Observation is Essential and 10 Tips to Improve (click here to learn why this drawing/painting method is so important in order to progress artistically) 4. Using Collage as an Effective Method to Create Unique and Expressive Art (click here to find out why collage is so powerful and how you can use it to your advantage) Why Making Time for Your Own Photos is Important (and Not That Hard to Do) Making time to take your own photos may sound tedious, especially when you want to get to the drawing/painting phase! However, it's important to remember that there is always at least a certain amount of planning and exploration behind an effective artwork. By producing your own reference photos, you have complete control of your artwork and are not limiting yourself to an image that already exists. Not to mention, most often than not, we end up loosing a lot of time looking for an image that inspires us to draw or paint, just to arrive at a photo that doesn't satisfy us completely. Producing your own reference photos will ensure that your artwork is 100% unique and personal to you. Creating your own library of reference images doesn't have to be complicated, time-consuming and you certainly don't need any fancy equipment. You just have to be creative with what you have and remember to take advantage of situations that you may be in on a day-to-day basis. Most cell phones these days have great cameras and you just have to remind yourself to take photos when you're out and about of subjects that call your attention. So no excuses!
If you enjoyed this video and found it helpful, make sure to subscribe to my YouTube channel. I share a brand new video every week with art tips, drawing and painting tutorials and mindset/productivity tips for artists. *Subscribe HERE*
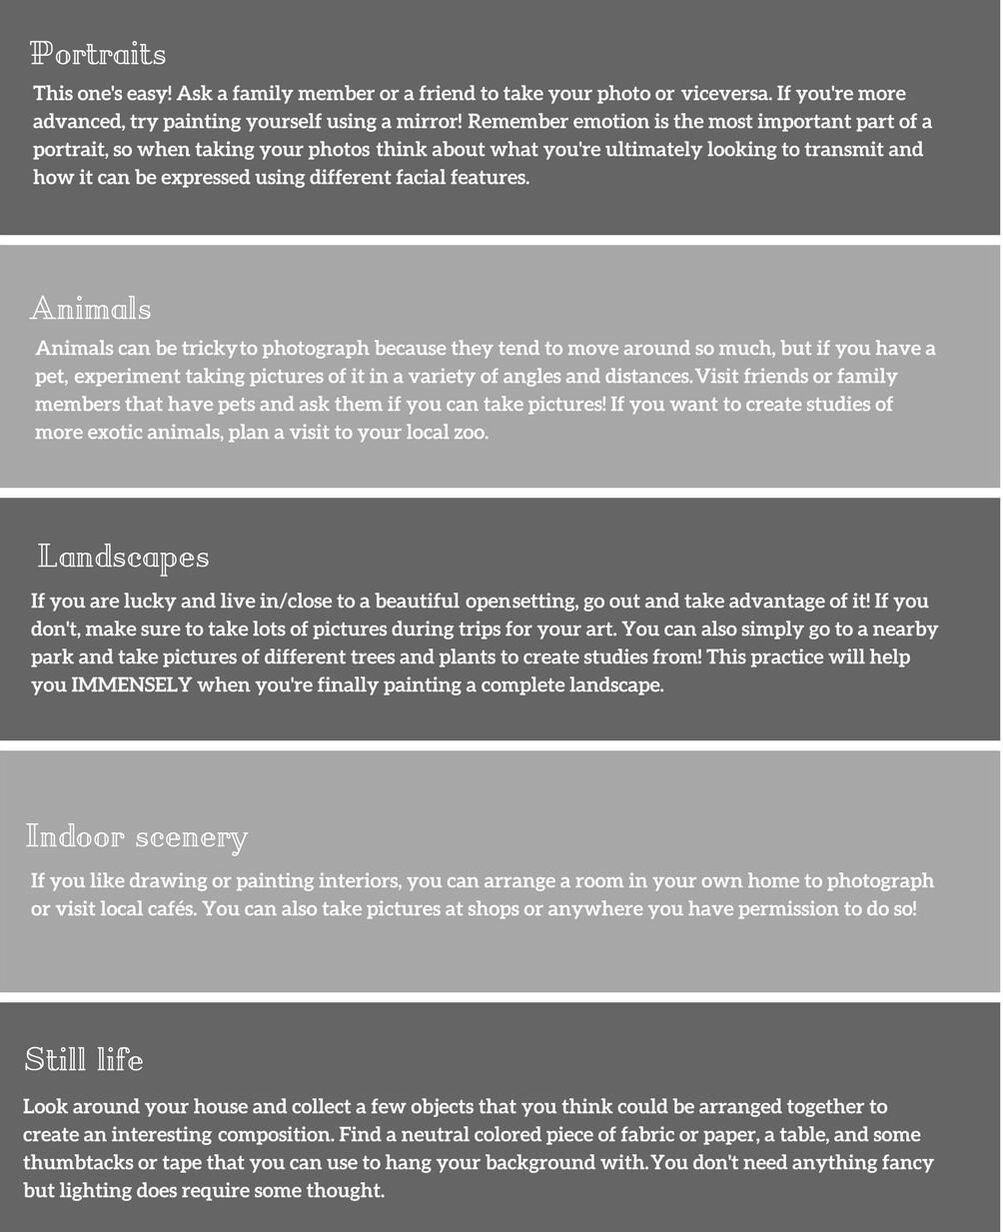
Tips to Produce Photos to Use as Art References 1. Planning There is always some amount of planning and preparation behind an effective artwork. Aside from deciding on a subject, you should think about what you want your final piece to transmit. Have this idea/emotion in mind when selecting a color scheme and creating the general mood of your photograph so that it can later be translated into a drawing or painting. Do you like to draw/paint portraits? Animals? Landscapes? Indoor scenery? Still lifes? The way you prepare for your photoshoots will obviously vary depending on your subject of preference, but I will give you a few ideas that will help you produce photos quickly and easily. 2. Producing There are a few key things that you have to keep in mind when producing photos that you are intending to use as references when drawing or painting. There is nothing worse than thinking you have a great photo just to find out that it's not going to work when opening the file in your computer or printing it out. A good reference photo should facilitate your drawing/painting process, not make it more difficult.
Resolution/Image Quality Make sure that you are taking high resolution pictures from the get-go. Blurry, grainy or pixelated pictures simply will not work. If you're using your cel phone, make sure the resolution is set at the highest possible and that you are focusing appropriately when taking your pictures. Lighting A good photograph should have a good play between lights and darks/shadows. Decide what your light source is going to be (natural or artificial) and whether it is going to be to the left or to the right of your subject(s). Use only one light source. You can experiment with different heights and angles, but avoid placing the light source directly in front of your subject(s). Also avoid using flash because it flattens out and washes out subjects. When using natural light, experiment with taking photos during different times of the day and see how shadows change. Composition Chances are you have already started developing a good eye for what makes a composition interesting and visually pleasing. If you feel you still need practice in this area, I recommend studying paintings created by your favorite artists and pinpointing how Elements and Principles of Art were used throughout the piece. Make no mistake, experienced artists know what they are doing when using Elements and Principles of Art and this is what makes their art so effective. Learn from them and take notes so you can apply these things in your own art. When taking a picture that you will be basing a composition off of, consider the separate objects as part of a whole. The famous Rule of Thirds is something that you should research if you don't know about it already. You can read about it in an old blog post of mine. Essentially, you should think about creating balance, harmony and interest within a piece. Ideally, there should be only one focal point in an image and you should consider how you will draw the viewer's eye to that specific place (you can use color, size, etc.). The rest of the subjects within the picture should be secondary, but should still work to lead the viewer's eyes towards different parts of the picture. Play around with angles, distances and arrangements throughout your photoshoots until you come up with a composition that you like. Lastly, don't rush! Try to enjoy this part of the process. Take a lot of photos and make sure that you keep them organized in the best way you see fit. Once I have selected the photograph I will be working from, I like opening it in Photoshop and adding a bit of contrast to it. At this point I also do any cropping or cleaning if the photograph requires it, but I keep it to a minimum because I can also change things throughout the painting process. 3. Using Your Photograph as Reference for a Drawing or Painting
For a complete list of my current favorite art supplies, go here.
A lot of artists like to print their photographs and place them beside the substrate they will be working on prior to starting an artwork. I personally rarely do this because I find it time consuming and expensive to go and have my prints made every time I want to create a painting. I like displaying the image for myself on my computer screen as large as possible and zoom in/out/around as needed. I do make sure to create my initial pencil sketch using my easel (either desk or standing), so that my laptop screen and my paper are in as similar angles as possible (this will ensure that perspective isn't distorted). If I am standing and working on canvas, I arrange my laptop at a height that is comfortable for me to work from. Finally, always remember that you have artistic license to modify things. How often do you use other people's photographs as art references? How often do you take your own? I'd LOVE to hear from you! Let's discuss in the comments section below.
0 Comments
Leave a Reply. |
www.erikalancaster.com
is a participant in the Amazon Services LLC Associates Program, an affiliate advertising program designed to provide a means for sites to earn advertising fees by advertising and linking to amazon.com. www.erikalancaster.com is a participant in the Shareasale.com Affiliate Program, an affiliate advertising program designed to provide a means for sites to earn advertising fees by advertising and linking to Shareasale.com partner companies. |





 RSS Feed

