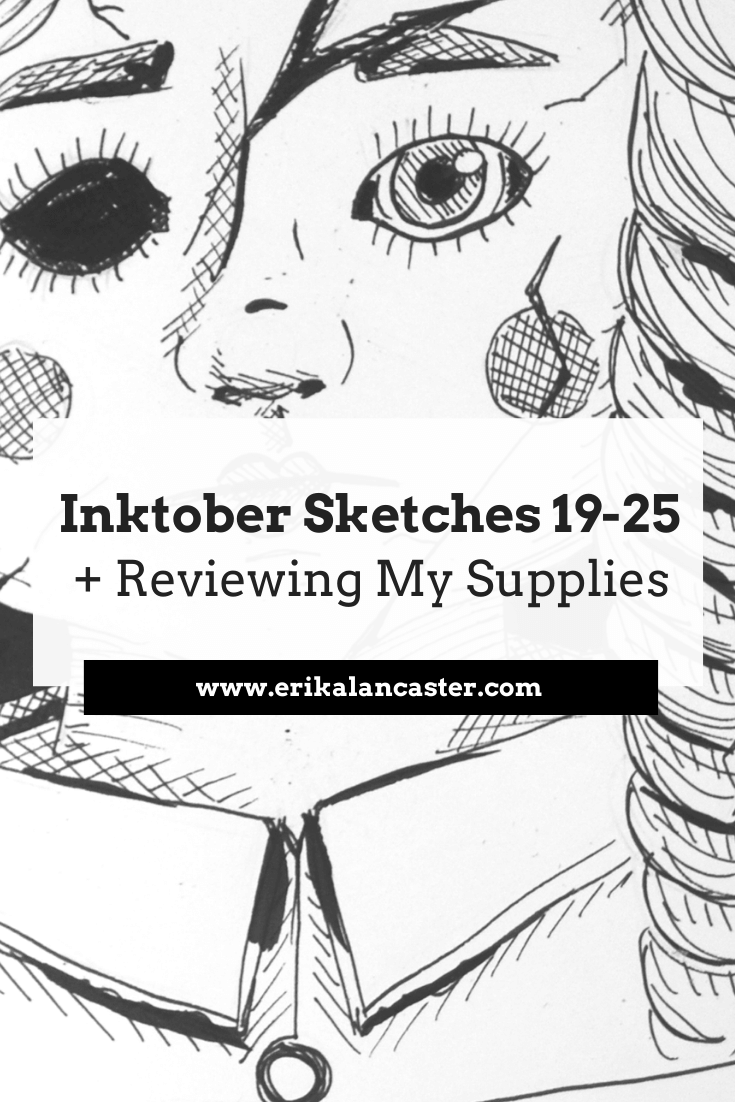
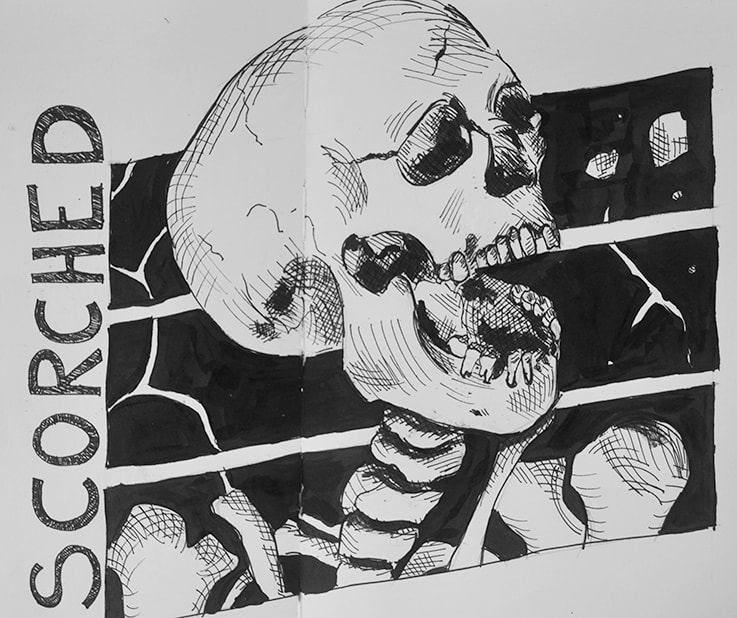
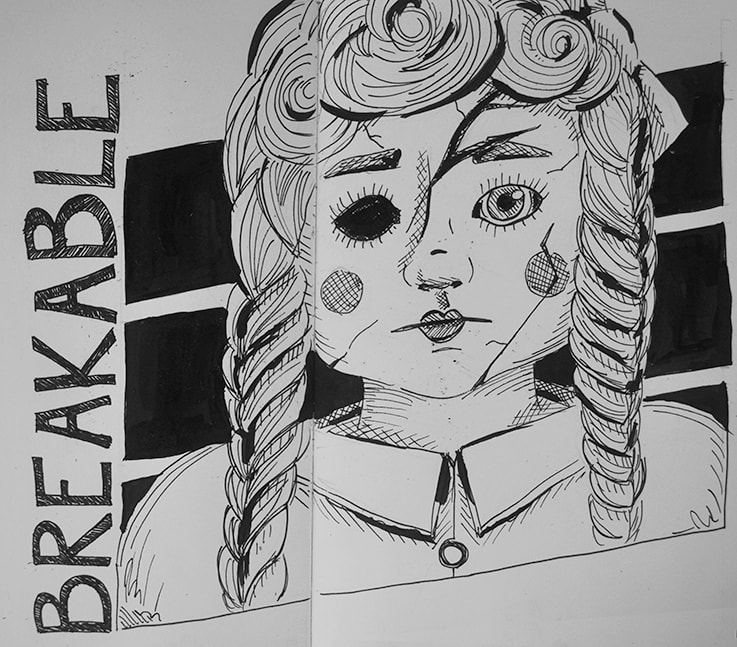
*This post contains affiliate links. I receive small commissions for purchases made through these links at no extra cost to you. These commissions help me keep this site up and running, in order for me to keep providing helpful and inspiring art content. :) In today's blog post/YouTube video, I'll be sharing Inktober sketches 19-25, as well as a review of the supplies I've been using throughout this challenge. I wanted to really put these products to the test and have a good amount of experience with them before I actually expressed any opinions. I have released several blog posts sharing tips and tutorials about pen and ink drawing that I highly recommend you check out if you haven't already (two very popular ones are this one and this one). In past YouTube videos, I've shared how much I enjoy using this drawing medium and why I think it's so effective at helping us progress our artistic skills. All this said, I had never used pen and ink as consistently as I have with this drawing challenge. I committed to participating in Inktober this year because I knew that creating a new piece every-single-day for an entire month would lead to amazing growth in a short period of time. The challenge would help me not only exercise my creativity continuously and gain confidence in my pen and ink technique, but would also test my time-management skills and even more mental/personal aspects. Over at my YouTube channel, I've shared all of my Inktober sketch time lapses so far: 1. Timelapses 1-5 + A Bit About My Thoughts and Process 2. Timelapses 6-11 + How I Come Up With the Ideas Behind My Sketches 3. Timelapses 12-18 + My Struggles So Far *The video included in this post is my fourth compilation of sketch time lapses and I'm closing this Inktober series with a last video including my final drawings, as well as a bit about what I've learned.
If you enjoyed this video and found it helpful, make sure to subscribe to my YouTube channel. I share a brand new video every week with art tips, drawing and painting tutorials and mindset/productivity tips for artists. *Subscribe HERE*
My Inktober SuppliesI knew I wanted to make a careful selection of supplies and stick with them throughout the entire month. This way, I would be able to come up with solid opinions about them. I bought all my supplies through Amazon and Blick Art Supplies this year. If you'd like to see a full list of my current favorite art supplies, go here. 1. Leuchtturm1917 Sketchbook
This was my first time using a Leuchtturm sketchbook and I really enjoyed it, especially in combination with drawing pens and ink. These sketchbooks are definitely on the more expensive side, but I'm really glad I invested in one and decided to use it for this drawing challenge!
The sketchbook is 15 x 21 cms. in size and is made up of 96 pure white 180 g/m drawing paper that is quite smooth. I love that the sketchbook includes two bookmarks and an elastic to keep it safely closed. These characteristics make the sketchbook perfect to take out for drawing in plein air or coffeeshops. I had a couple of different sketchbooks to pick from laying around that I could go for, but I went for this one for two main reasons: a) I knew that I wanted some areas of my Inktober sketches to have thick applications of ink and the thickness of its pages would allow for this. b) The pure/brilliant white of its pages would really allow my black ink lines/shapes to contrast and pop out! Though I find this sketchbook amazing for drawing purposes, I wouldn't recommend it for sketching with watercolors, as its paper is too smooth and I don't think it would hold/absorb water very well. I think it would, however, work pretty well for gouache and even acrylics. It's always a smart idea to give thought to what kinds of mediums you're planning on using in your sketchbooks before making a decision about which one to buy.
*This sketchbook is no longer available on Amazon, but you can find it on the brand's website here.
|


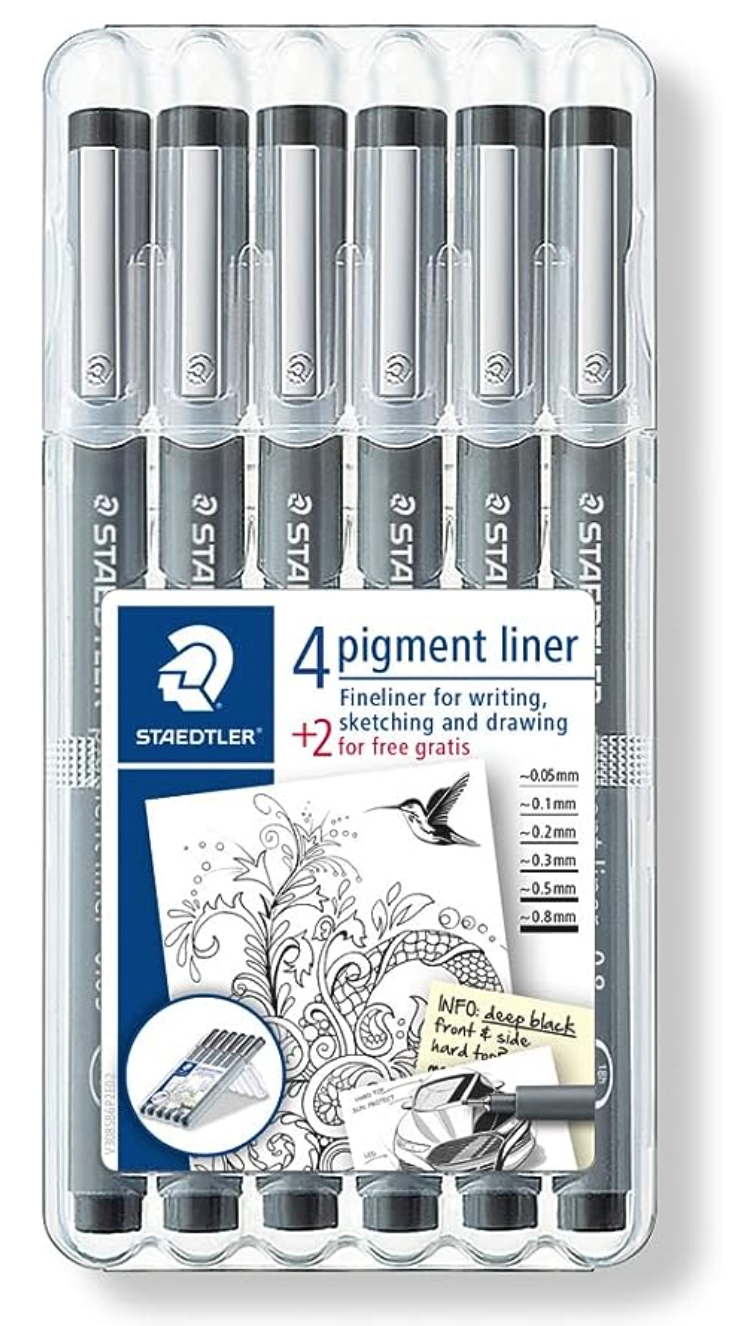
Staedtler Pigment Liners 6 Pack
|
|
3. Speedball Drawing & Calligraphy India Ink
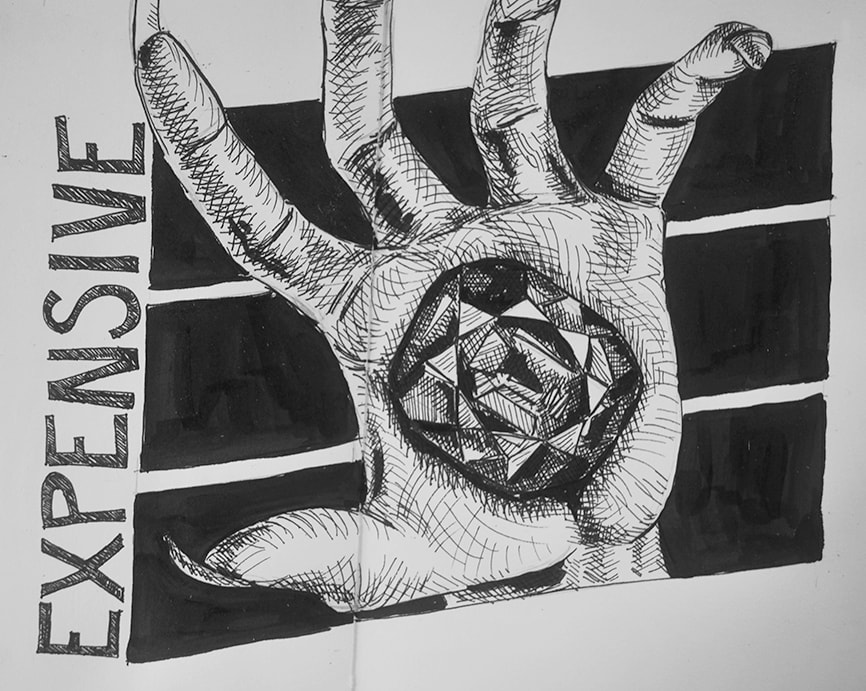
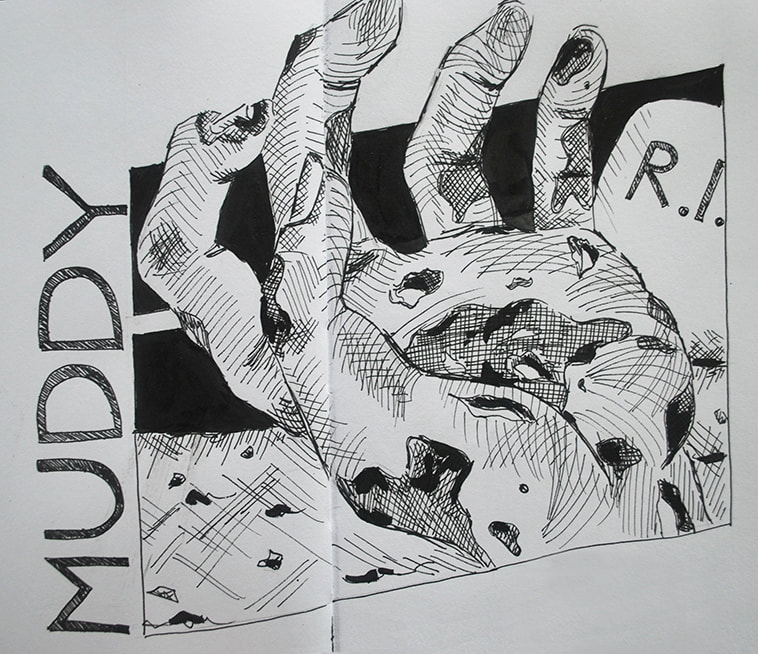
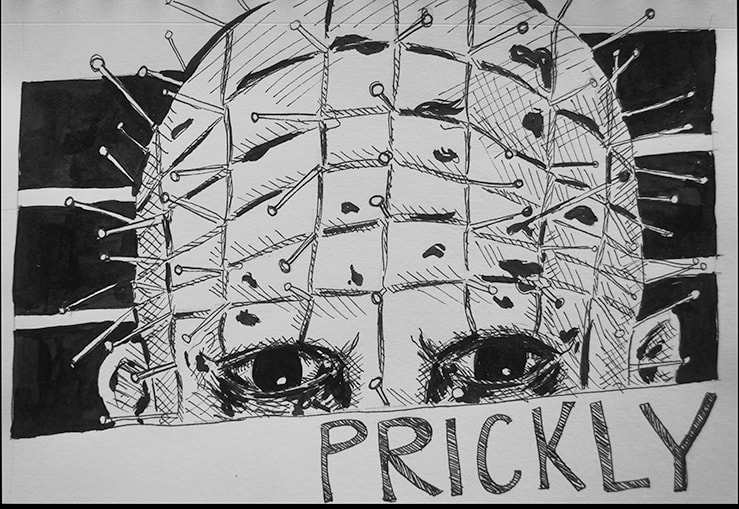
I acquired this little 2 ounce tub of black ink a while back for exploratory purposes and I'm very glad I had it on hand for this Inktober! It allowed me to create the flat black geometric background shapes that I decided would be the unifying aspect of my drawings prior to starting.
This Speedball drawing/calligraphy ink is a rich black and a bit on the thick side. However, it can be diluted to create a variety of values and a runnier texture. I used a small, angled, soft-bristled brush to apply it onto my paper and the wash always came out quite even. I never noticed any granulation, even in areas where I applied the ink thickly.
I also loved the fact that it washes off from skin pretty easily and that it has no overpowering odor to it. Lastly, the shape of its bottle is genius, as the bottom of it is wider than the top and makes it more stable. This avoids it from tipping over and creating a huge mess!
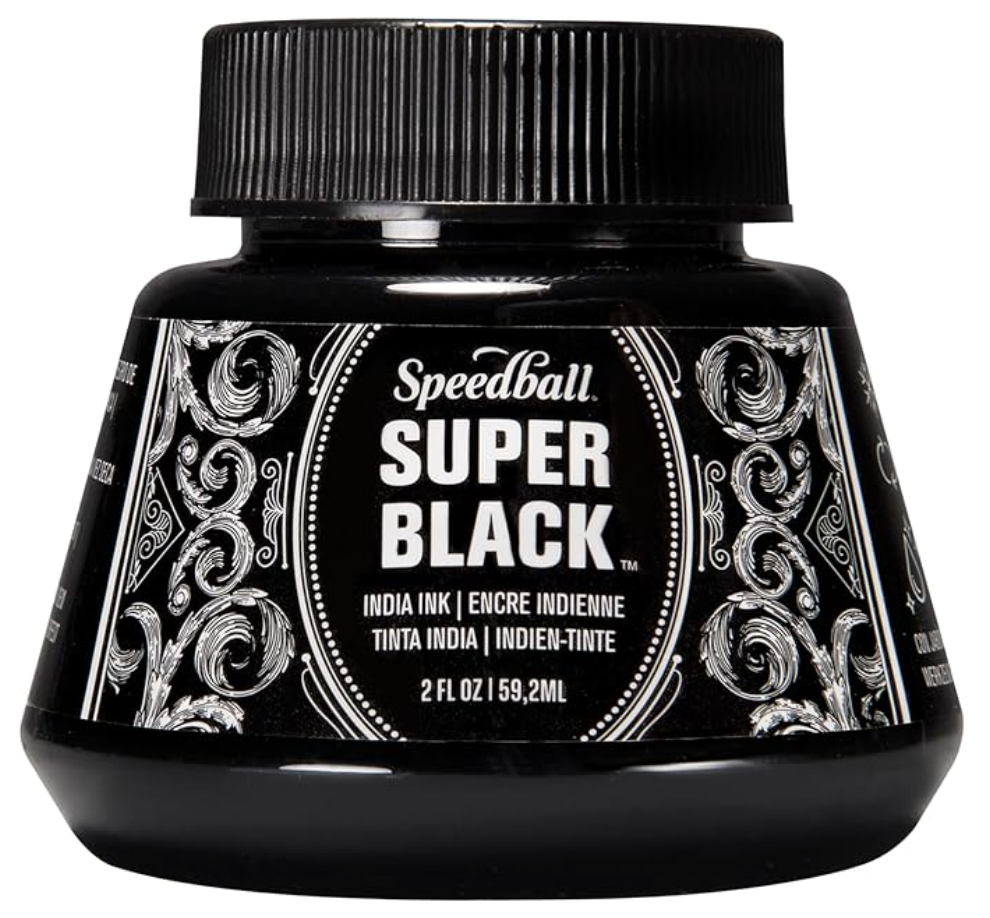
Speedball Super Black India Ink Tub
|
|

|
|
That's it in terms of my Inktober supplies for 2018!
I hope you enjoyed this post and learned something new, or got inspired to go and create a sketch for yourself. I wish you tons of progress and enjoyment in your artistic journey. :)
I hope you enjoyed this post and learned something new, or got inspired to go and create a sketch for yourself. I wish you tons of progress and enjoyment in your artistic journey. :)
0 Comments
Leave a Reply.


www.erikalancaster.com
is a participant in the Amazon Services LLC Associates Program, an affiliate advertising program designed to provide a means for sites
to earn advertising fees by advertising and linking to amazon.com.
www.erikalancaster.com
is a participant in the Shareasale.com Affiliate Program, an affiliate advertising program designed to provide a means for sites to earn advertising fees by advertising and linking to Shareasale.com partner companies.
 RSS Feed
