|
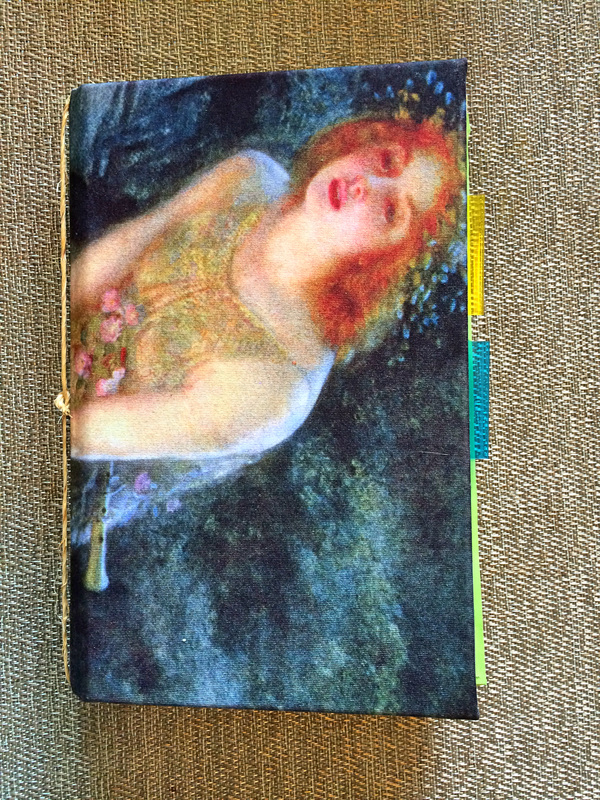
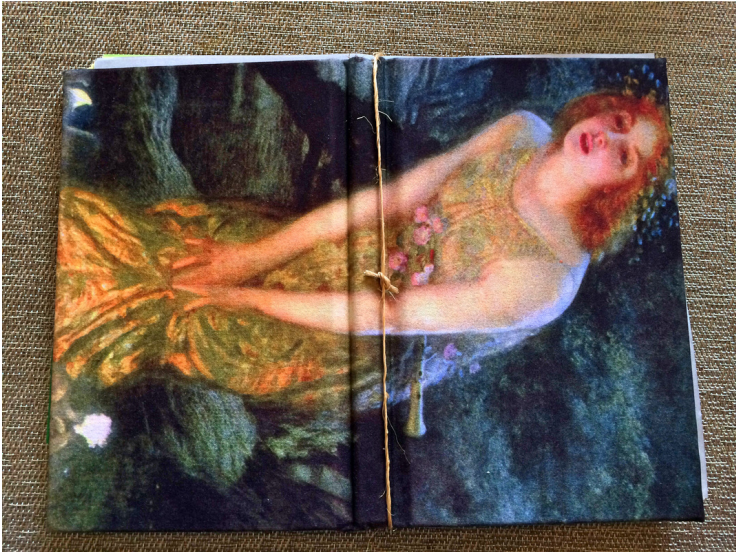
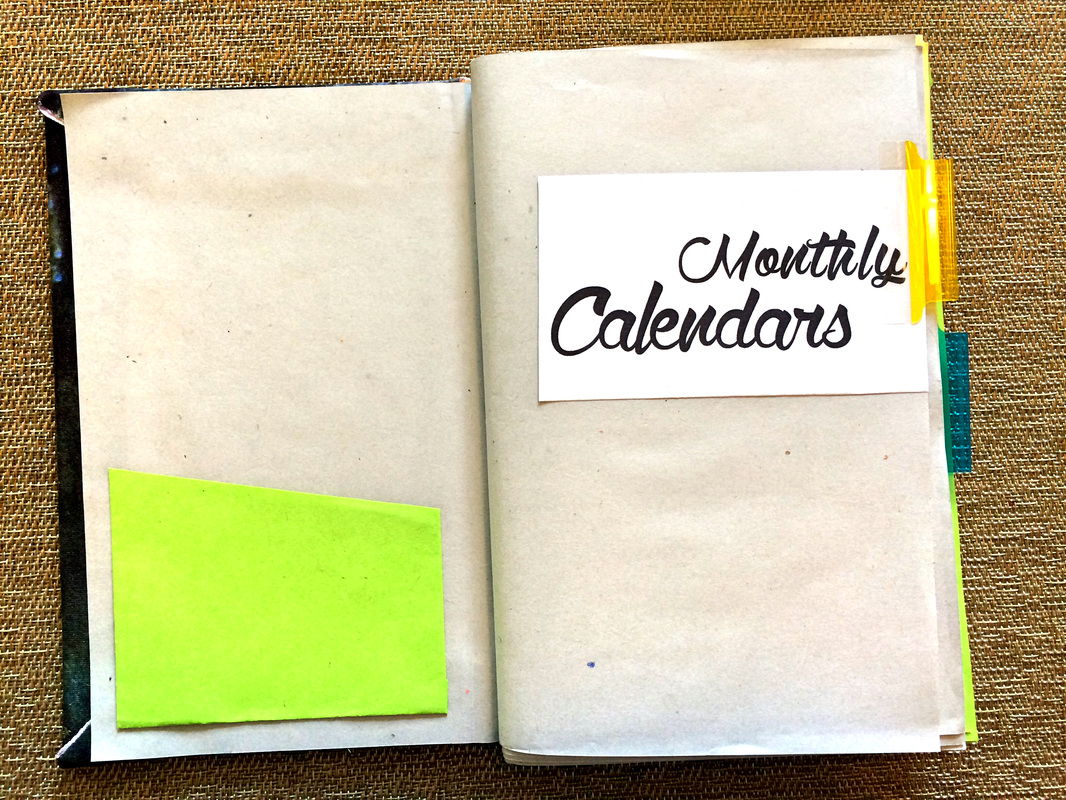
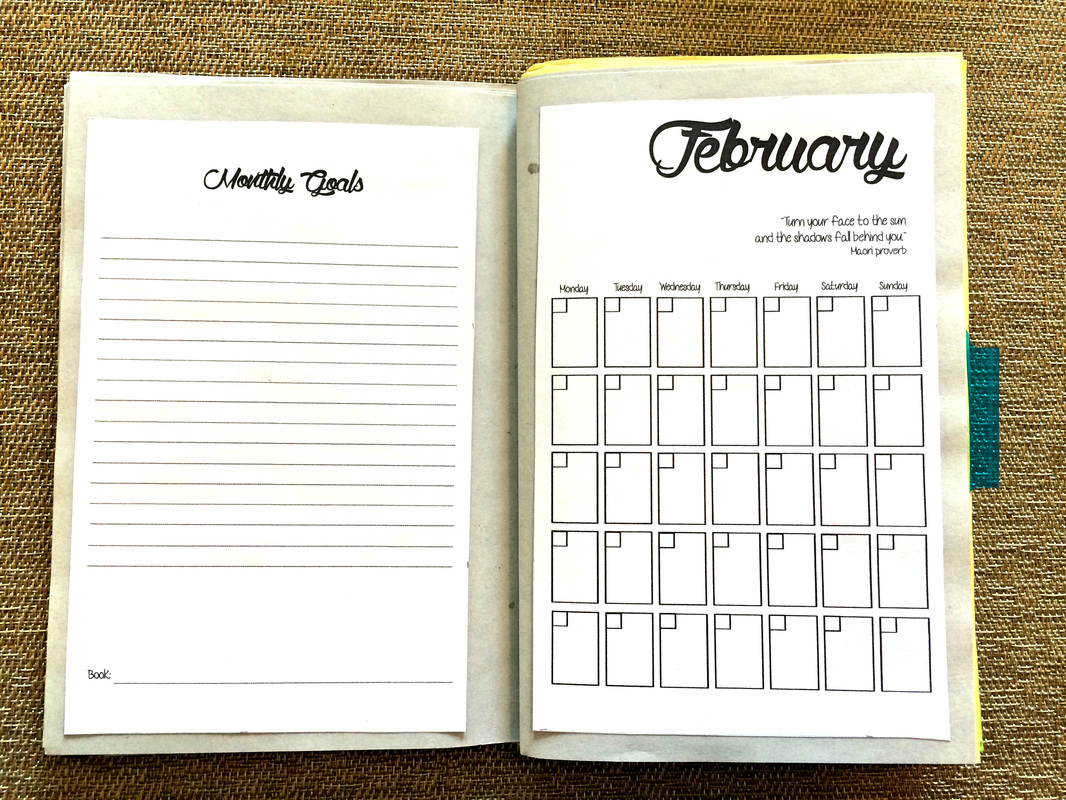
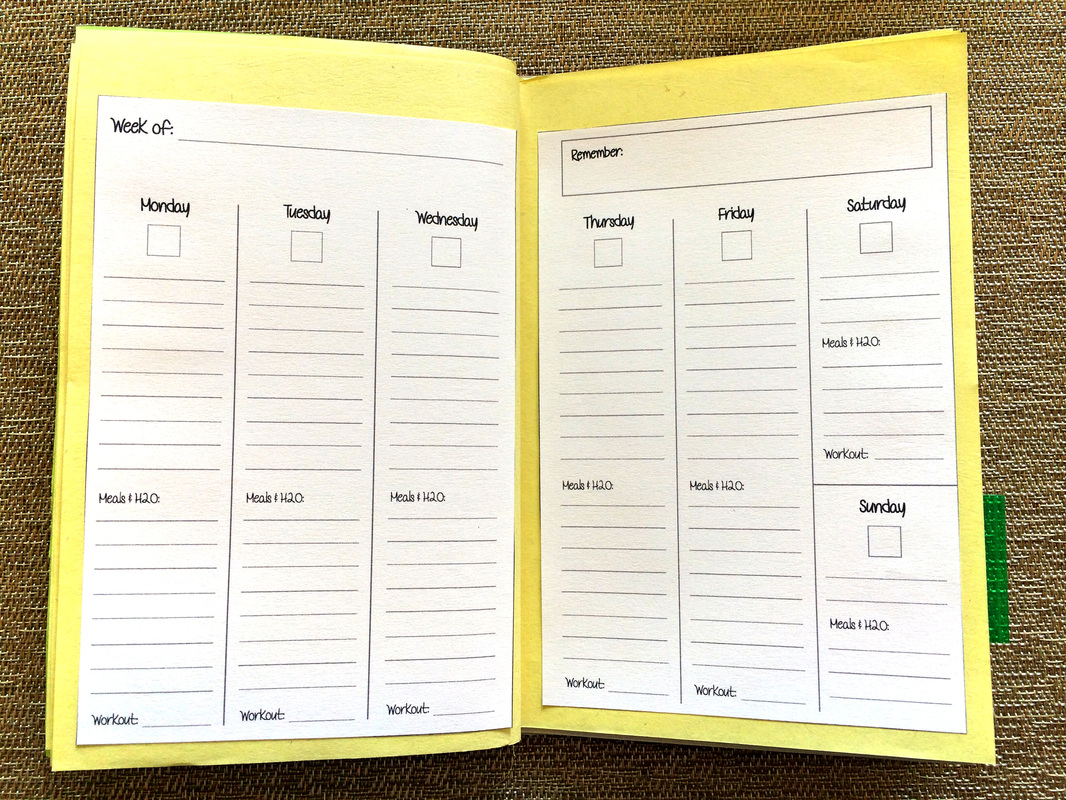
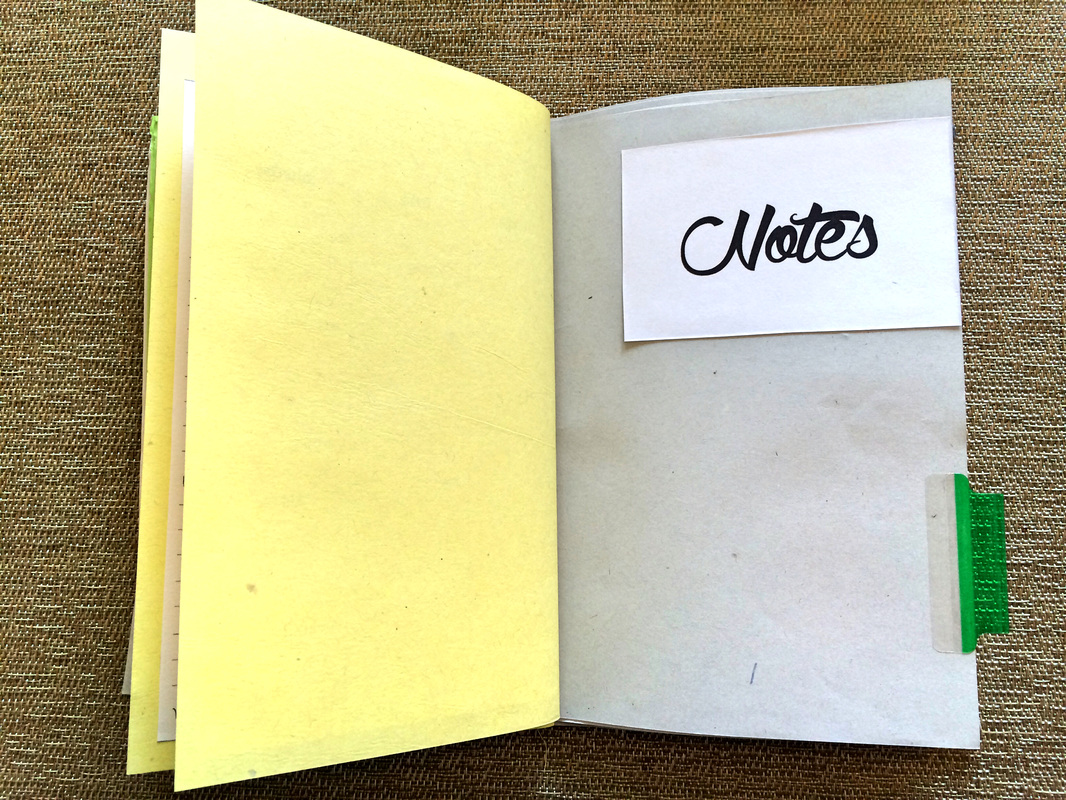
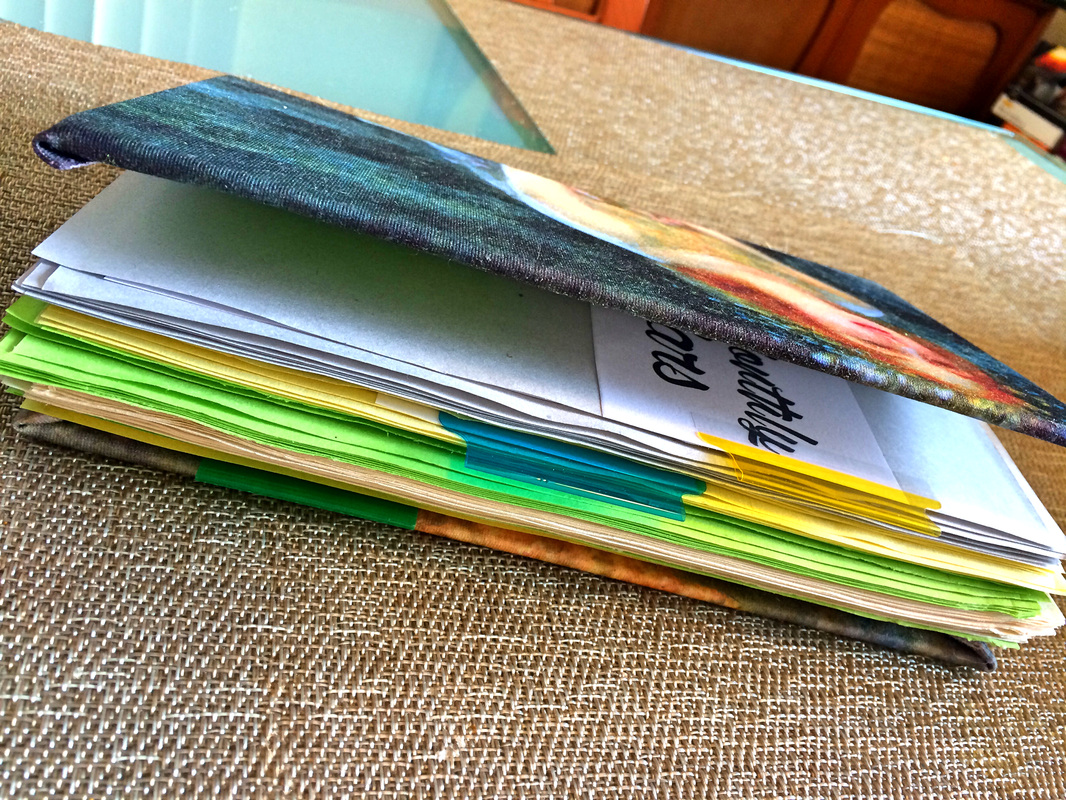
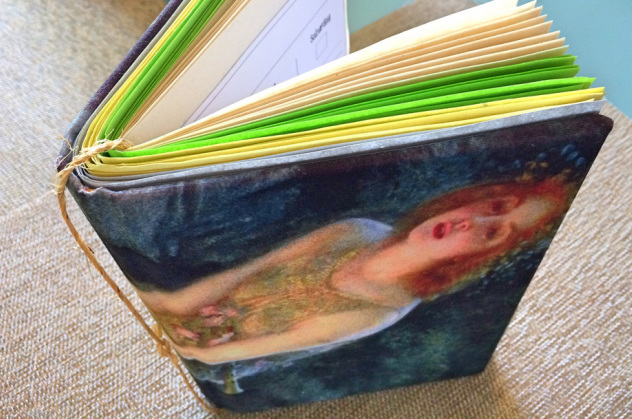
There are only 2 weeks left before teacher preparation for next school year begins (OMG!). I am still working on my final portfolio for my Master program (which ended last month), but since I am done with all my classes I finally had a bit of time to dedicate to personal projects. I used this small break to set many goals for myself, in both personal and professional areas of my life. Because of this, I decided to create my own personalized planner to keep track of my progress throughout the year. I saw/read SOOO many of videos and blog posts from others in order to get ideas for my planner. The whole thing was pretty fun to make and it will be super useful for me. I enjoyed it so much, I will probably be making more in the future. There are many websites from which you can buy monthly calendars and weekly templates, but I decided to make my own. If anyone is interested, the PDFs are below the pictures, which can be downloaded and printed out. I decided to make the design very simple because I plan on doing at least a certain amount of doodling and collaging in this planner. To start off I found an old hardcover book and used an X-ACTO knife to carefully separate the pages from the cover. You have to run the blade down vertically, as straight as possible, and making sure not to damage the spine. Next I found an old blouse with a nice graphic that I was never going to use anymore. I cut out a large rectangle (the book cover has to have at least 1 inch of extra fabric all around it), ironed it, and used spray adhesive to glue it onto the book cover. I then planned the sections I would be creating in my planner. This will vary from person to person, since we all have different organizing needs. I left only 3: Monthly Calendars, Weekly Plans and Important Notes. After deciding on my sections I got to work designing my monthly calendars, and my weekly spreads. I made sure to add areas to jot down monthly goals or notes about important events, as well as daily meals and exercising in my weekly planning section. As you can see, I went for the easiest book binding method. I had a roll of thin rope in my basement which I thought would go well with the cover. I was a little worried at first that it wouldn't hold the pages properly, but the hard cover helps keep everything in place perfectly. :)
0 Comments
Leave a Reply. |
www.erikalancaster.com
is a participant in the Amazon Services LLC Associates Program, an affiliate advertising program designed to provide a means for sites to earn advertising fees by advertising and linking to amazon.com. www.erikalancaster.com is a participant in the Shareasale.com Affiliate Program, an affiliate advertising program designed to provide a means for sites to earn advertising fees by advertising and linking to Shareasale.com partner companies. |
||||||||||||||||||





 RSS Feed

