Do you need to go to art school to become a highly-skilled and successful artist? What experiences do art schools provide that being self-taught doesn't? As a beginner artist going down the self-taught route, what can I do to ensure steady artistic progress and get to a point at which I'll be able to actually sell my work? Throughout the years, I've had the honor of meeting many successful artists both online and offline. Some of them did go to art school and some of them didn't. There are highly successful artists who didn't go to university at all and took up low-paying/low-stress jobs until they advanced their skills enough and started making an income from their art sales. There are artists who reach success later on in life, after having completed university studies and years of working in a completely different field. There are others who did attend art school only to realize it was a total waste of time, as they had to learn all of the techniques they were personally interested in, on their own. There are others who did go to an amazing art school that allowed them to advance their skills immensely in an inspiring and challenging learning environment, and also created great contacts that helped them fast-forward their careers post-graduation. Finally, I've met people who went to art school and created breathtaking work, but gave up and started on a different path after they realized that making a consistent income from art involves learning about sales and marketing, as well as being willing to push past their comfort zones. The scenarios are really never-ending, and there is no right or wrong way to go about it. Every artist has to forge his/her own path, depending on his/her own goals, as well as the situation they are personally in. You need to define what success means to you personally. Does it mean being able to create artwork your proud to share, but not necessarily earning an income from? Perhaps just a side-income? Does it mean getting your artwork shown and sold by popular galleries? Do you want to get known on an international level and sell on your own terms? Does it mean earning enough of an income through art sales that you're able to live comfortably? If so, what does living comfortably for you actually entail? How much of an income would you have to be making each month in order to live that way? Today, I'll be sharing the five key things that successful self-taught artists do since the beginning of their journeys, which enable them to make faster progress in both their cold artistic skills, as well as their confidence and ability to share and speak professionally about their art. But first, I'd like to clarify a couple of things. I personally did go to art school. I was lucky to be given a scholarship and was able to attend a great university through which I learned from experienced professors not only in the Graphic Design field, but also from artists teaching (very basic) drawing, painting, silk-screening and photography. It was through university courses that I learned about Art Fundamentals, how to talk about art, experienced what it's like to create an original project from scratch and pushed myself to see a piece through until completion, which is so, incredibly important. I leaned about the importance of sticking to deadlines, managing multiple projects simultaneously and experienced what it's like to get my work critiqued by skilled professors who literally tore my work down in front of large groups (eeek!). 
This said, in terms of painting, which is how I make the majority of my income now-a-days, I'm mostly self-taught. And though I'm thankful for having the opportunity to go to art school, based on my experience post-graduation, as well as what I've gathered from other artists who've I've had the chance of meeting, it's definitely not necessary to have an art degree in order to become successful. Especially because, in today's world, we're able to experience and learn all of these things art schools offer through the internet. More specifically, through blog posts, video tutorials, courses offered by skilled artists who are willing to share their techniques and knowledge, and online communities. This said, having all of this information and possibilities at our fingertips can often be confusing and overwhelming, especially when we're just getting started. Many beginners don't know where to start or skip over fundamentals, just to be disappointed with their creations or with the fact that no one is liking/buying their work after they've put very little time and effort in. Before getting into the tips, I want to briefly explain what being "self-taught" means to me, as there are different opinions on what this entails. To be perfectly honest, I don't feel there's such a thing as a 100% self-taught artist. Reason being, whoever is serious about improving in any field, will most likely be taking it upon themselves to look for material to learn from, whether it's books, videos or classes. These resources were, of course, put together by someone else and as consumers of such content, we're getting directly or indirectly influenced by them in some shape, way or form. Most of us, even started drawing by copying other artists' work. In a sense, we were learning from other artists even back then, as we were replicating those shapes, lines, colors, etc. Throughout our lives we've all been influenced by artists around us and were exposed to all kinds of art that were created in or before our time. And the artists who created that work were also influenced by artists around them and art that came before their time. We're all influenced by others, whether we want to admit it or not. This goes for people who've been to art school or haven't been to art school. We're all a wonderful mishmash created by the culture we've been brought up in, the people who've been around us throughout our lives, and the different kinds of art (design, music, literature, cinema, etc.) that have impacted us in the point and time we've been living. For the sake of this post, however, I'll explain what I would personally consider to be a self-taught artist. In my opinion, being a self-taught artist implies not attending art school, or any kind of academy in which a full art curriculum has been laid down for you to follow over a relatively long period of time. A self-taught artist, for the most part, decides on his/her goals, searches for resources and learning material (whether it's books, workshops, classes, figure-drawing sessions, online courses, etc.) and goes through his/her own self-imposed "curriculum", so to speak. Though an artist that did attend art school still has to continue doing all of these things after having obtained his/her degree in order to continue improving (the learning never stops), a self-taught artist didn't go through that initial "formal" training. *That formal training could have been amazing, or it could have been useless. In my opinion, taking a workshop a couple of times a year, or following individual tutorials online, doesn't really count as formal or in-depth training (unless one takes a very complete course through which you're able to obtain direct feedback from the instructor). Most likely, one-off workshops or stand-alone video tutorials will not lead to steady or significant progress unless the artist actually prioritizes his/her work enough to continue working consistently and complementing those classes or tutorials with other resources in a coherent way, depending on his/her current skill level and goals. Short workshops or week-long art retreats are super fun, but usually, students are basically copying the instructor's techniques and are not taught Art Fundamentals, which are what will allow them to create original, visually pleasing compositions from scratch. I know because I've taught those workshops. Because there's a very small amount of time, the instructor ends up giving his/her students the fish, instead of teaching them to fish for themselves. The instructor's goal is (usually) to give you a taste of what creating art is like, and to facilitate an experience that will enable you to have a quick art win (oftentimes something pretty that you can take home). It's not to encourage you to find your own style or give you the tools necessary for you to make significant progress in your journey on an individual level. Short workshops and video tutorials don't allow for adequate feedback on part of the instructor or deep conversations amongst students, which are key in order to improve at a deeper level. Oftentimes we're unable to see our own mistakes when we're just getting started. Not to mention, it's incredibly important to get used to sharing and talking about both our art, as well as art created by others. Next, I'll be sharing five key things you can do to ensure you're getting the most out of the resources offered by the Internet and make faster, meaningful progress as an artist. 
|


I hope you enjoyed this post and learned something new, or got inspired to go and create a sketch for yourself.
I wish you tons of progress and enjoyment in your artistic journey! :)
I wish you tons of progress and enjoyment in your artistic journey! :)

Artists who seek perfection in everything are those who cannot attain it in anything.
-Eugene Delacroix
Do you love creating art but often get frustrated with yourself because the outcomes of your drawings or paintings aren't what you expected them to be? Are you constantly comparing yourself to other artists you come across online or through social media? Do you feel anxious to get to where others are, even though you know they've been at it for far longer than you have?
Today I'll be sharing a video in which I explain why artistic perfectionism is something that we should do our best to move past. I'll also be sharing a couple of my own experiences as a recovering perfectionist and specific tips that will help you overcome this harmful habit so that you can make faster progress.
I believe perfectionism is amongst the worst habits that we can have as creative beings. It oftentimes paralyzes us from even getting started or stops us from creating the amount of work we should be doing in order to truly progress artistically.
As artists, we shouldn't be striving to achieve masterpieces with every-single-piece we create and should give importance to the entire creative process, not only the end-product.
This includes explorations and smaller studies we may have to do prior to starting a larger piece.
It's these imperfect, messy works that allow us to get to know ourselves artistically, as well as what we want to put out into the world.
Hope you enjoy!
If you enjoyed this video and found it helpful, make sure to subscribe to my YouTube channel. I share a brand new video every week with art tips, drawing and painting tutorials and mindset/productivity tips for artists. *Subscribe HERE*
I hope you enjoyed this post and learned something new, or got inspired to go and create a sketch for yourself. I wish you tons of progress and enjoyment in your artistic journey! :)
Thanks so much for popping by today!
I hope you enjoyed this post and learned something new, or got inspired to go and create a sketch for yourself. I wish you tons of progress and enjoyment in your artistic journey! :)
Thanks so much for popping by today!

*This post contains affiliate links. I receive small commissions for purchases made through these links at no extra cost to you. These commissions help me keep this site up and running, in order for me to keep providing helpful and inspiring art content. :)
Would you like to start giving your art the time it deserves, but find it difficult with everything you have going on? Are you frustrated because your day-to-day responsibilities don't allow the time for activities that bring you joy and fulfillment?
Follow your passion, be prepared to work hard and sacrifice, and, above all, don't let anyone limit your dreams.
-Donovan Bailey
In today's post, I'll be sharing eight useful tips that will help you make time for your art, even while having a crazy, busy schedule.
These are things I set in place myself that allowed me to advance my art skills while working overtime at my last full-time position. By putting these tips to use and staying consistent, you'll be able to make steady progress towards your artistic goals, too.
For me, becoming a full-time artist and making a living from my art/art skills didn't even register as an option until I was around thirty years old and having had worked high-stress full-time jobs for over ten years.
It was only after I had spent all that time building up personal and professional skills (as well as having saved up enough money) that I finally allowed myself to consider creative entrepreneurship.
For the longest time, I let my fears and limiting beliefs stop me from diving head-first into those activities that made me happier than anything I'd ever experienced.
Not to mention, those jobs left me tired and completely drained of creativity.
The last thing I wanted to do in my free time was focus, yet again, on another task.
However, as time went by, it dawned on me that life is too short not to prioritize my dreams and take action now. I had already wasted too much time! It was then that I began absorbing all I could from other artists that were making a living from their art and doing those things I wanted to be doing.
I decided to make my artistic growth a priority, no matter how tired I was from adulting and doing those things I had to keep doing in order to pay the bills and put food on the table.
In time, people started showing their interest and wanted to buy my work, which led to a huge increase in confidence. This helped me move on to larger, more complex projects which led to even more opportunities. It was after this that I finally planned out how I would be leaving all those years of working at "normal" jobs.
It was extremely scary, as full-time work was all I knew. But something inside me told me it was now or never, so I decided to go for it full-steam. This is what I've been doing for the last year and, even though I've been working non-stop day-in-and-day-out, it's the happiest I've ever been!
I talk more in depth about how I prepared to leave my last full-time job in my blog post/YouTube video titled How I Left My Job and Became an Artistpreneur.
I'm very, very thankful for the job opportunities that I have had in the past, as they allowed me to grow personally and professionally in so many ways.
Honestly, if it wasn't for those jobs and the experience they provided, I don't think I'd have the skills and confidence to be doing what I'm doing today.
If you enjoyed this video and found it helpful, make sure to subscribe to my YouTube channel. I share a brand new video every week with art tips, drawing and painting tutorials and mindset/productivity tips for artists. *Subscribe HERE*
8 Tips to Progress Artistically Even While Being Incredibly Busy
1. Acknowledge (and embrace) that you're an artist/creative at heart
Getting to know yourself and learning to love who you are is absolutely essential for anyone to be happy. If your creative spirit and art-making is what distinguishes you from others, embrace it.
What's more, actually believe that you have it in you to become an artist if that's what you want and decide to give your true passions the importance they deserve.
My greatest fear in life is reaching old age and regretting not having pursued my dreams as best I could. I may be idealistic, but I believe every single one of us was born for a reason, and it's through growing in that area that we're then able to inspire those around us and make an impact in the world.
You may be in the same situation I was in, working full-time jobs that don't fulfill you or that have nothing to do with art, but think of these jobs as stepping stones that are allowing you to grow in different ways and are giving you the resources to live and develop yourself artistically while not having to worry that you won't be able to pay the bills.
Be thankful for these opportunities but always keep your end-goal in mind, no matter what.
2. Prioritize your artistic growth and rearrange your current routines
To make significant improvements in any area of our lives, it's essential to prioritize our goals, create plans and stick with them. Accept the fact that this will involve having to make certain sacrifices, but always remember that a year from now you'll be incredibly happy that you started today.
As busy people with "regular" jobs, families to take care of, and all the responsibilities that come with being adults, we have to accept the fact that things are going to pop up that we have to take care of. However, focus on the things that you are able to control.
You may not be able to change the fact that you'll be busy working 8-10 hours a day at your job, but you can certainly reduce the amount of time you spend watching t.v. or scrolling on social media on your off time.
By scheduling in your art time there is a much greater possibility you'll actually do it. Depending on your personal situation, this could mean setting aside one hour three times a week after work to follow a tutorial on your topic of choice or perhaps waking up 30 minutes earlier so that you can do a quick sketch before going to work.
If you absolutely can't find time during the week, then schedule in time on weekend mornings.
Another huge thing that goes hand-in-hand with using your time wisely is the ability to say 'no' to those activities that aren't going to get you closer to your goals. I know how hard this can be for people-pleasers like myself, but it's imperative to establish clear boundaries with others and to be able to discern between activities (and even people) that are helpful, from the ones that may be a waste of time and energy.
Here's a helpful video in which I share my best productivity tips for artists.
Remember that time is the most valuable thing we have.
One question I always as myself whenever I'm feeling like I'm wasting too much time is:
Is this activity helping me improve my work, my health or the relationships I have with my loved ones?
3. Establish deadlines and goals
In my blog post Time Management for Artists: My Secrets for Staying Consistently Productive I explain how I go about setting yearly goals in personal, professional and interpersonal areas in order to then chunk them down into clear, doable monthly objectives.
I then divide those smaller monthly goals into even smaller chunks that must get done each week.
Three examples of how to go about applying this in regards to artistic growth:
a) Large goal: Complete an online art course in three months.
Depending on the amount of modules/classes/assignments included in the course of your choosing, divide them into three "chunks" to be completed by the end of each month. Then, divide those chunks once again into 4 (number of weeks in a month) and schedule your to-do's each week.
b) Large goal: Fill 12 pages of your sketchbook in one month.
Complete 3 pages each week so that by the end of the month you'll reach your goal.
c) Large goal: Get really good at drawing portraits by the end of the year.
Set incremental goals each month starting with the fundamental knowledge you should understand and progressing onwards until you get to month 12. Ex. Month 1: Understand basic facial proportions and locations of facial elements within the head shape, Month 2: Drawing eyes, Month 3: Drawing noses, Month 4: Drawing lips, Month 5: Drawing heads in angles, and so on.
I'm aware that this process might sound too constrictive or boring for free-flowing creatives out there. While I totally agree that it's incredibly important to stay flexible, if we don't establish deadlines, most of us tend to push things back to the point they never get done.
We're constantly bombarded with distractions and it's important to stay focused in order to ensure we're moving the needle forward consistently, even if it's a tiny bit at a time.
Access my masterclass on Goal-Setting and Time Management for Artists here.
4. Connect with others that share your same love for art
Being an artist can be lonely and not having other people to talk to that share your same wavelength can make things even harder. If you're lucky to have friends you can chat with or even create art with in person, treasure them and make sure you're scheduling in time to hang out every so often.
It's so important to maintain connections with other people we can learn from and who'll inspire us to keep going!
The Internet is such an invaluable tool, as it not only enables us to learn and improve our artistic skills through articles and videos, but we're also able to connect with other people all over the world that share our same passion for art.
Even if you're in a situation similar to mine, in which you don't have many artists around you that you can hang out with in person, you can very easily meet other artists through social media, groups and art communities.
Whether you create and/or share art with others in person, online or a combination of both, make sure you make time for brainstorming new ideas with others, as well as obtaining (and providing) feedback.
Learning from more seasoned artists and participating in online art communities has helped me stay accountable and consistent, which has allowed me to progress my skills significantly in shorter periods of time.
5. Keep your art supplies handy
Get in the habit of bringing a small sketchbook and a couple of drawing tools of your choice with you wherever you go. This way, you'll be able to progress your drawing and observational skills in free pockets of time throughout the day.
I talk about the importance of sketchbooks and tips to make the most of them in my post Why Sketchbooks are Essential Tools for Artists.
Aside from this, also place your art supplies somewhere where they'll be visible for you at home. Don't keep them locked away in a closet or drawer! By having them on hand, there is a much greater chance you'll actually remember to use them.
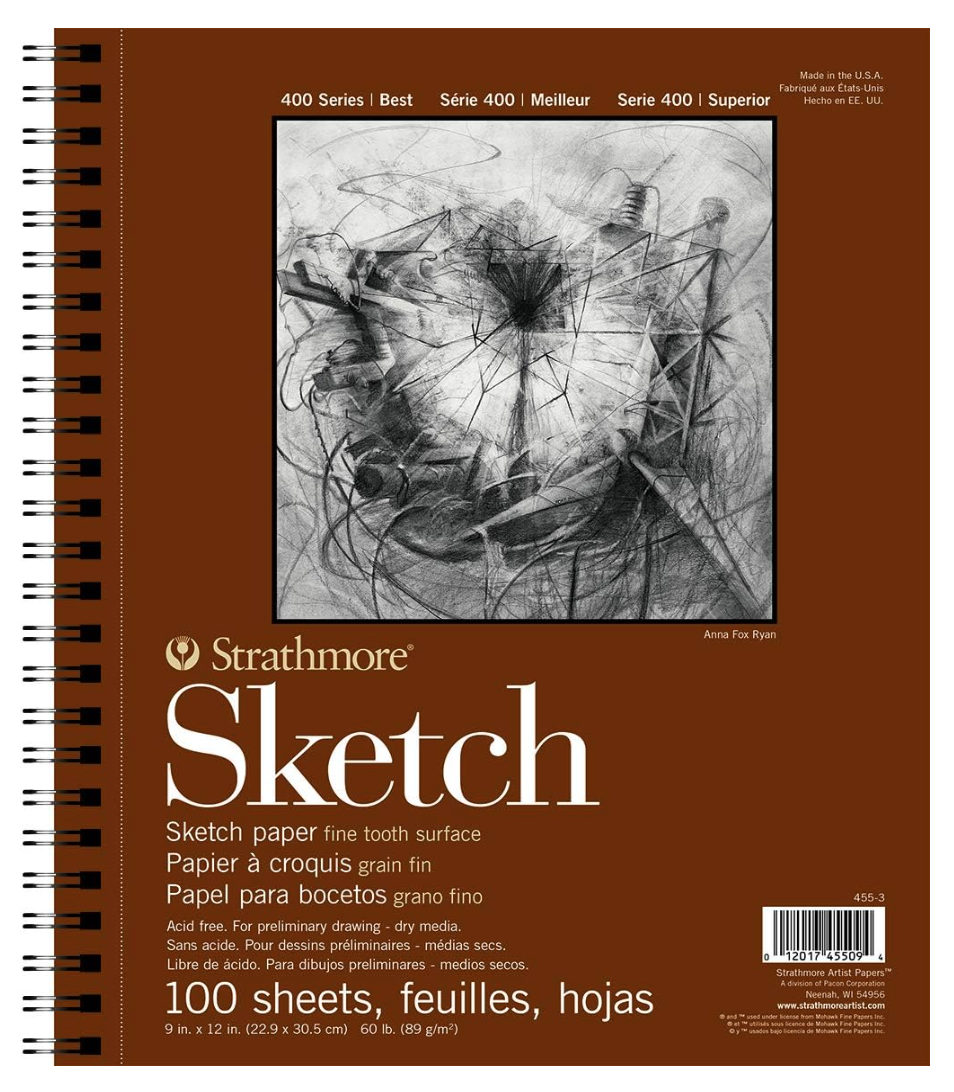
Strathmore Sketchbook 9x12"
|
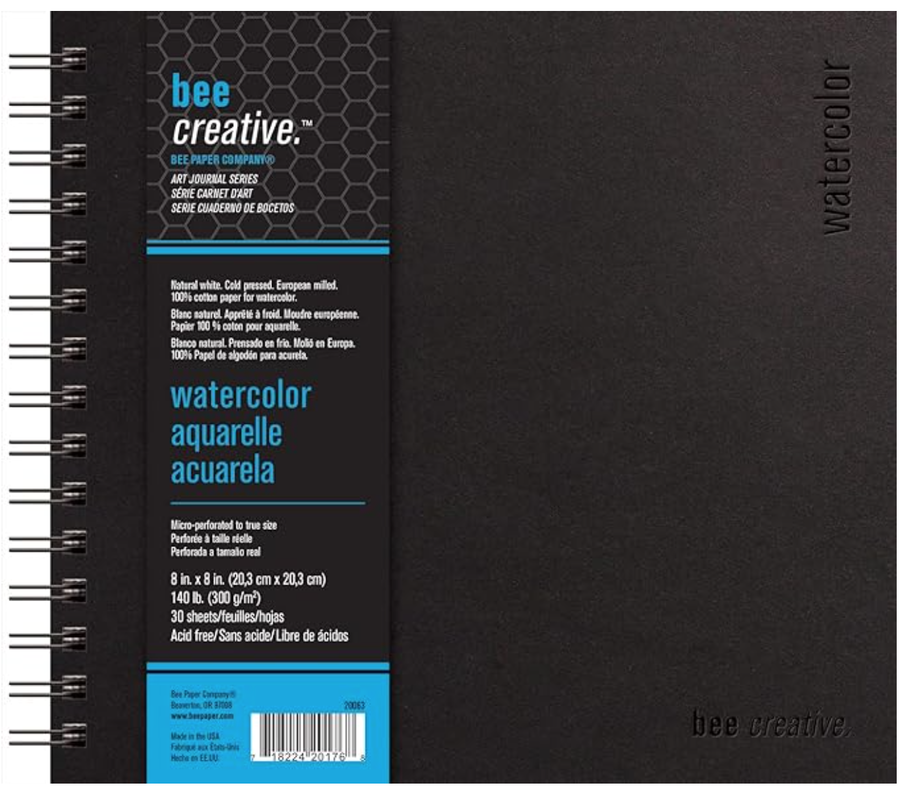
Bee Creative Watercolor Sketchbook 8x8"
|
6. Never underestimate the power of quicker studies
I 100% believe that working on quicker studies 3-4 times a week is going to get you much further, faster, than creating one polished piece every five months.
While it may be possible to create a beautiful-looking polished piece 2-3 times a year by following a tutorial or going to a one-time workshop, only creating art every now and then isn't going to do much for you in terms of developing your own artistic voice.
Ultimately, it's by staying consistent and by doing regular studies (no matter how large or small) that we get to know ourselves as artists, really hone into our techniques, and build up our confidence to take on more complex challenges. What's important is to make our art and creativity a habit.
Danny Gregory is an artist and author that started drawing in his mid-30's and, after seeing how this practice changed his life, wrote his book Art Before Breakfast: A Zillion Ways to be More Creative No Matter How Busy You Are to inspire others to make their art a habit, too.
It's full of short drawing/sketching exercises and is perfect for those who want to draw but can't decide on what. The book has an optional workbook that provides even more prompts and actually has space to draw on. With Gregory's book, there's simply no excuse!

The Complete Book of Drawing by Barrington Barber
|
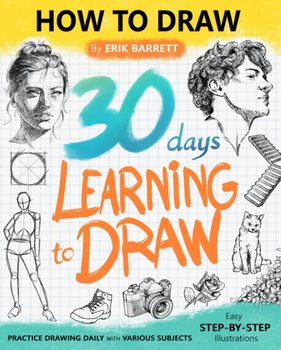
Learning to Draw in 30 Days by Erik Barrett
|
7. Collect ideas as you go through your day
As artists, it's important to stay open to inspiration coming from all kinds of sources. A new idea can come up after seeing a nice combination of colors in someone's outfit, the texture of a piece of fruit or the shape of a flower vase!
Not to mention, emotions or ideas for new projects can come up during a quick trip to the supermarket or a night out with friends.
Even if you don't have enough time to put pencil/pen/paintbrush to paper during a crazy week, by keeping your art in the forefront of your mind and collecting ideas as you go through your day, you'll be staying creative!
Always be thinking of how you can use everyday experiences as inspiration for future projects and get in the habit of writing down notes, as well as taking reference pictures that you can use in the future.
8. Stop overthinking and just get to work
It's incredible to me how we're our own biggest obstacles. Oftentimes we stop ourselves from doing things we know we need to get done in order to reach our goals because we overthink everything and waste way too much time doing so.
In time, I've come to realize that it's through taking imperfect action that we're able to move forward and that staying paralyzed with laziness and/or fear is a huge waste of the precious time we have.
If there's anything you really want to do in life, please do it! You owe it to yourself and to those around you who will be incredibly inspired by the fact that you pursued your passions.
Many of us may be extremely busy or may be going through a particularly rough time, but it's up to us to stay positive, use our experiences to our advantage and do what we can with the time we have.
Motivate yourself by thinking of the artist you'll be a year from now if you just make the decision to prioritize your growth.
A year from now, you'll be thankful you started today.
Cheers!

*This post contains affiliate links. I receive small commissions for purchases made through these links at no extra cost to you. These commissions help me keep this site up and running, in order for me to keep providing helpful and inspiring art content. :)
Welcome back, fellow artists!
I'm very excited to share that I made it through my first time participating in the Inktober drawing challenge.
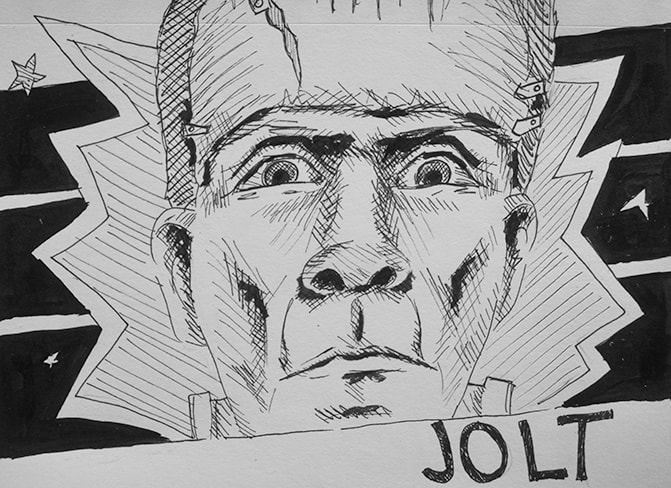
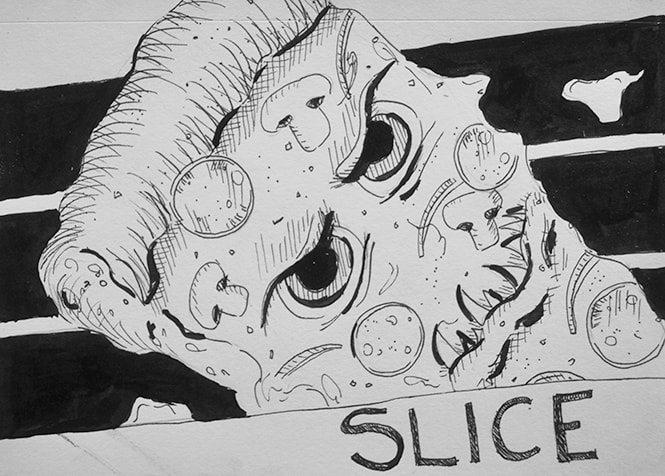
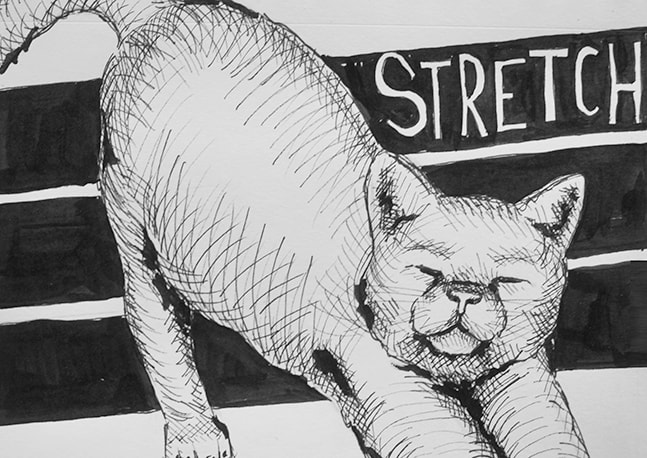
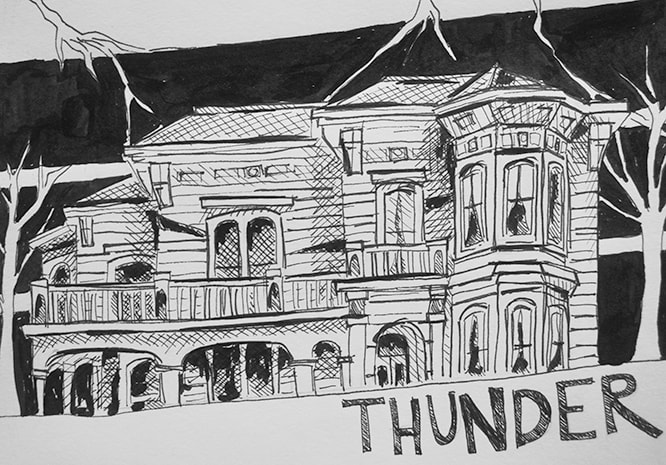
In today's blog post, I'll be sharing my last time lapse compilation of Inktober sketches, as well as things I learned by having pushed myself through it. Though the drawings I'll be sharing were created specifically for Inktober, most of the information I'll be including throughout the post (and video) can relate to any type of daily art challenge.
There's no question that being able to produce a new piece every-single-day for an entire month (no matter how small), is extremely difficult. However, there's a ton to learn from participating in art challenges like this one, as they allow us to improve not only our cold-technical skills (drawing, shading techniques, etc.) and our time-management abilities, but also test us mentally in many ways.
This is why I made the decision to finally take on Inktober this year!
If you visited my blog or YouTube channel at any point throughout October, you're probably aware that I've been sharing time lapses for every-single-one of my Inktober sketches! I've also talked about a variety of topics pertaining to it.
Make sure to check out my past Inktober blog posts and find the rest of my time lapses over at my YouTube channel:
5 Tips to Make it Through Inktober and How I'm Going About It
My Inktober Supplies and Time-lapses for Sketches 6-11
Inktober Sketches 19-25 + Reviewing My Supplies
If you enjoyed this video and found it helpful, make sure to subscribe to my YouTube channel. I share a brand new video every week with art tips, drawing and painting tutorials and mindset/productivity tips for artists. *Subscribe HERE*
You can find a list of my current favorite art supplies, as well as helpful art books here.
You can find a list of my current favorite art supplies, as well as helpful art books here.
What I Learned from Inktober
Technical Aspects
1. Stay present/mindful while you're creating art
I noticed pretty quickly as I was starting with Inktober, that when I was tired and/or my mind was just not in the art-making process, my drawings turned out much sloppier. I either went overboard with my mark-making, which led to certain areas appearing very flat or I created too much of a texture where I wasn't intending to.
Now I know that, no matter how small a sketch or study I'm working on, I have to do my best to stay present (whether it be 5 minutes or an hour). If I'm too tired or unable to concentrate, I'll consider resting and getting back to work the following day, or take a break to do something else that will allow me to de-stress before getting back into it.
Now I know that, no matter how small a sketch or study I'm working on, I have to do my best to stay present (whether it be 5 minutes or an hour). If I'm too tired or unable to concentrate, I'll consider resting and getting back to work the following day, or take a break to do something else that will allow me to de-stress before getting back into it.
2. Take it slow and honor the process
With this, I don't necessarily mean to force yourself to lay down each line or brush stroke super slowly if this isn't your thing. Personally, I love working at a faster pace and leaving some sort of expression, rawness and imperfection in most of my work.
What I mean with taking it slow is learning to enjoy the different phases of creation (brainstorming, preparation, preliminary sketch, developing marks/colors/values, etc.) and acknowledging each as an essential part of the process.
I realized this halfway through the challenge. Whenever I skipped a phase, my piece didn't turn out as well as it could have.
With a daily challenge like this one in which I had limited time, many of these phases were done simultaneously with other tasks, but I made a point to go through them, nonetheless.
Mental Aspects
1. Practice increases confidence (and speed)
The only way to really improve your self-confidence with any particular activity is practicing it and experiencing it first-handedly on a continuous basis. The more you do something, the more skilled you become, which makes you more comfortable doing it, which translates into doing things better and faster.
I had previous experience drawing with pen and ink, and have even shared different tutorials on mark-making and shading techniques both here at my blog, as well as over at my YouTube channel, which I highly recommend you check out:
Guide to Shading Techniques: Hatching, Cross-Hatching, Scribbling and Others
Pen and Ink Sketching: 6 Shading Techniques
Shading a Hand Using Pen and Ink
However, I had never drawn with pen and ink as continuously as this drawing challenge pushed me to. By the end of the month, I was creating my sketches a lot faster than in the beginning. I was also able to tell when I was making a mistake quicker, which enabled me to stop in my tracks and succeed at making them less noticeable.
2. Creativity is a muscle that gets stronger with consistent use
I'm sure you've heard this saying about creativity being a muscle before, but there's really nothing like participating in a daily challenge to really understand what pushing our creative limits every-single-day for a long(ish) period of time can do for us.
At the beginning, I really struggled to come up with the ideas behind my drawings. I was also really unsure about what arrangement/composition would look best and took a long time to decide these things.
By the end of the month my ideas came to me a lot faster and I was able to visualize more visually-pleasing compositions quicker. I knew whether an idea would work or not right off the bat and, if I thought it wouldn't, I moved on to thinking of a new one.
3. Persistence and determination are essential in order to reach any meaningful goal
In my blog post titled Time Management for Artists: My Secrets for Staying Consistently Productive, I explain how important it is to get to know ourselves so that we can truly come to a conclusion about what we want in life. This is the only way, really, that we can set meaningful goals so that we can then work towards them consistently.
Many of us are able to set those goals initially, but we fail at sticking to what we have to do because we lack motivation or life simply gets in the way.
It has been through gaining clarity on what I want in life and sheer persistence, that I've been able to get to where I am today. I think I owe my completion of Inktober to this basic understanding.
I knew that participating in this challenge would be difficult, but that it would help me progress my skills further, faster. This is important for me at this point in my life, and I honored my decision by sticking with it.

4. Chasing perfection is counterproductive
Perfection is probably the biggest enemy of creativity. It cripples us as artists and stops us from producing the work we need to create in order to keep moving forward. Getting something done, no matter how small (or flawed) is better than not doing it at all.
In art, exploration and learning to embrace the process is incredibly important. Even more important, I would say, than creating a finalized masterpiece. Once I learned this, my skills progressed a lot faster. Perfection is overrated.
Something I've come to realize is that constantly chasing perfection has a lot to do with an innate fear of not being enough and having to prove to the world, in some way, that we are. You don't have anything to prove to anyone but yourself, and what matters is to strive for progress, not perfection.
Life is way to short to let our fears stop us from doing the things we want to do in life. It is usually the people who are able to acknowledge their fears and move on despite them that succeed in achieving their goals.
5. Staying flexible is a must
Life is unpredictable. We can plan as much as we want to, but things will always come up and we have to be okay with shifting things around. As someone that thrives on routine, I'm still learning to be okay with modifying my schedules and specific things I had planned.
It's perfectly okay to take a break if you feel you need to (I did this a couple of times myself throughout the month). However, keep your priorities in check and get back to it as soon as you're able to.
There are two main ways that I stayed flexible throughout Inktober. For one, I had to accept that I would have to move my sketching to a different time of the day because things came up that I had to prioritize, or certain tasks simply took longer than expected. Sometimes I had to accept the fact that I would have to work on my Inktober sketch at the end of a long day of work.
Another way that I stayed flexible was with my supplies. The pages of the original Leuchtturm1917 sketchbook I planned on using ran out about 3/4's of my way through Inktober (I talk more about the specificities of my Inktober suppliesin this blog post).
Initially, I thought it would hold all of my sketches, but my heavy application of ink made it necessary for me to skip pages in between each piece. I had to make due with what I had on hand and be okay with using another sketchbook that didn't exactly match the characteristics I was looking for with this project. I accepted it and moved on.
6. Always focus on the good
There are two ways in which I applied this throughout Inktober: throughout the creation process and whilst analyzing my finished pieces.
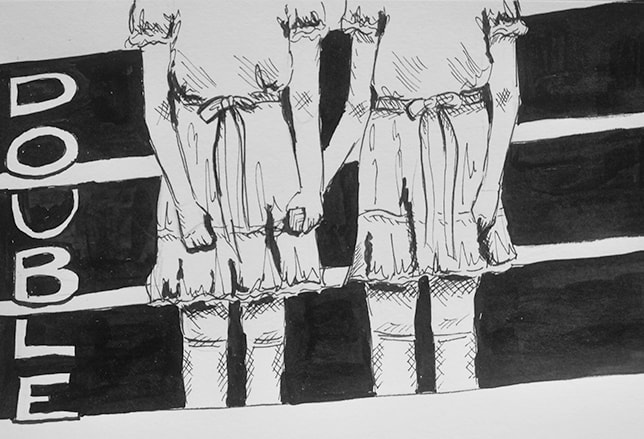
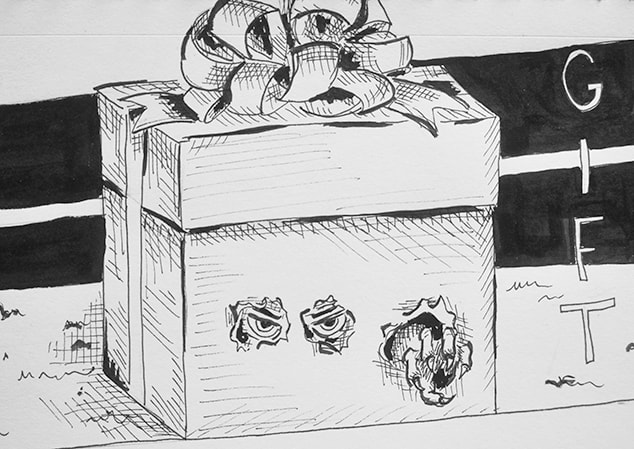
If you've been following my Inktober work, you're probably already aware that I decided to go with following the official prompts this year. There were honestly some prompts that weren't inspiring for me at all and I struggled to think of a good idea for my piece.
However, in these situations, I decided to focus on what I could enjoy and what could go well. Even if I wasn't smitten with my idea, I set out to use the opportunity to improve my cross hatching/line work, etc.
To be perfectly honest there were several sketches that I didn't like very much, either because the idea just wasn't that great, or because I feel the execution was sloppy. Nonetheless, I decided to take it easy, pat myself on the back for getting the work done for the day, and always focused on the good.
There are always things that go well, no matter how much more our mistakes stick out to us. Being able to recognize both possible areas of improvement as well as our strengths is essential for us to improve our skills and find our artistic style.
You can find a full list of my current favorite art supplies, as well as helpful art books here.
My Inktober Supplies:
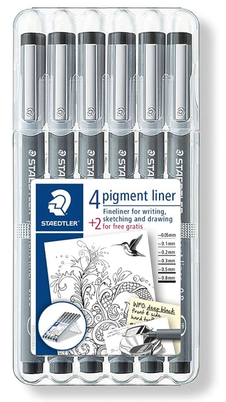
STAEDTLER Pigment Liner Bonus Sketch Set of 6
|
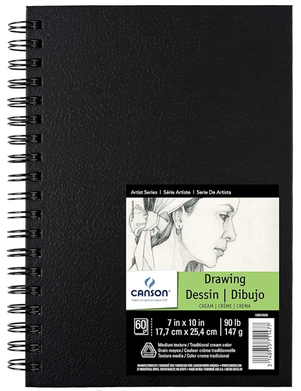
Canson Artist Series Field Drawing Book for Pencil, Pen and Felt Tip Pens, Side Wire Bound
|
I hope you enjoyed this post and learned something new, or got inspired to go and create a sketch for yourself.
I wish you tons of progress and enjoyment in your artistic journey. :)


www.erikalancaster.com
is a participant in the Amazon Services LLC Associates Program, an affiliate advertising program designed to provide a means for sites
to earn advertising fees by advertising and linking to amazon.com.
www.erikalancaster.com
is a participant in the Shareasale.com Affiliate Program, an affiliate advertising program designed to provide a means for sites to earn advertising fees by advertising and linking to Shareasale.com partner companies.
 RSS Feed
