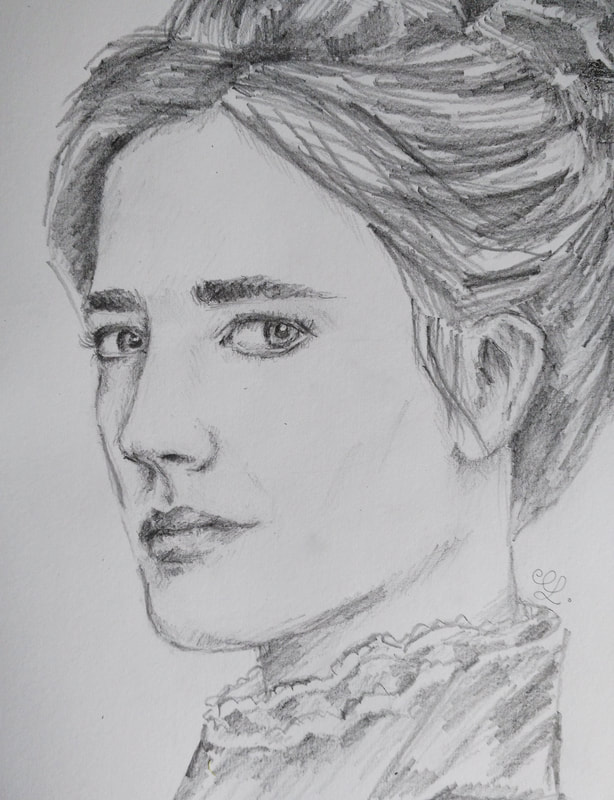
Eva Green pencil portrait.
Hey there, art friends! The past couple of weeks, I've been sketching a lot of female figure studies, as well as portraits. 
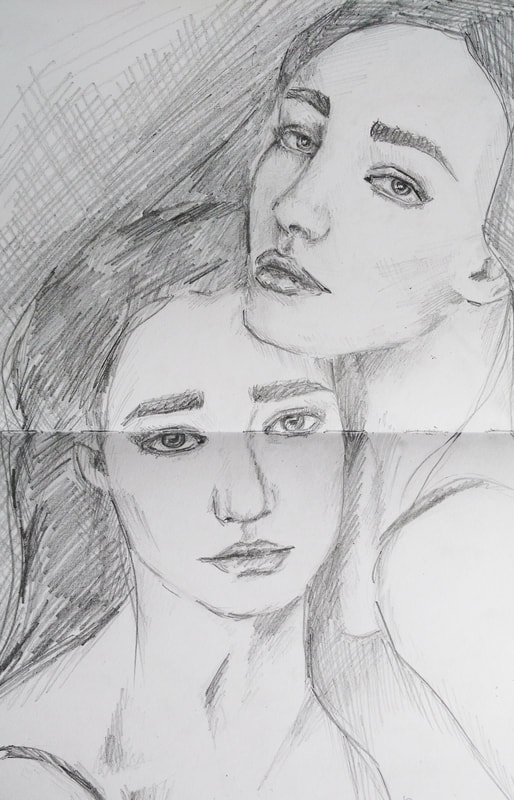
Sketchbook pencil portrait studies
Sketchbook pencil portrait study.
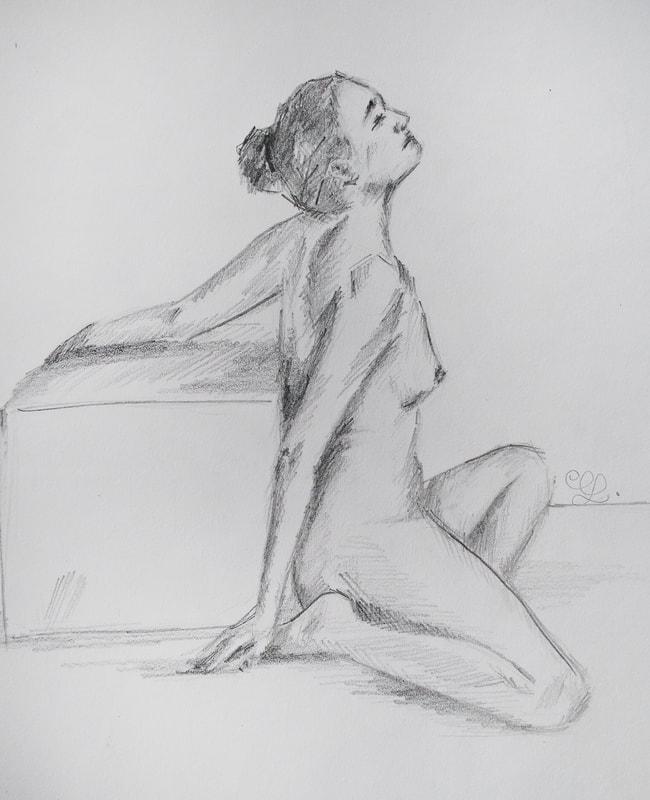
Sketchbook female figure pose study.
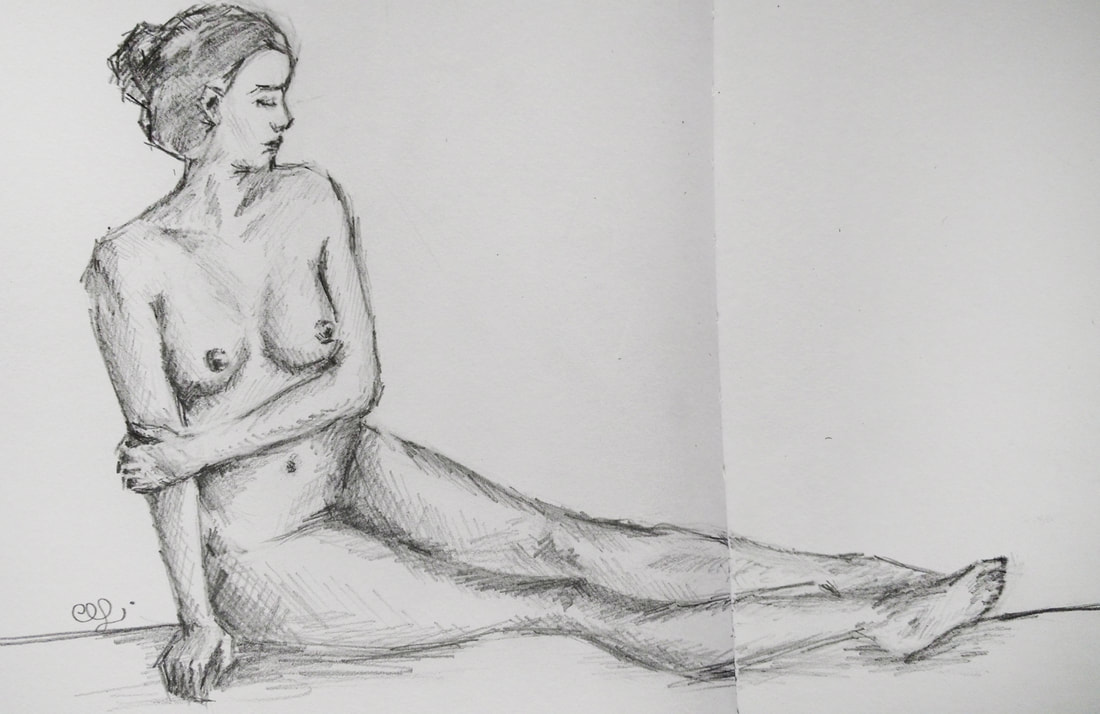
Sketchbook female figure pose study.
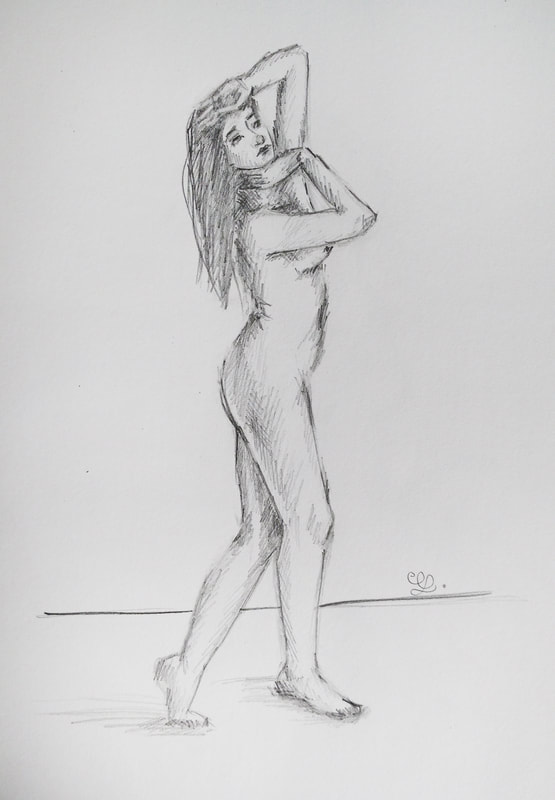
Sketchbook female figure pose study.
In case you're not following me on Instagram, you should! Over there, I share what I'm up to on a daily basis. If you've already been following me, then you're probably aware that a couple of weeks ago I challenged myself to produce a total of five landscape paintings using oils. I've nearly completed the second, which I will be sharing soon! I'm including the first in this mini-collection of my latest artwork! 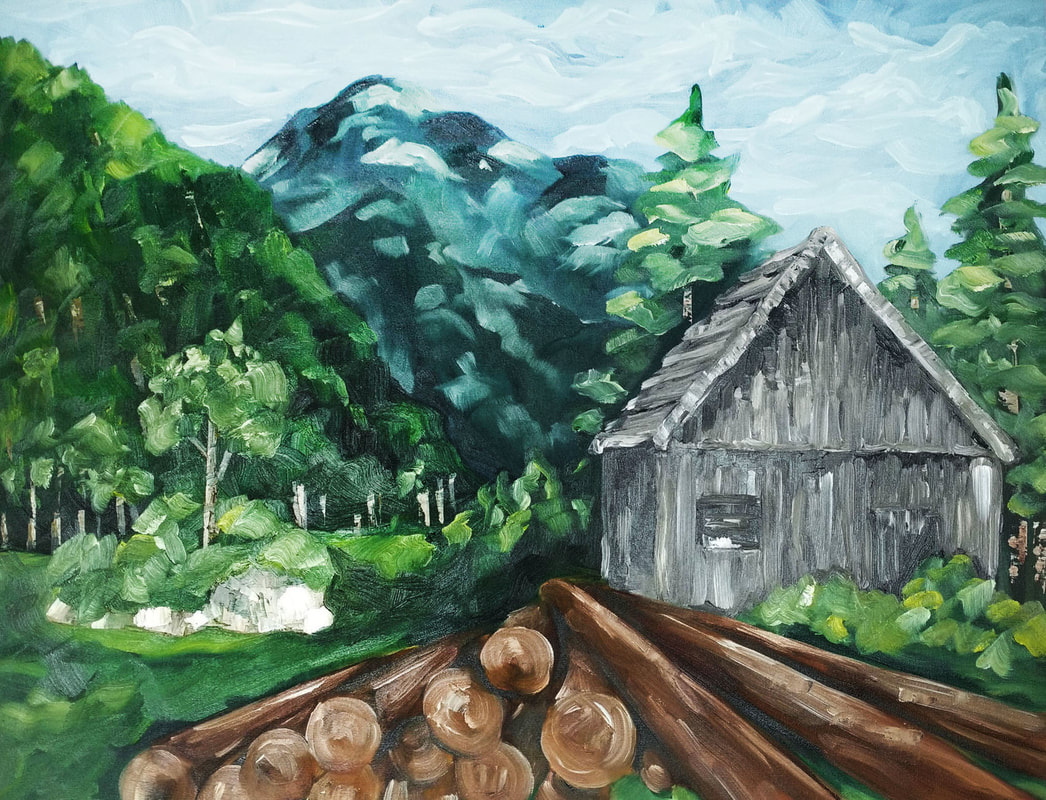
Cabin and mountain landscape. Oils on 90 x 70 cms. stretched canvas.
That's it for now, but stay tuned for much more to come! I hope you're having a wonderful day and that you've been able to set aside at least a bit of time to work on your art. Cheers!
2 Comments
Have you reached a point in your art journey at which you feel relatively confident about your skills but are anxious to find your own style and voice? Are you stuck with your art and feel that your own perfectionism and/or fear of failure is keeping you from moving forward? "Create your own visual style... let it be unique for yourself and yet identifiable for others." -Orson Welles There is a point in every artist's journey at which a substantial amount of time and effort has been dedicated to developing artistic skills, but the artist has yet to decide what ideas he/she wants to share with the world and what mediums, techniques and style will set him/her apart from others. It takes an immense amount of work, exploration and introspection to push through this point, but it's important to keep on until the breakthrough happens. In my opinion, it's exactly this desire to push through the initial phase that differentiates a hobbyist from a pro. It's a point at which perfect rendering and technique becomes just as important as (or may even take back seat to) having an artwork transmit the ideas or feelings we are striving to transmit. In this blog post, I will be sharing five very useful tips that will help you loosen up and express more of yourself through your art. It's this exploration that will help you discover yourself as an artist. If you're at this point, it's time to experiment fearlessly and push your limits! I wrote a blog post several months ago in which I share an excellent method that you can apply to start discovering your own art style using other artists' work as inspiration. This strategy will be very useful for you in this stage, so make sure to check it out after this post. How to Effectively Use Other Artists' Work as Inspiration and a Great Method to Start Developing Your Own Artistic Style. Currently, I'm doing a lot of exploratory work with oils on canvas. If you've been following my work for any amount of time, you probably already know that I love working on smaller-scale watercolor illustrations. However, I've had the pleasure of creating larger decorative fine art for local clients and have really enjoyed it! I'm making time for oil painting as much as I can and am planning on selling my artwork internationally in the near future. I'm working on a series of five large landscape oil paintings. I will be sharing these with you throughout the upcoming weeks so stay tuned! 
Landscape oil painting by Erika Lancaster (90 x 70 cms.).
If you enjoyed this video and found it helpful, make sure to subscribe to my YouTube channel. I share a brand new video every week with art tips, drawing and painting tutorials and mindset/productivity tips for artists. *Subscribe HERE*
5 Tips That Will Help You Become More Loose and Expressive When Creating Art "Regularity, order, desire for perfection destroy art. Irregularity is the basis of all art." -Pierre-Auguste Renoir 1. Gain confidence in your skills by learning and practicing Art Fundamentals In order to draw or paint freely, you need to have a certain level of confidence in your skills and artistic knowledge. And the only way to truly gain confidence in anything, is by practicing first-handedly and delving deep into the fundamentals. Knowing Art Fundamentals inside and out is going to help you immensely, and is the basis for everything else. Topics like composition, harmony, proportion, color, perspective, texture, value, etc., have to be engrained in your head so that you can apply this knowledge naturally and organically as you are creating your artwork. Over at my Patreon site, I have a library of classes that cover all the basic Art Fundamentals I learned about in school, in sequential order! All of my most helpful, exclusive content such as real-time drawing and watercolor painting tutorials with downloadables, weekly sketchbook prompts, feedback from me on your work, and much more can be accessed immediately upon joining. Check out my Patreon site here! Aside from knowing Art Fundamentals, it's also imperative for you to have some experience working with whatever medium and supplies you're thinking of using. How are you going to paint or draw freely if you feel like you're constantly fighting with the medium, or have no idea how the substrate/medium/etc. is going to react throughout the process? The saying "Learn the rules before you can break them" applies here! In my blog post titled Why Sketchbooks Are Essential Tools for Artists and A Few Usage Tips I share how I personally use my sketchbooks on a daily basis to make sure I'm progressing continuously. 2. Prepare yourself mentally before you begin It's absolutely essential to start a challenging piece in the right headspace. Once you have arrived at the idea of what you'll be creating, start with positivity and confidence. I've mentioned this before, but our minds are extremely powerful. Remember, if you think you're going to fail, you most likely will. Now is the time to embrace experimentation and throw perfectionism out the window. Allow the magic to happen as you work with your medium and tools. Do your best to give up some of your control and allow your medium to do some of the speaking for itself. 3. Paint with larger brushes and, if possible, on a larger substrate Painting/drawing at a larger scale will not only encourage more arm movement (which in turn leads to more dynamic work), but allows you to focus on larger shapes. Using a larger brush, or drawing tools like chalk or charcoal, also make it more difficult to obsess over tiny little details. This, in turn, challenges you to think about what is actually needed in your composition and what can be left out. Not to mention, larger pieces are also (usually) meant to be viewed from farther away. At the moment of drawing or painting, step back and continuously remind yourself that the piece is meant to be appreciated from a distance. If you're creating a painting, remember that your paintbrush is not meant to be held as a writing pencil or pen! Try holding it with your thumb and index finger, and keep the rest of your hand relaxed. Beginners have a tendency to hold brushes very close to the bristles to feel more in control. Try holding your brush farther up the handle, anywhere from halfway up to the tip. Explore the different types of brush strokes your brushes are able to create, and the shapes and textures their bristles naturally leave behind. Load your paintbrushes with a good amount of paint so that there's more of a chance for interesting "natural" occurrences to happen. 
Check out my FREE Patreon-exclusive tutorial and class samples here.
4. Use music Music can have such a deep impact on our mood and inspiration levels! I love creating a good, long playlist for myself prior to starting with a painting. Music helps keep my creativity flowing and my energy high for hours. Our taste in music will vary from person to person, of course. Perhaps an artist looking to create an extremely dynamic abstract painting would be inspired by music with a faster/upbeat tempo. Whereas, another artist might find more relaxing, classical music more helpful. Regardless of your taste in music, create a playlist that will help you stay positive, inspired and motivated to continue. 5. Practice leaving your brushstrokes alone Do your best to place your brushstrokes (or lines if your drawing) with intention and then leave them alone! Allow the organic occurrences to happen and think of how you can use these effects to your advantage instead of trying to correct them or blend them out. Stop yourself from pushing forward with actions that are really not really necessary. Try to do more with less and don't obsess over every tiny little accident or irregularity. Let go of the need to control everything! I hope that you found this post helpful and that it encouraged you to keep exploring and moving forward with your art. I wish you all the best and remember to enjoy the process!
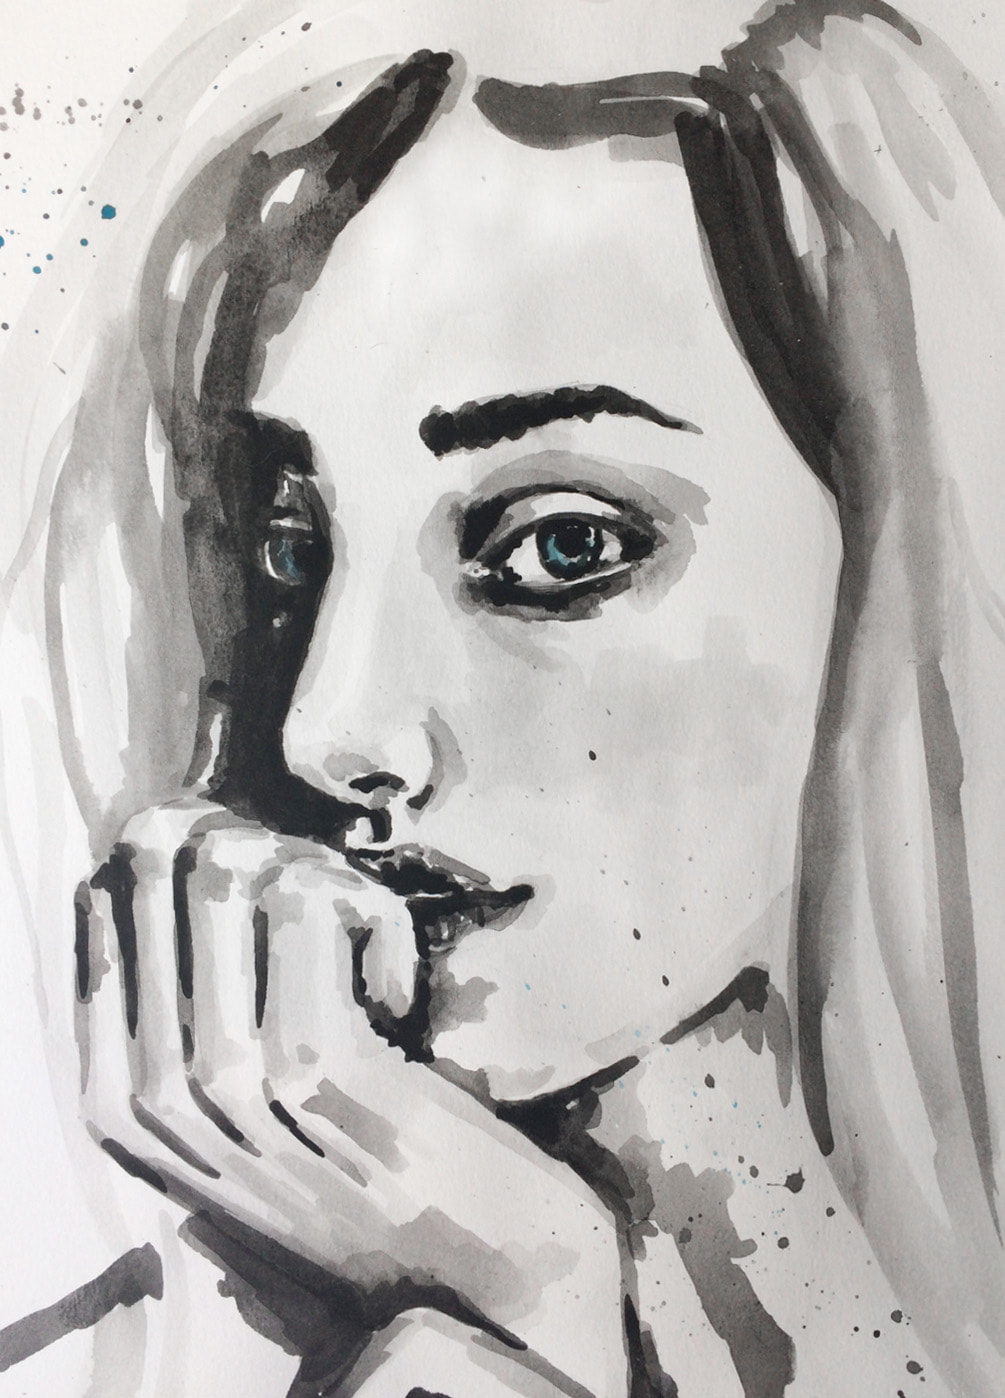
Hello! This week I experimented with watercolor faces quite a bit. I found it very fun, which was surprising because a year ago I had a super hard time painting faces with this type of paint. I also finished up the still life oil painting I started last week and a watercolor painting of exercise equipment/accessories. I am excited for next week's helpful blog post! I will be writing about three of my favorite artists and how to get inspired by others effectively, in order to produce your own original artwork, and slowly (but surely) arrive at your own style! Stay tuned for that! :) 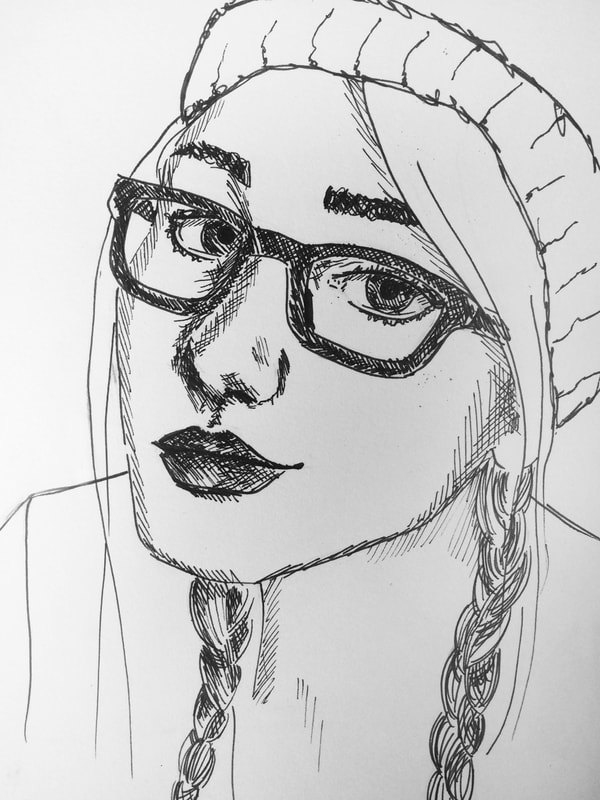
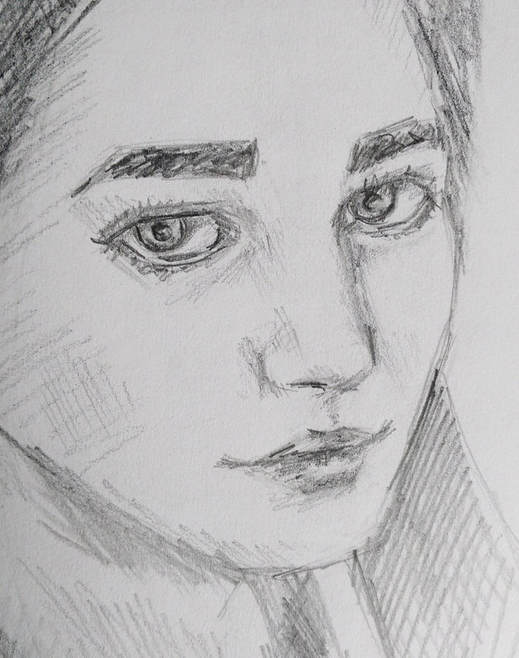
Female portrait sketch. Staedtler Pigment Liners on Strathmore Mixed-Media sketchbook.

Female profile watercolor painting. Sakura Koi watercolors in Nimbo handmade Deluxe sketchbook.
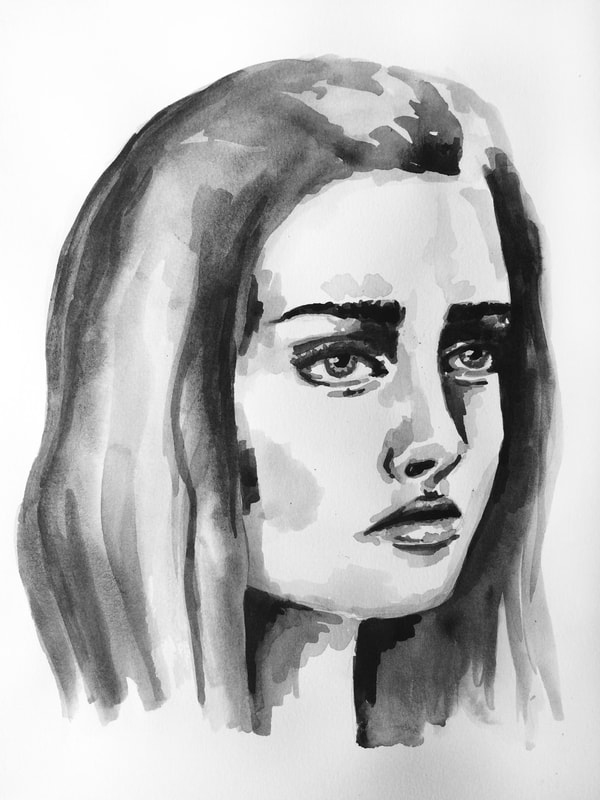
Female portrait watercolor painting. Sakura Koi watercolors in Canson Mixed-Media sketchbook.
Female portrait watercolor painting. Sakura Koi watercolors in Canson Mixed-Media sketchbook.
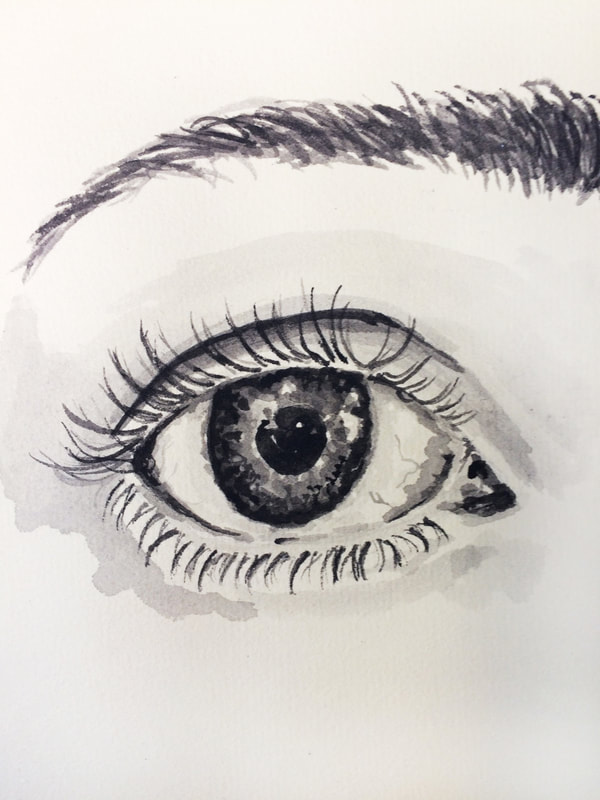
Grayscale eye study. Sakura Koi watercolors in Nimbo handmade Deluxe sketchbook.
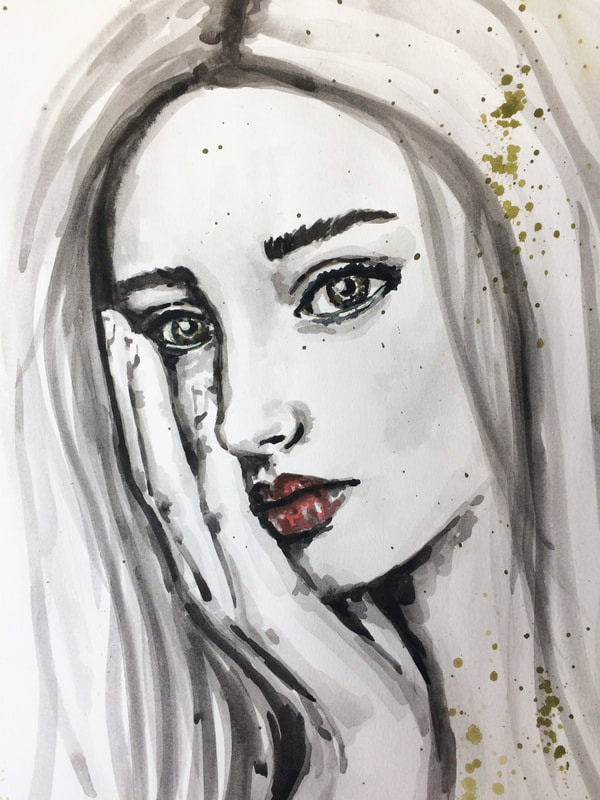
Female portrait watercolor painting. Sakura Koi watercolors in Canson Mixed-Media sketchbook.
Hey there! This weekly collection includes the five pencil face studies I did this week. This was my second week practicing faces in different angles, which means I have another two to go, at least. I was also able to finish two oil paintings this week and a fun watercolor painting of a little red-eyed frog. This week was exciting for me because I finally opened my first online shop on Redbubble. Click here to check out the cool stuff that I have created with my artwork and make sure to visit it later because I am still working on scanning more artwork to place on products. Next week I will also be opening a Society6 store and within the next few months, I'm starting on Etsy! Hope you enjoy! 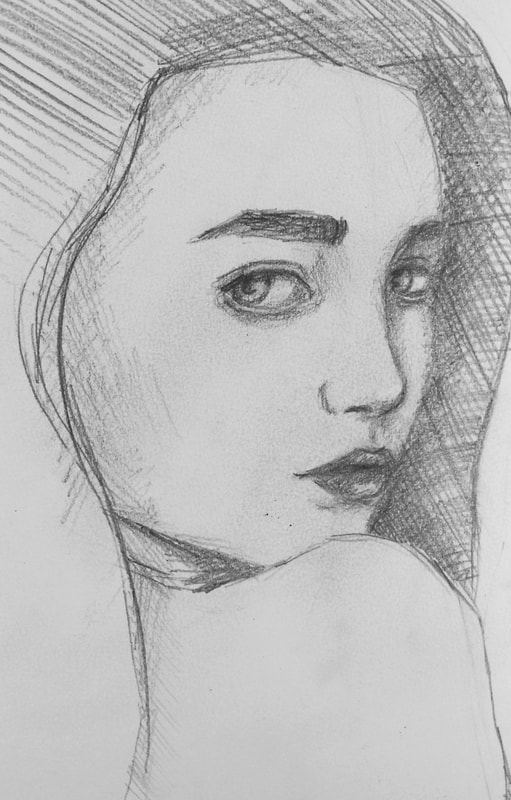
Daily face pencil sketches. Canson Mixed-Media sketchbook. Woman looking over shoulder.
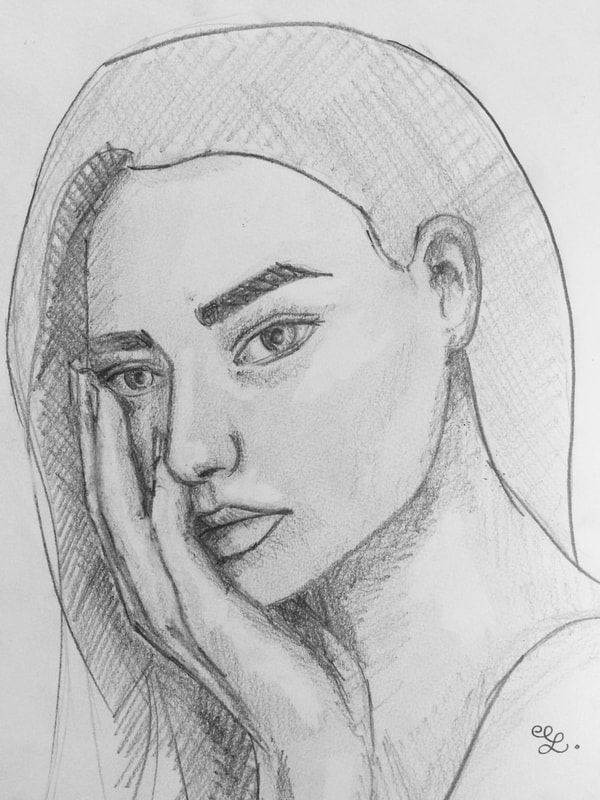
Daily face pencil sketches. Canson Mixed-Media sketchbook. Face resting on hand.
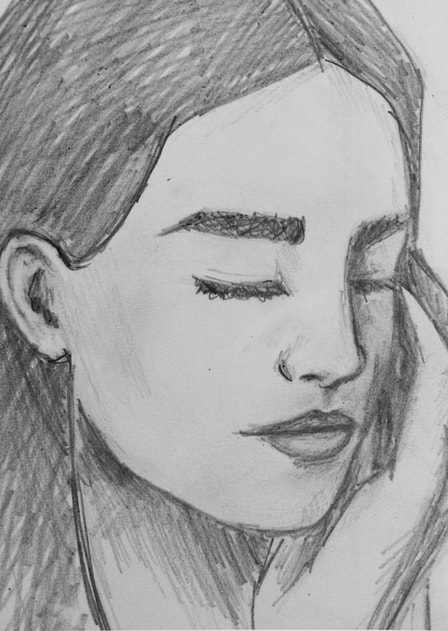
Daily face pencil sketches. Canson Mixed-Media sketchbook. Woman 3/4 head angle with closed eyes.
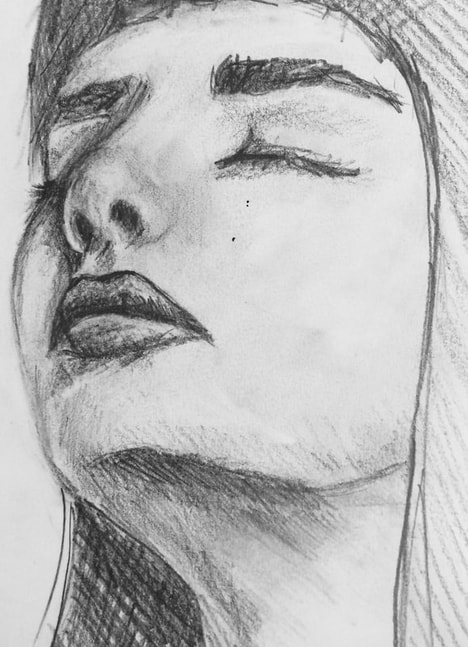
Daily face pencil sketches. Canson Mixed-Media sketchbook. Woman looking up with eyes closed.
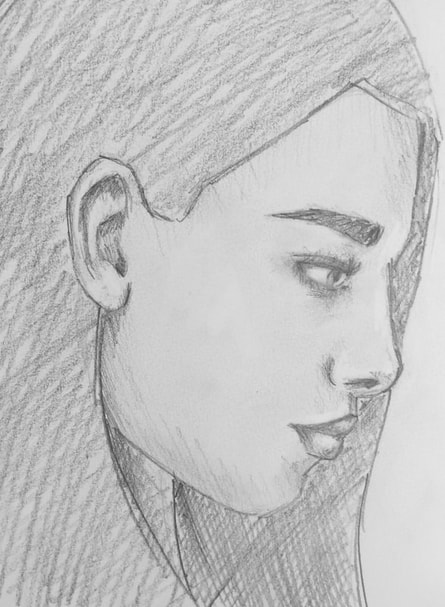
Daily face pencil sketches. Canson Mixed-Media sketchbook. Woman's face in profile looking down.
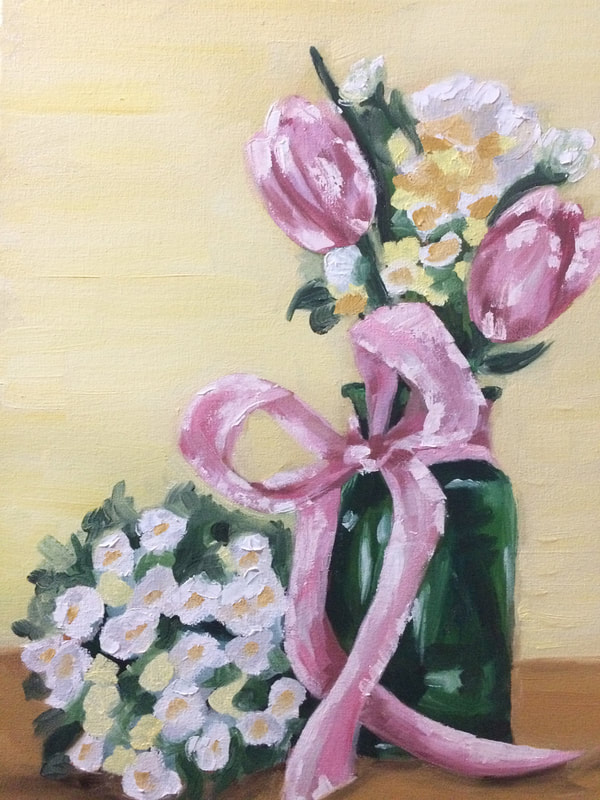
Oil painting on canvas. Pink tulips in green vase with smaller white flowers.
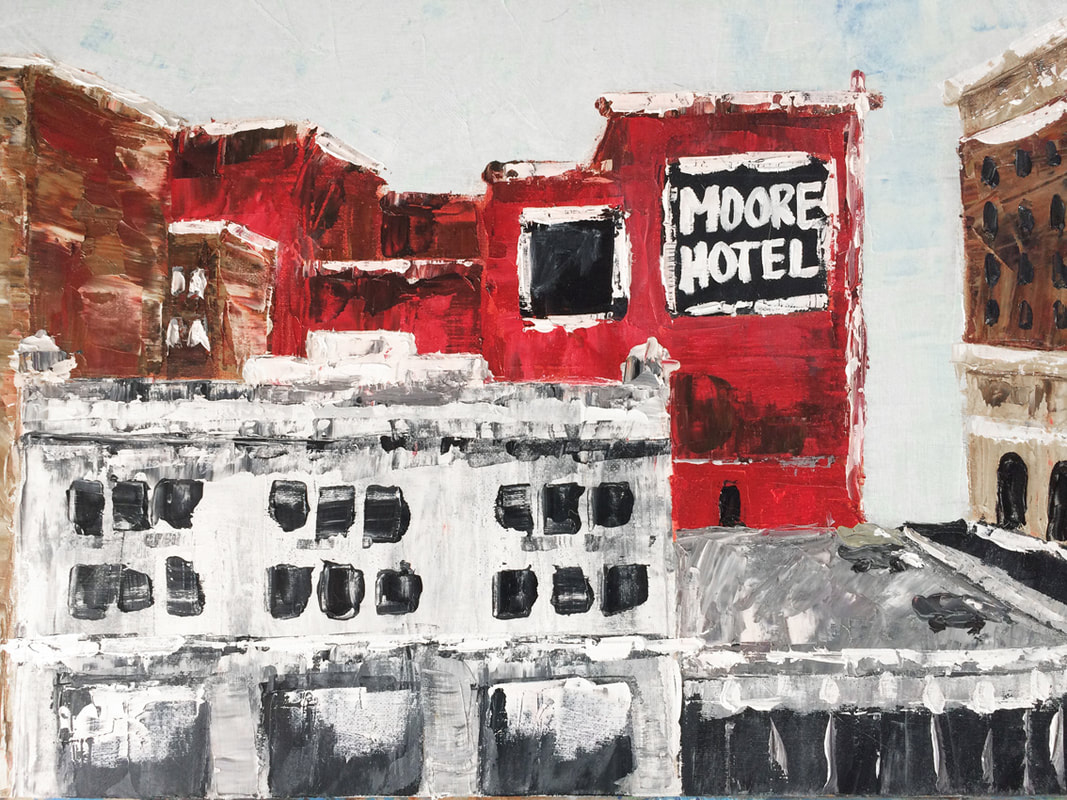
Oil painting on canvas. Experimental palette knife city painting. Red building.
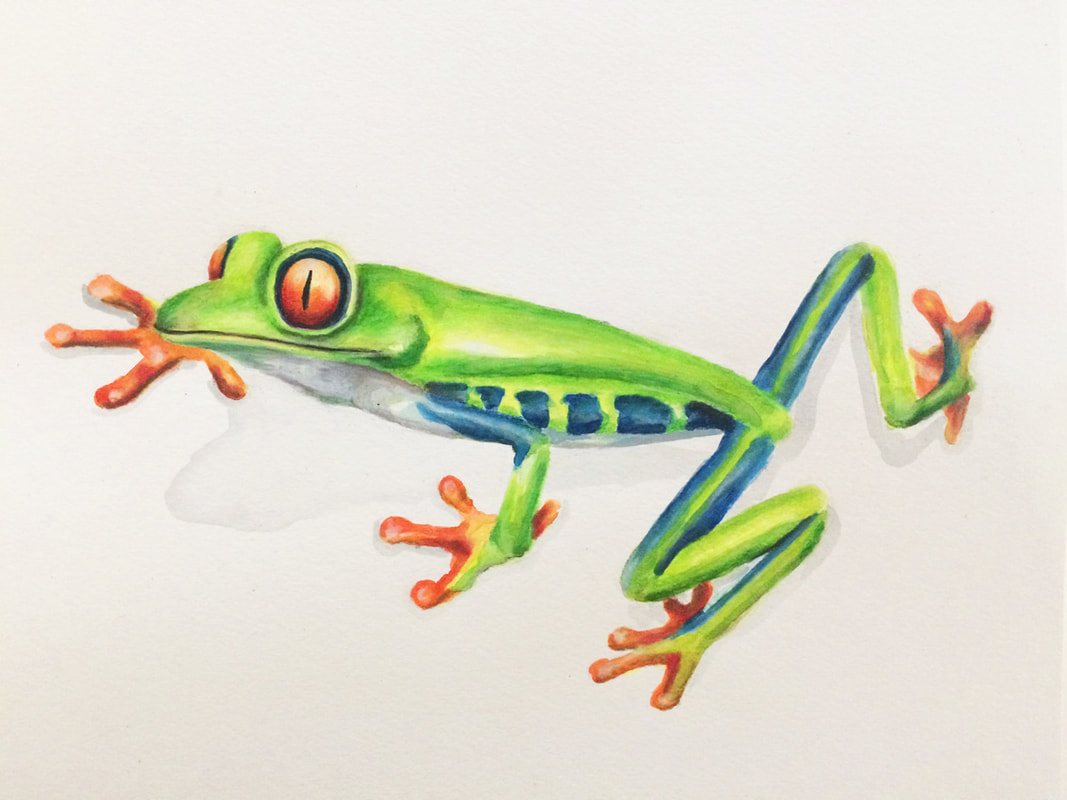
Mixed-media painting. Watercolor and Prismacolor pencils on Canson watercolor paper. Red-eyed frog.
*This post contains affiliate links. I receive small commissions for purchases made through these links at no extra cost to you. These commissions help me keep this site up and running, in order for me to keep providing helpful and inspiring art content. :)
Do you have a few old paintings laying around that are no longer up to par and wonder if you could reuse them to make even better artwork? Interested in moving your painting skills forward by creating more art and in finding ways to save on supplies? You want to make an omelette? You've gotta break some eggs.
-Tyler Durden (Fight Club)
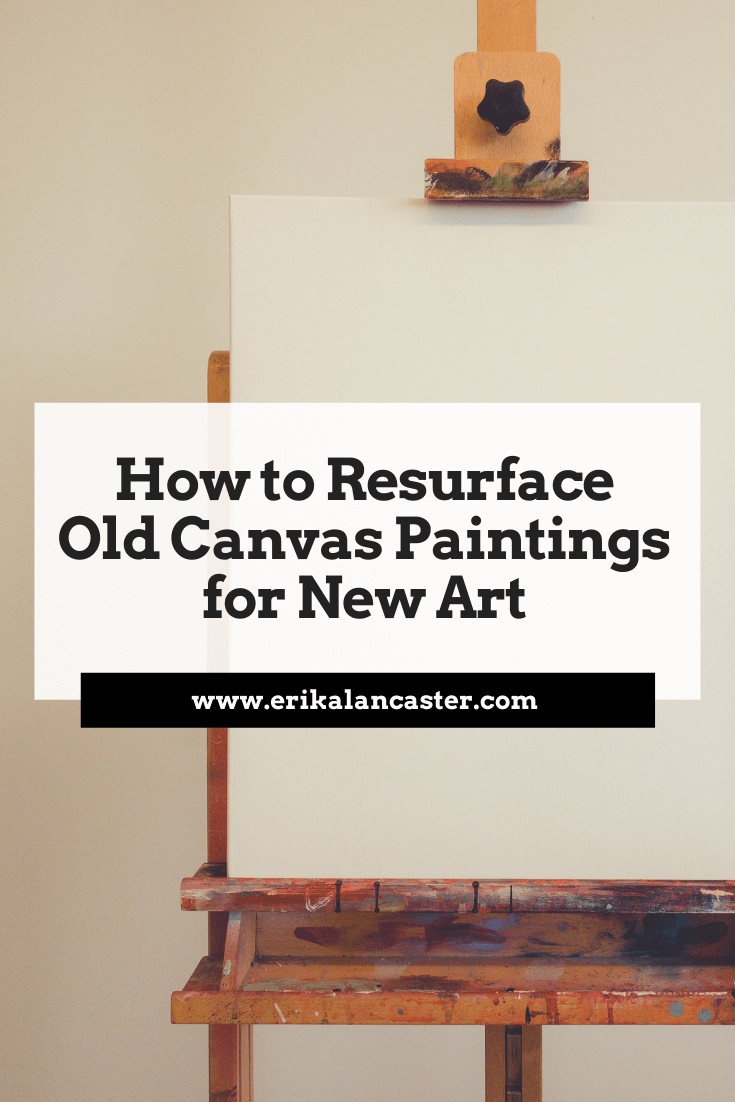
In today's post, I will be taking you through the process of preparing an old canvas painting in order to reuse it to create a new painting. With just a few tools, you'll be able to have a brand new surface to paint on! I am a firm believer in using what we have and in being as resourceful as possible in our explorations. Because, as most of you already know, us artists need to explore a lot and we have to be smart about how we spend our money. 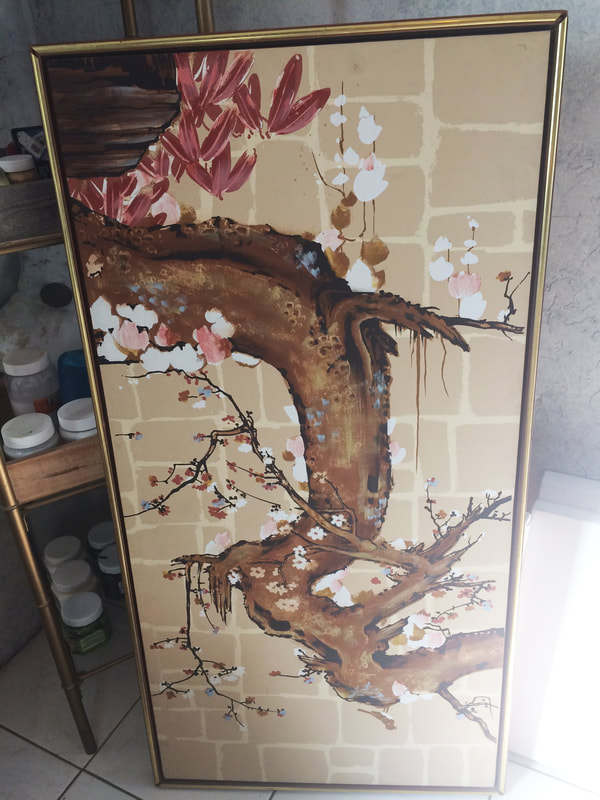
Original painting. Sorry about it being upside down in the picture!
First and foremost, a bit about the original painting. This canvas was a part of an artwork composed of three separate panels (three long rectangles meant to be hung vertically side by side). The paintings around 35 years old. Probably more. Another important note is that these artworks seem to have been created using very thin applications of acrylic paint. It is definitely not oil. And they don’t have much texture to them at all. I took all of these points into consideration when I decided to use them in my oil painting explorations. I knew resurfacing them was going to be easy and that they presented good opportunities for me to work on a size and format I had never worked on before. Canvases with thickly applied paint (either oils or acrylics) or a lot of texture on them will probably require more work because more sanding will have to be done. 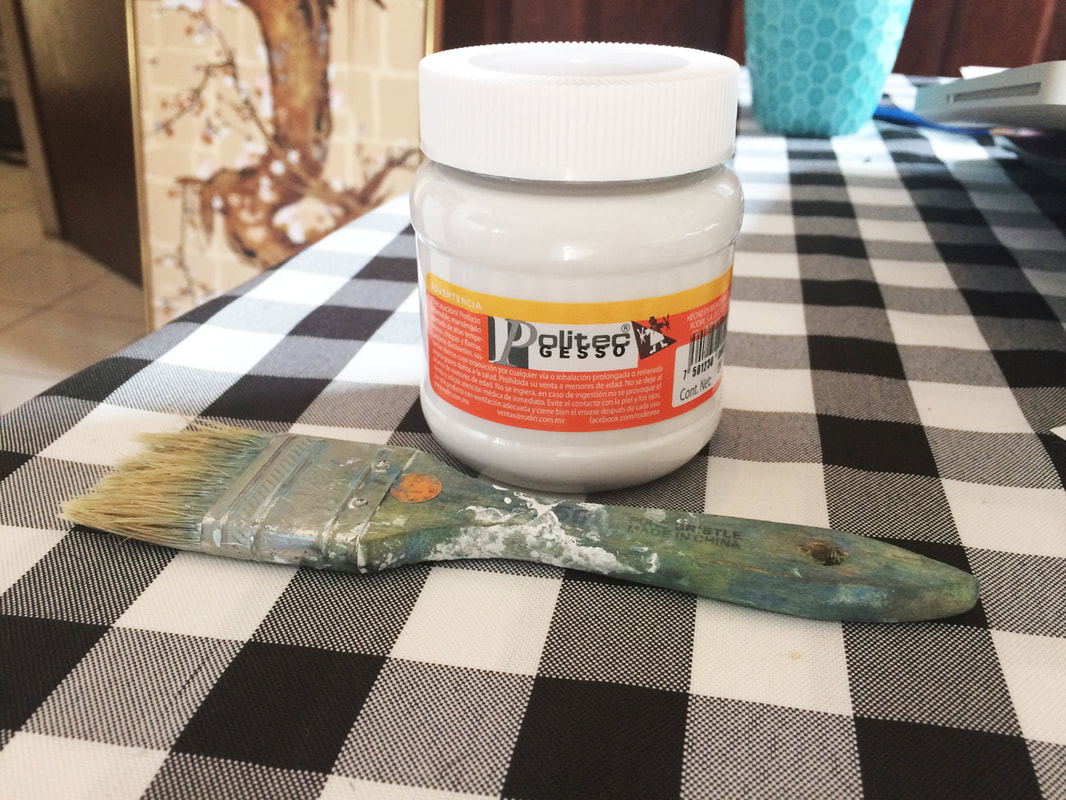
Secondly, I used regular Gesso I had at hand in order to resurface my canvas. There is a lot of debate whether or not it is ¨safe¨ to use oil paint on a canvas prepped with gesso. A lot of folks believe that it should not be done because it is just a recipe for cracking, peeling and an overall less durable painting. Other artists believe that a good quality Gesso can serve as base for practically any type of paint or medium. I think it is up to you to figure out if this will work for your specific type of artwork or not, and the only way of finding this out is through first-hand experimentation. Perhaps your just experimenting and learning like me, and aren't really looking to create a masterpiece that will be passed on from generation to generation. In this case, it doesn't really matter. Something you do have to keep in mind is that if your goal is to resurface an old oil painting, a whole new set of rules apply. Regular Gesso cannot be used for this purpose. You would need an oil-specific ground and/or primer (I will not go into this process today because it is not something I have personally tried). So, once again, you can create an oil painting over traditional Gesso, but you cannot apply gesso over an oil painting. Are you with me? Ok!
I personally didn't worry much about creating an impeccable surface for this project because, as previously stated, I knew since the beginning that this was mostly an exploration for me.
However, if it worries you, a solution is to apply Linseed Oil prior to starting the painting process (if you're painting with oils). Simply brush this all over the previously dried gesso and allow it to soak for about 24 hours. Afterwards, wipe off the canvas with a dry cloth and let the games begin! The idea is that the gesso will absorb some of this oil and it is less likely to make the painting crack later.
Check out my FREE Patreon-exclusive tutorial and class samples here.
How to Resurface an Old Canvas Using Gesso Supplies -Old canvas painting/print/pretty much whatever as long as it's not an oil painting -Sandpaper -Gesso -Thick used up/cheap brush -Old fabric or dusting cloth -Glass containers for water -Linseed oil (*Optional)
Process 1. Wipe the old artwork clean. Make sure it is clear of dust and other particles. 2. Sandpaper the surface using light pressure and focusing on heavily textured areas. Don’t fret so much about getting the surface super even if the painting has a lot of texture to it. Wipe surface using a cloth. 3. Apply first layer of Gesso as evenly as possible and allow to dry for a couple of hours. If your Gesso is too thick and this bothers you, you can add a bit of water to it. Make sure that first layer completely dries before continuing with the next step. If it feels damp to the touch, this means you should wait longer. 4. Once the first layer is dry, apply a second coat of Gesso and allow to dry once more. 5. Sandpaper the surface again. How much you sand this layer will depend on the amount of texture you want your painting surface to have. Some artists like starting off with more texture than others and this is where your personal preference comes in. Just make sure that after you're done with your sanding, you remove any left over particles by dusting your canvas once more. At this point it should be ready to be painted on. But if you are still a bit nervous about not having a quality surface to work on, use the Linseed Oil suggestion I mentioned before. I will be trying this out on the next one. 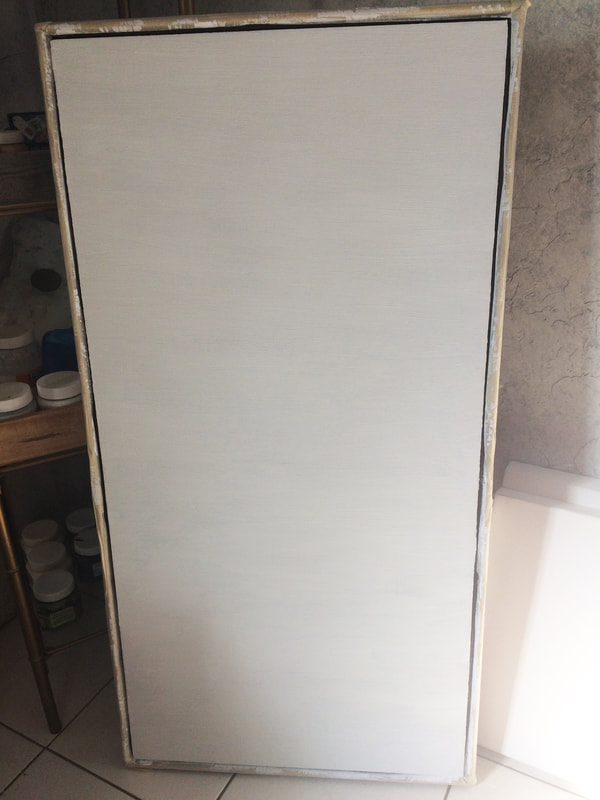
This is how the canvas looks once it's ready to go! These canvases actually have a slightly damaged gold frame. Instead of removing the frame, I simply painted over it layer using black acrylic paint. I don't really like gold.
To end this post, I would like to encourage you to experiment with new artistic processes first-hand even though maybe you don't have much experience about how to go about them. Sure, do your research, but actually do it! Trying things out for yourself is going to leave you so much more knowledge and experience than just reading or hearing about them. Also, always remember that both in art and in life, it's much more about enjoying the process than the final outcome. Even if you don't end up with a masterpiece, the skills you learned throughout the way and what you discovered about yourself make the process totally worth it. Have you ever re-purposed an old artwork in order to create a new one? I'd LOVE to hear about it in the comments below. |


 www.erikalancaster.com
is a participant in the Amazon Services LLC Associates Program, an affiliate advertising program designed to provide a means for sites to earn advertising fees by advertising and linking to amazon.com. www.erikalancaster.com is a participant in the Shareasale.com Affiliate Program, an affiliate advertising program designed to provide a means for sites to earn advertising fees by advertising and linking to Shareasale.com partner companies. |


 RSS Feed
